


Forgot Password?
Please enter your email address to receive a link for resetting your password.
Thank You
You will receive an email with further instructions. Please contact customer support if you need any further assistance.
Please verify your email address
A verification link has been sent to your email to activate your account. The link will be valid for 1 hour.
Please check the spam inbox if you can't find the email. If you still can't find it, we can resend it.
A verification link has been sent to your email 00:00

 Facebook
 Twitter
 LinkedIn
 Email
Email
Fourth of July is coming soon and it’s time to capture those must-have summer shots. If you’ve been disappointed in the past with mastering the perfect sparkler photo, we have some tips for you to make grabbing every twinkling light easy and fun. Check out the how-to video (guaranteed to make you whip out the sparklers and shoot!) and use the additional tips below to get some really great images over the holiday weekend.
1. Use a Tripod
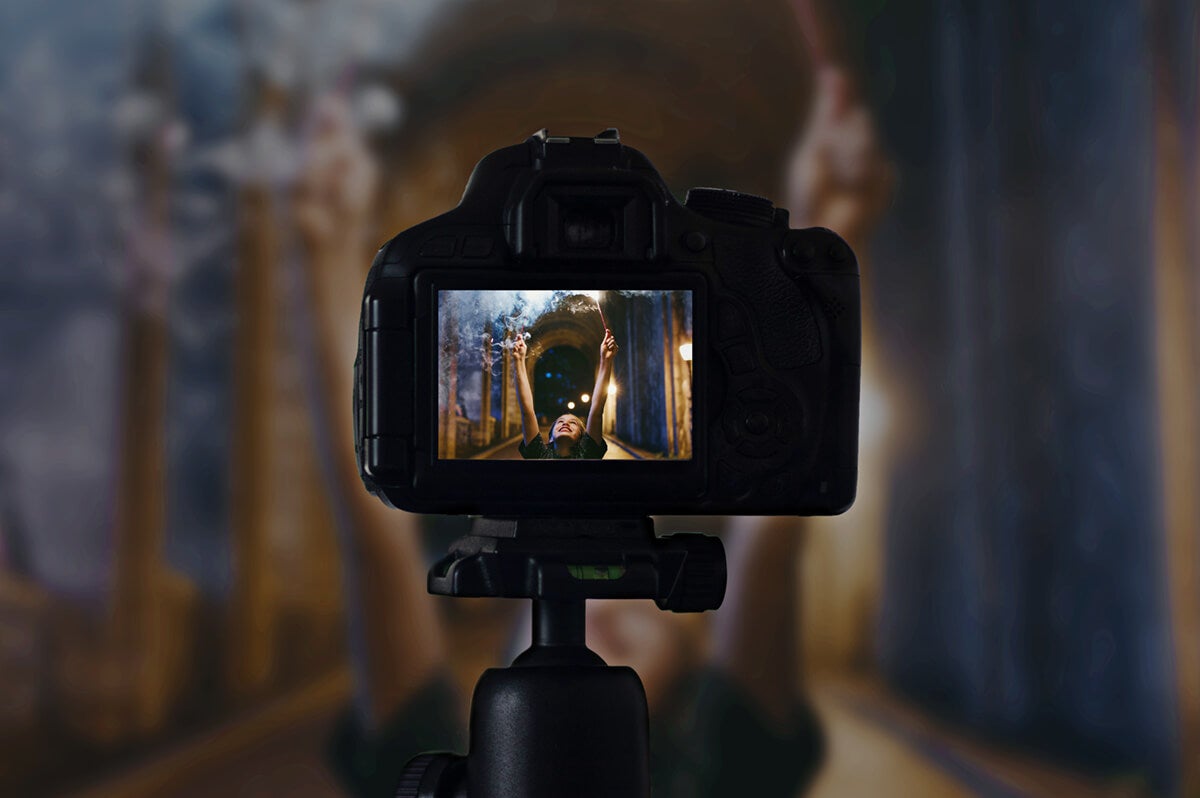
Since sparklers are most often brought out at dusk and into the night, there is less light for your camera to capture the image. Using a tripod to stabilize your camera will help prevent motion blur. If you don’t own a tripod, the same effect can be achieved by putting your camera on any stable fixed surface, just be careful that it doesn’t get knocked over.
2. Increase Your Shutter Speed and ISO
Low light conditions mean that any action will be blurrier since the camera lens needs to stay open longer to expose the image. For images that you want to freeze the action, you will need to increase your shutter speed and ISO to freeze subjects in place. This may increase the graininess of your image, but many newer cameras do a good job of offering high ISO’s and maintaining image quality.
If you are trying to get light trails or create words and shapes with the sparklers, you will want to have a long exposure to allow the light of the sparkler to travel and trail.
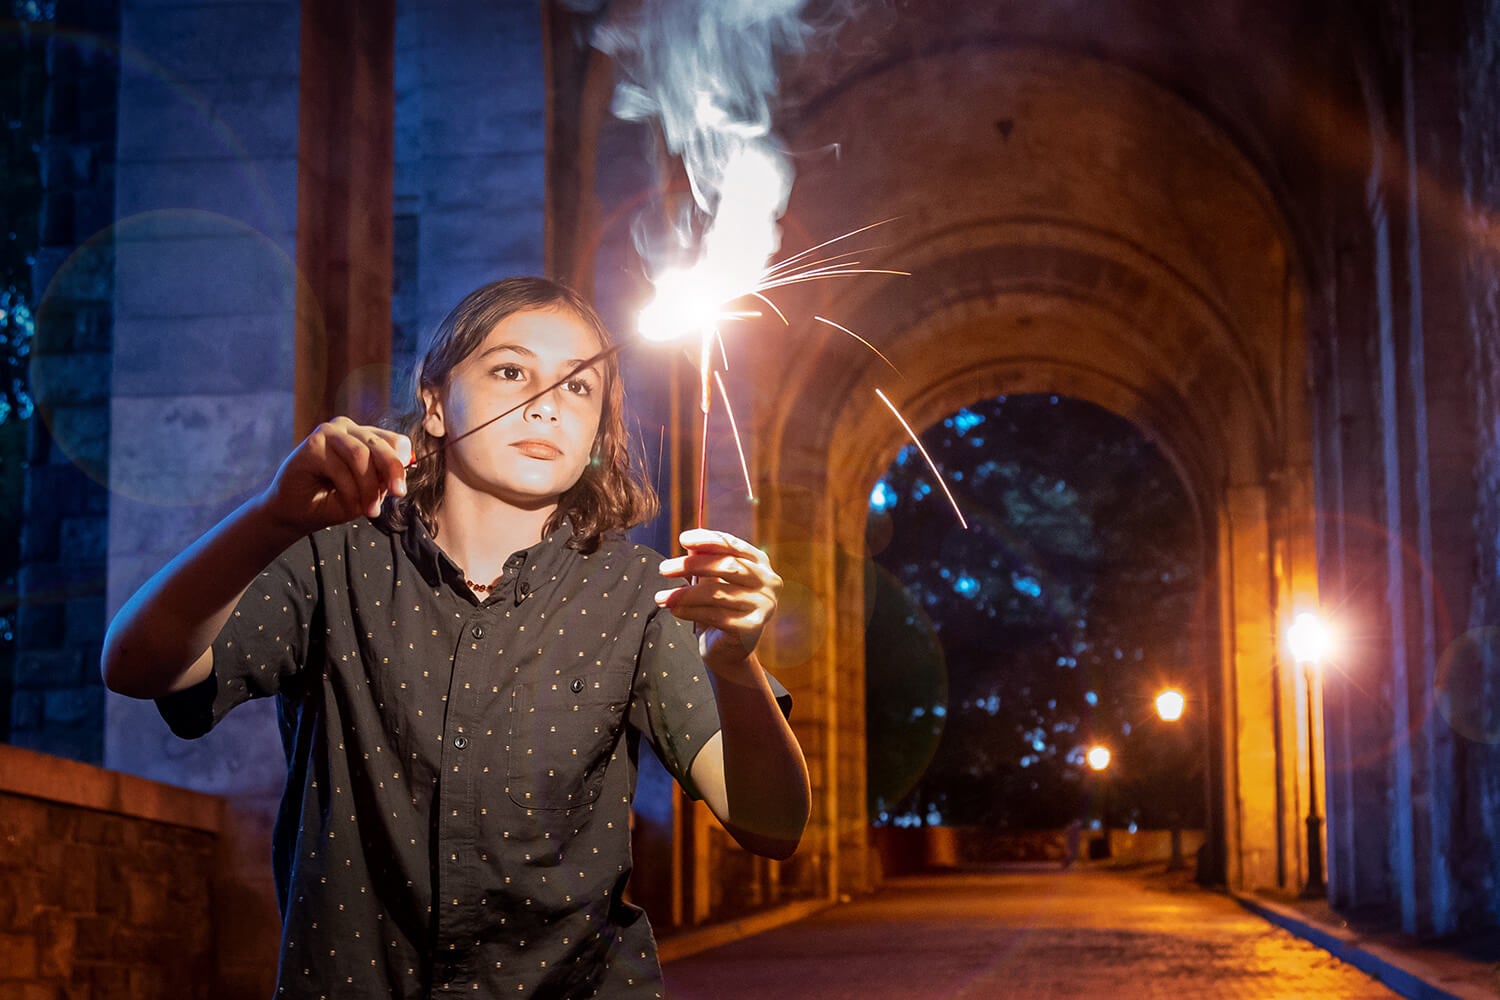
3. Add a Light
Adding a light to your subject will help balance exposure of your images and/or freeze your subject matter while allowing a long exposures with sparklers. For instance, putting your subject in the light of a street lamp or shining a flashlight on them will allow faster exposure times.
Adding a flash will allow you to freeze the action of the people in the photos, but you can keep the shutter open and allow the lights of the sparklers to trail. In this way, you can use the sparkler lights to make words or shapes, but still get your people in focus and illuminate correctly.
4. Use Gels
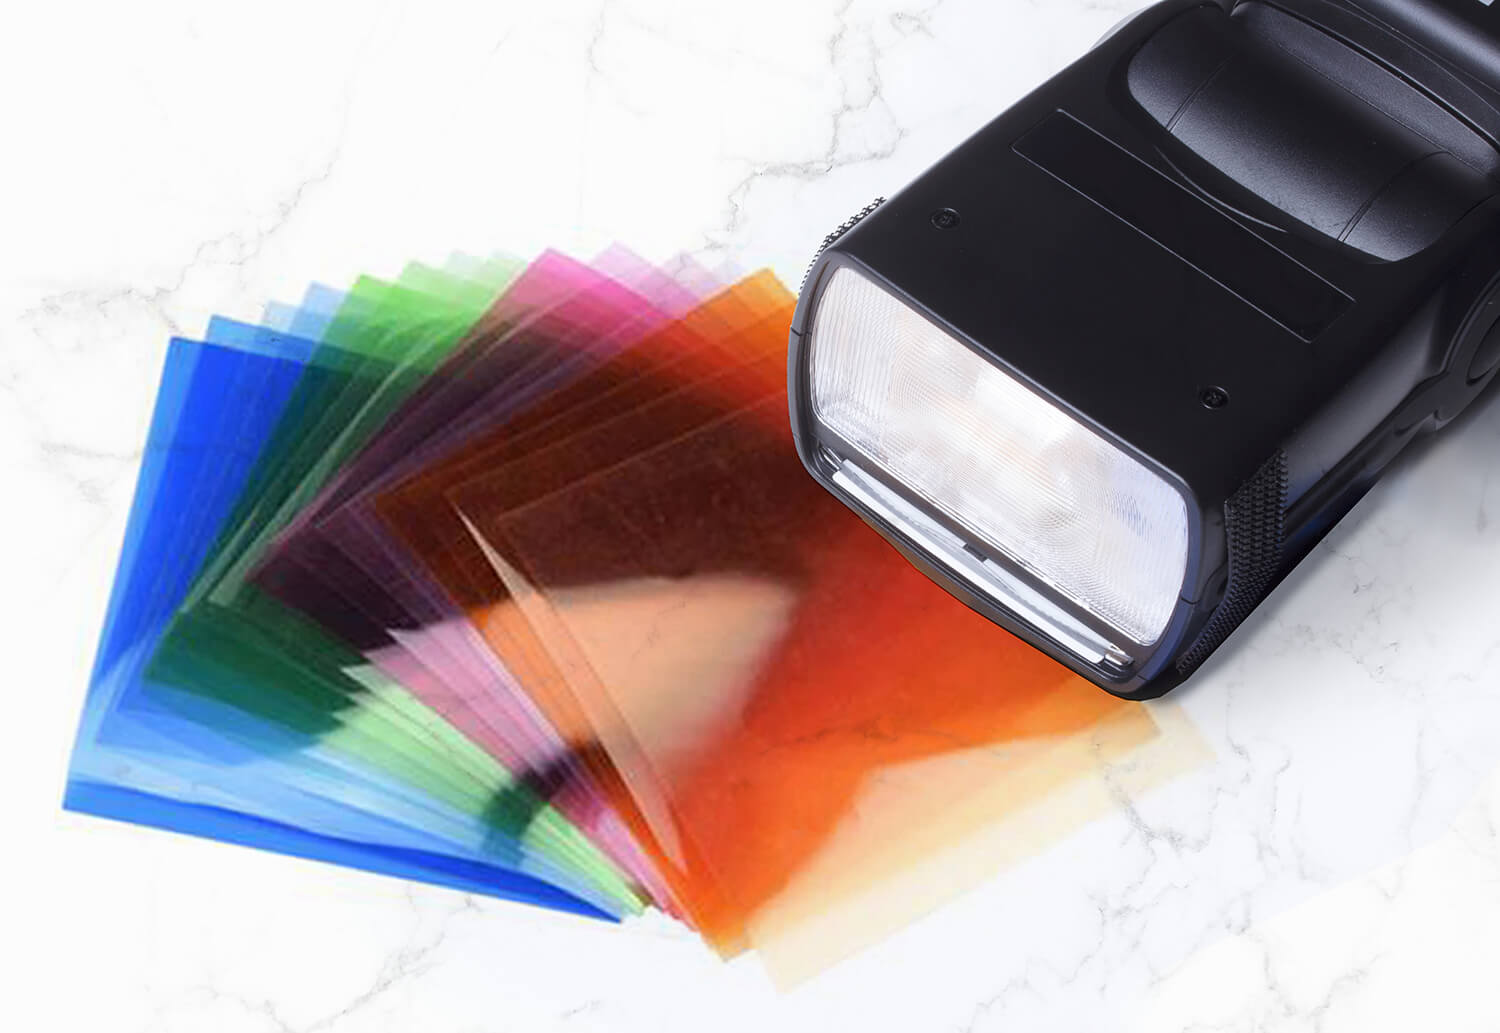
If you want to get a bit more advanced, you can use gels over your flash to balance the color temperatures in your image. Most flashes will give off a daylight balanced light that will be significantly cooler than the light shed by the sparklers, which will be very warm. To balance that, simply tape a warm photo gel over the flash.
5. Use Your Smartphone
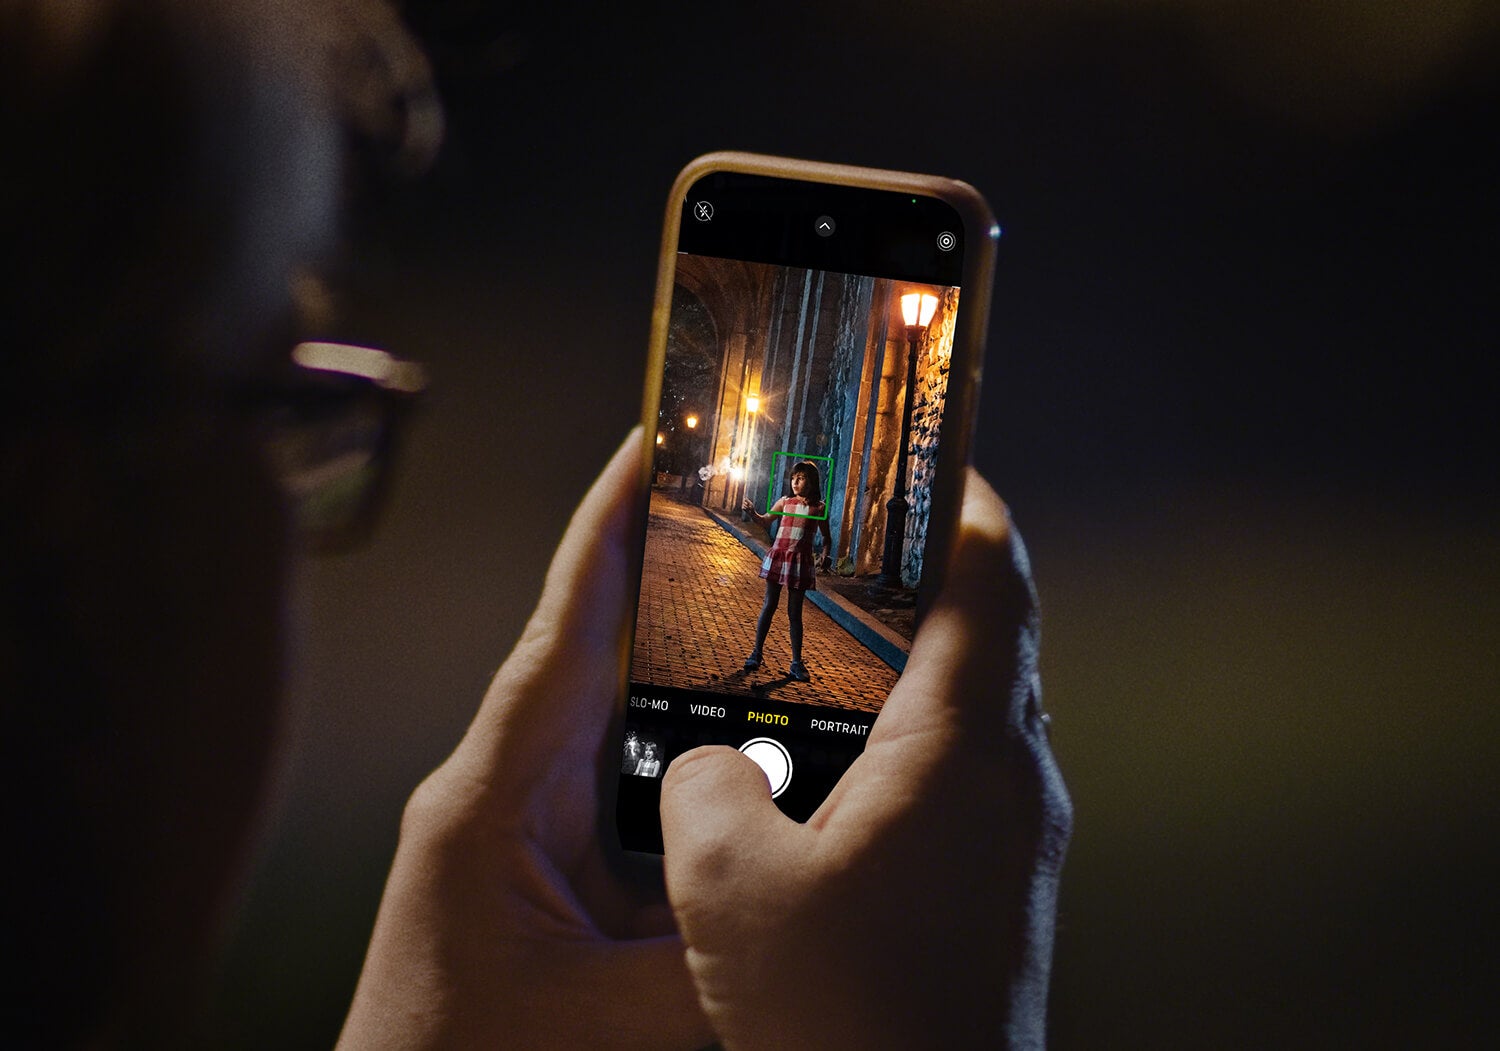
You don’t have to have a DSLR to take good sparkler photos. Many of the newer smartphone models have great night mode options and fairly high res files that will still capture a great photo. If you are using a phone, though, adding light to your subject will be even more important, so move your sparkling activities closer to a light source for the best images.
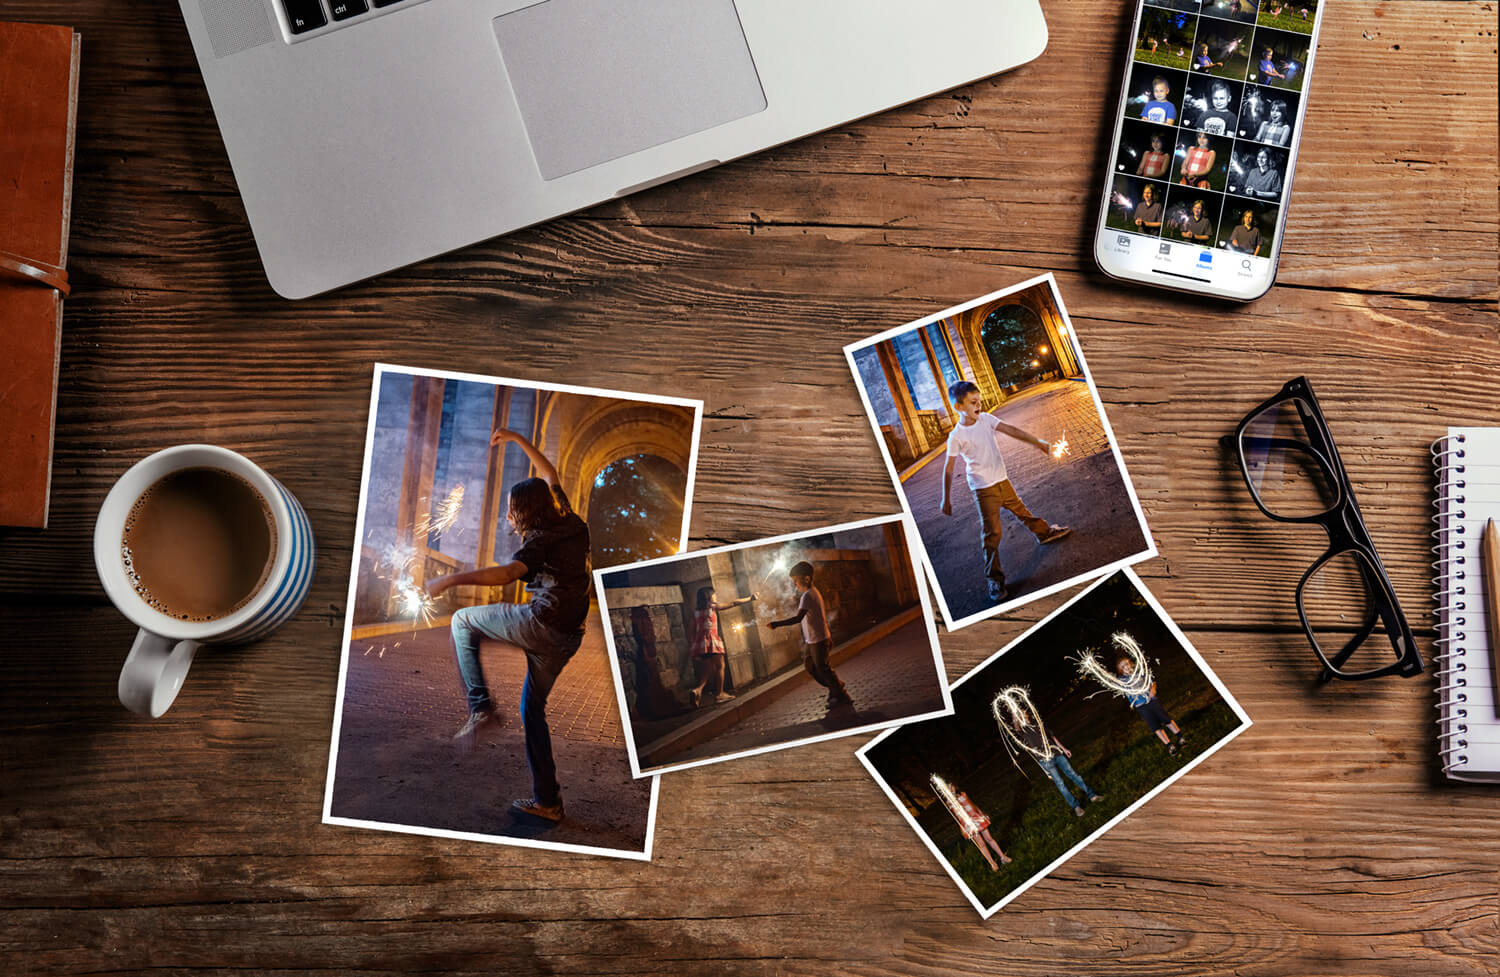
6. Print Your Images on Metal
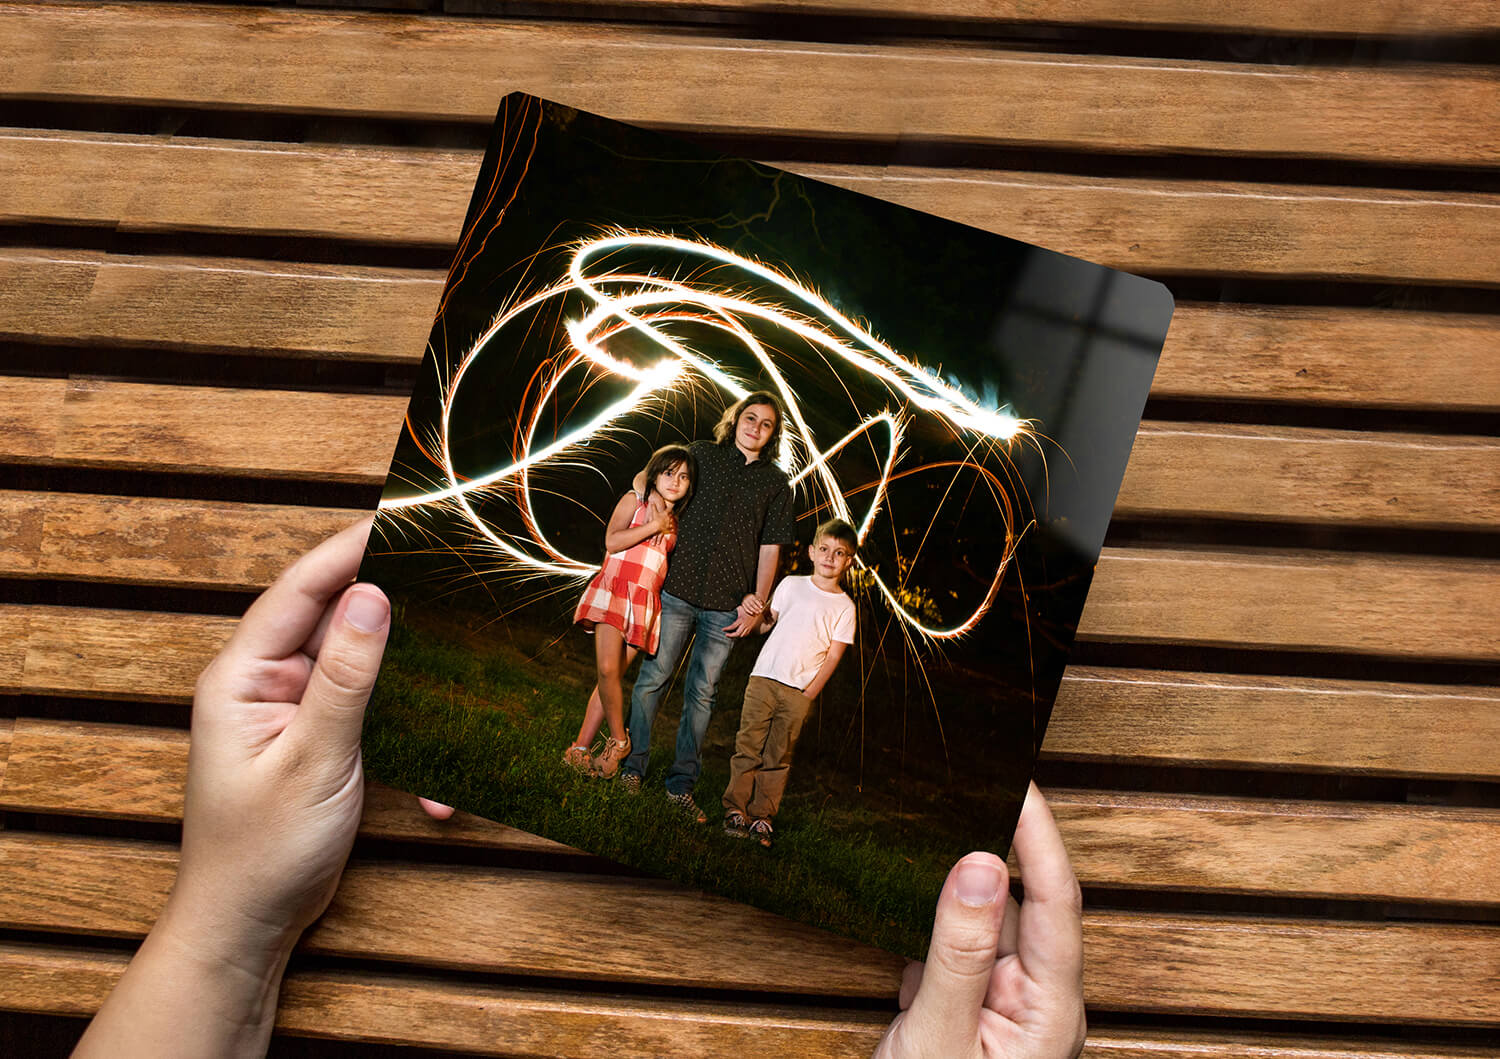
Sparklers are not only beautiful, but these are some of the best summer memories. Printing on metal will highlight the glow and the colors of these fun moments.
A few more ideas
Annual Tradition: The Birthday Interview Book
Photo Book Gift Ideas for Kids
Create an Ancestor Gallery Wall With These Tips