


Forgot Password?
Please enter your email address to receive a link for resetting your password.
Thank You
You will receive an email with further instructions. Please contact customer support if you need any further assistance.
Please verify your email address
A verification link has been sent to your email to activate your account. The link will be valid for 1 hour.
Please check the spam inbox if you can't find the email. If you still can't find it, we can resend it.
A verification link has been sent to your email 00:00

 Facebook
 Twitter
 LinkedIn
 Email
Email
Photos and artworks are obvious candidates for adorning your walls, but for a home that’s even more creative and personal, think outside the, er, frame and hang items that reflect your interests and favorite things, whether you’re a music fan, a fashionista or a nature lover.
Unfortunately framing collectibles and memorabilia can be challenging: Items are often 3D, they may be awkward sizes, and being exposed to light may fade them. For example, a sports jersey requires advanced styling prowess to look good, while a collection of cookie cutters or buttons requires an expensive deep set shadow box frame. “Enter the idea of photographing the items in high resolution, resizing the prints into convenient dimensions, then framing them,” says Chip Cordelli, a Brooklyn-based collectibles expert, home organizer and interior stylist. “The result is a more tailored look, plus it gives you more control over the image sizes, matting, frame size and color.”
For best results, place the item on a flat surface, then shoot from above in natural light so that the images aren’t overlit and the colors look natural. “Most phone cameras have editing options, so play with the color and brightness,” he advises. “If you are using a digital camera, your editing program in your computer has editing options as well. Resize as desired—Printique offers image sizing options to create the perfect archival print, one that won’t fade.”
Here, some of Cordelli’s favorite things to frame:
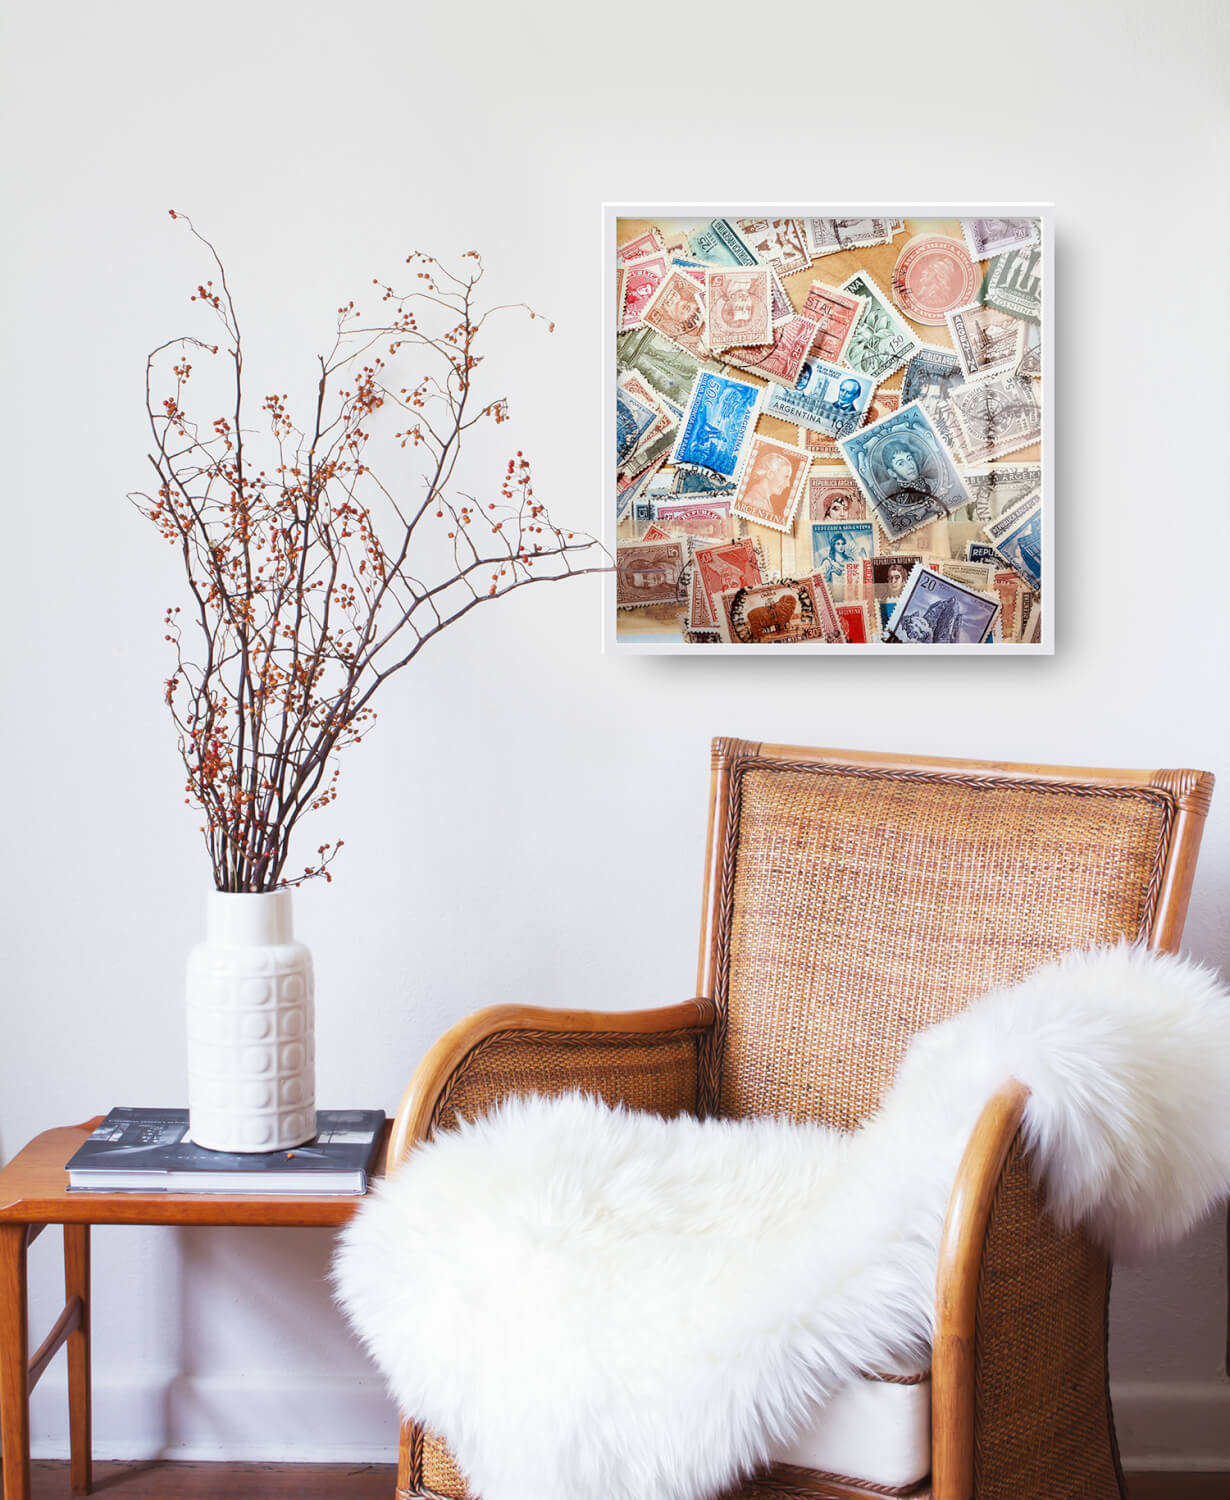
Stamp collections
Many stamps would look striking framed, but the process could affect their value. So instead, “arrange them in a visually pleasing way on a background of poster board in a color that will visually ‘ground’ them,” he says. “Play around with the arrangement, photographing each until you find one you like.”
The finishing touches: For a more contemporary look, forego a mat and let the image “bleed”—the term for letting an image take up the whole space—to the edge of the frame, Cordelli advises. If the photo of the stamps has a lot of bright colors, go with a white frame; if the colors are more subdued, a black frame is the better choice.
Pressed leaves
“Autumn leaves are so beautiful and warrant a frame, but guess what? They fade, decay and lose the color you loved them for,” he says. “By photographing and framing them, you can preserve the memory. Prep them by pressing them for a day or two under a heavy book with wax paper over the leaves, then arrange them artfully on a flat surface and shoot them from above.”
The finishing touches: “A white frame or a canvas print will make a nature image come alive visually and enhance the look, while black might seem too aggressive.”
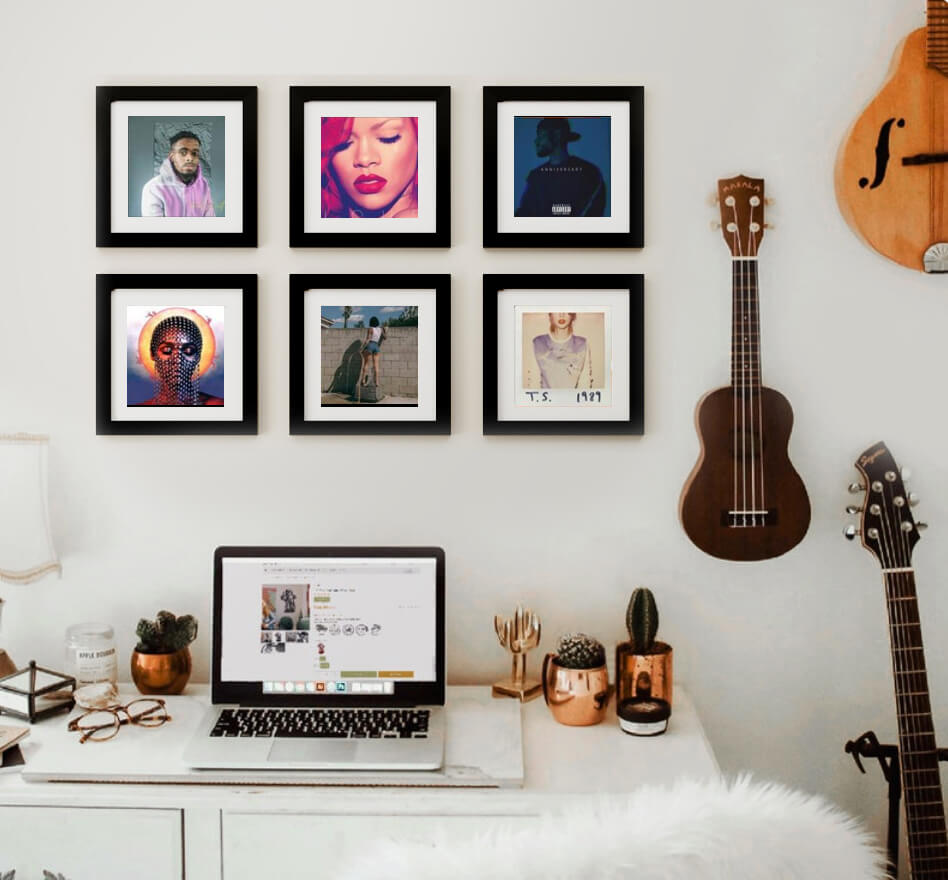
Album and CD covers
“We all have favorite album covers and CD covers that remind us of certain times in life,” he says. “But you can’t frame the originals unless you have two copies of the record so you can display both the front and back. That’s why it’s so fun to photograph them and frame the prints.” For CDs, you can shoot them by themselves or experiment with different groupings for a fun collage.
The finishing touches: “I like a black frame or metal prints for these,” Cordelli says.
Kids’ drawings
“By photographing them, you can make them any size you want, plus the construction paper won’t fade over the years,” Cordelli points out. “Also, these make a great gift!”
The finishing touches: “Children’s art can look formal in a black frame, and more playful and youthful in a white frame,” says Cordelli. Or you can go for a color or matting that complements the walls of the room where it will hang.

Wallpaper and textile designs
“Say you’ve found a striking wallpaper design in an antique book and don’t want to destroy the book by cutting it out to frame it, so take a pic and frame it,” he says. “It’s the same with fabrics, which would fade easily in a frame.”
The finishing touches: “Antique prints look best in a black or brown frame,” he says. Add a mat for a more traditional look.
Architectural sketches and blueprints
“I have a large collection of these I’ve acquired at estates sales and online that I’ve framed and hung on one wall,” he says. “But over the years, they’ve faded, so I recently photographed them in high-res, then retouched the colors and resized them. They now look so much more vibrant.”
The finishing touches: These look more modern in a white frame without a mat, Cordelli says.
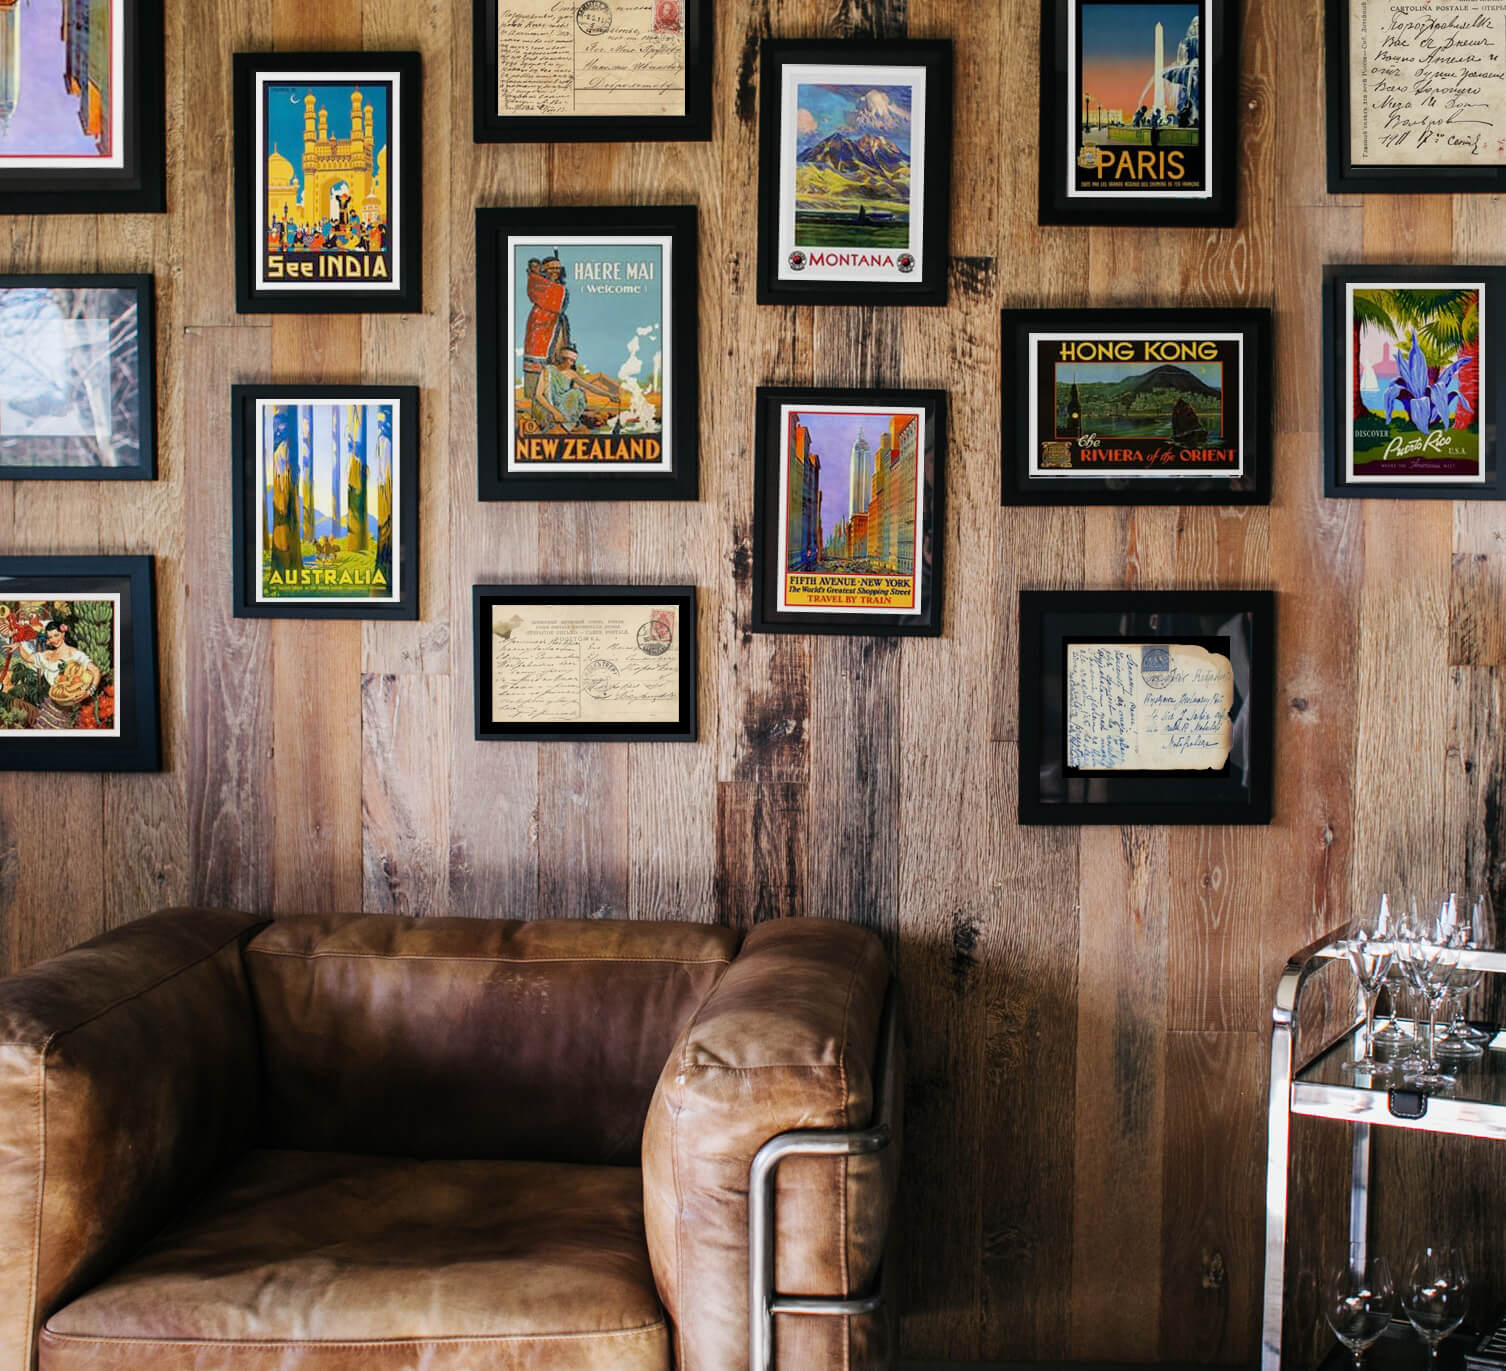
Postcards
Do you have stacks of postcards you’ve collected from your travels? “They can be blown up to any size you want—I love to create a whole wall of postcard images in 8” x 10” frames,” Cordelli says. “Shoot them, then resize them so they will look great together, as some will likely be vertical images and some horizontal. You can also arrange a bunch into a collage and shoot them from above to create a travel ‘story.’”
The finishing touches: “Postcards (mostly) are border-less image that bleed to the edge, so to mimic that look, a white or natural frame is best versus a dark frame,” he says.
Concert ticket stubs
These reminders of your concert history will be a keepsake forever. “Arrange them in a visually pleasing way on a poster board and photograph them from overhead,” he says. “Again, consider letting the image bleed to the edge of the frame.”
The finishing touches: “If you choose a fabric or a piece of board as a background, that shade will create a ‘ground’ color that can ‘talk’ to the color of the room in which it will hang. I feel black or brown is the best frame color for tickets.”

Summer camp ephemera
Have a drawer full of badges, ribbons and awards that evoke many special summers? Photograph and hang them as a more visible reminder of childhood fun, Cordelli says. “Since the items might be of a variety of materials—cloth, paper, cardboard, etc.—a photo will capture the items in a unified way,” he explains.
The finishing touches: “For a more modern room, a white or natural frame or an acrylic print will look best; in a more traditional room, a brown or black frame might be more in keeping with the space,” he says.
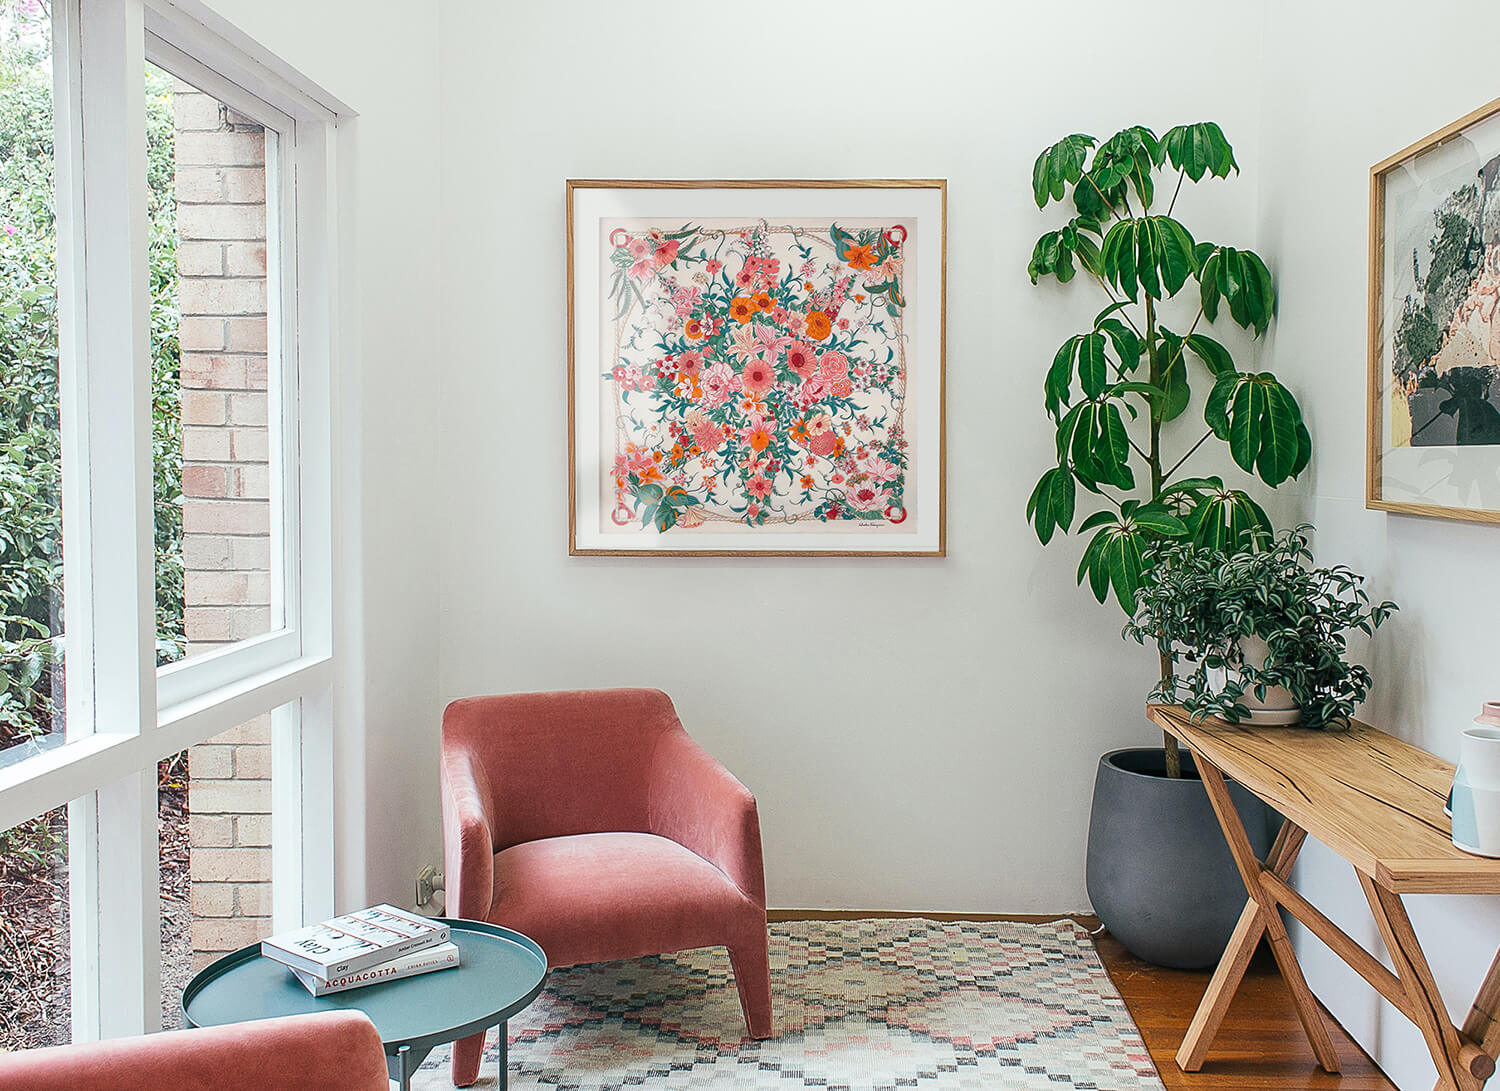
Vintage scarves
Many of these have wonderful patterns, but they often come in sizes that aren’t easy to frame—and you may still want to wear them. To shoot them, “iron or steam the scarf and arrange it carefully on white foam core or a white bed sheet,” Cordelli says. “Hold the camera high above so that the edges of the scarf appear straight and squared—shooting at an angle will distort the edges. Then size the image to fit the dimensions of your frame.”
The finishing touches: “A white frame or a natural frame will look more refined, unless the scarf has a black border in which case a black frame works best.”
Fashion illustrations
Whether it’s an 18 th century hoop skirt or a 20s flapper costume, illustrations from magazines or books make a dramatic statement on a wall, especially if you love fashion.
The finishing touches: If you’re going to hang a group of illustrations together, resize the prints so they’re all similar dimensions, Cordelli advises. “Depending on the color of the room, and other framed images hanging nearby, you can choose a light or dark frame—both will look great.”
A few more ideas
How To Create a Mindful Space
How To Update Your Gallery Wall Like a Pro
This Is How To Set Up an Ancestor Gallery Wall