


Forgot Password?
Please enter your email address to receive a link for resetting your password.
Thank You
You will receive an email with further instructions. Please contact customer support if you need any further assistance.
Please verify your email address
A verification link has been sent to your email to activate your account. The link will be valid for 1 hour.
Please check the spam inbox if you can't find the email. If you still can't find it, we can resend it.
A verification link has been sent to your email 00:00

 Facebook
 Twitter
 LinkedIn
 Email
Email
By John O’Connell
Most people put their cameras on “Auto” or “Program” Exposure Mode, so they don’t have to decide how much light to let on to their sensor for the perfect picture. With the amazing logarithms built into the onboard computers in cameras today, there’s no shame in letting the manufacturer’s engineers do the calculations for you. On Auto, the cameras analyze the scene once the shutter-release button is pressed half-way down, see how much light, dark and greyish areas there are, what colors there are and their relative brightness, wherein the frame the light is and isn’t, and decide what combination of lens opening size (aperture) and duration (shutter speed) will produce an acceptable, average exposure. That works in most cases to give you a pretty well-exposed image.
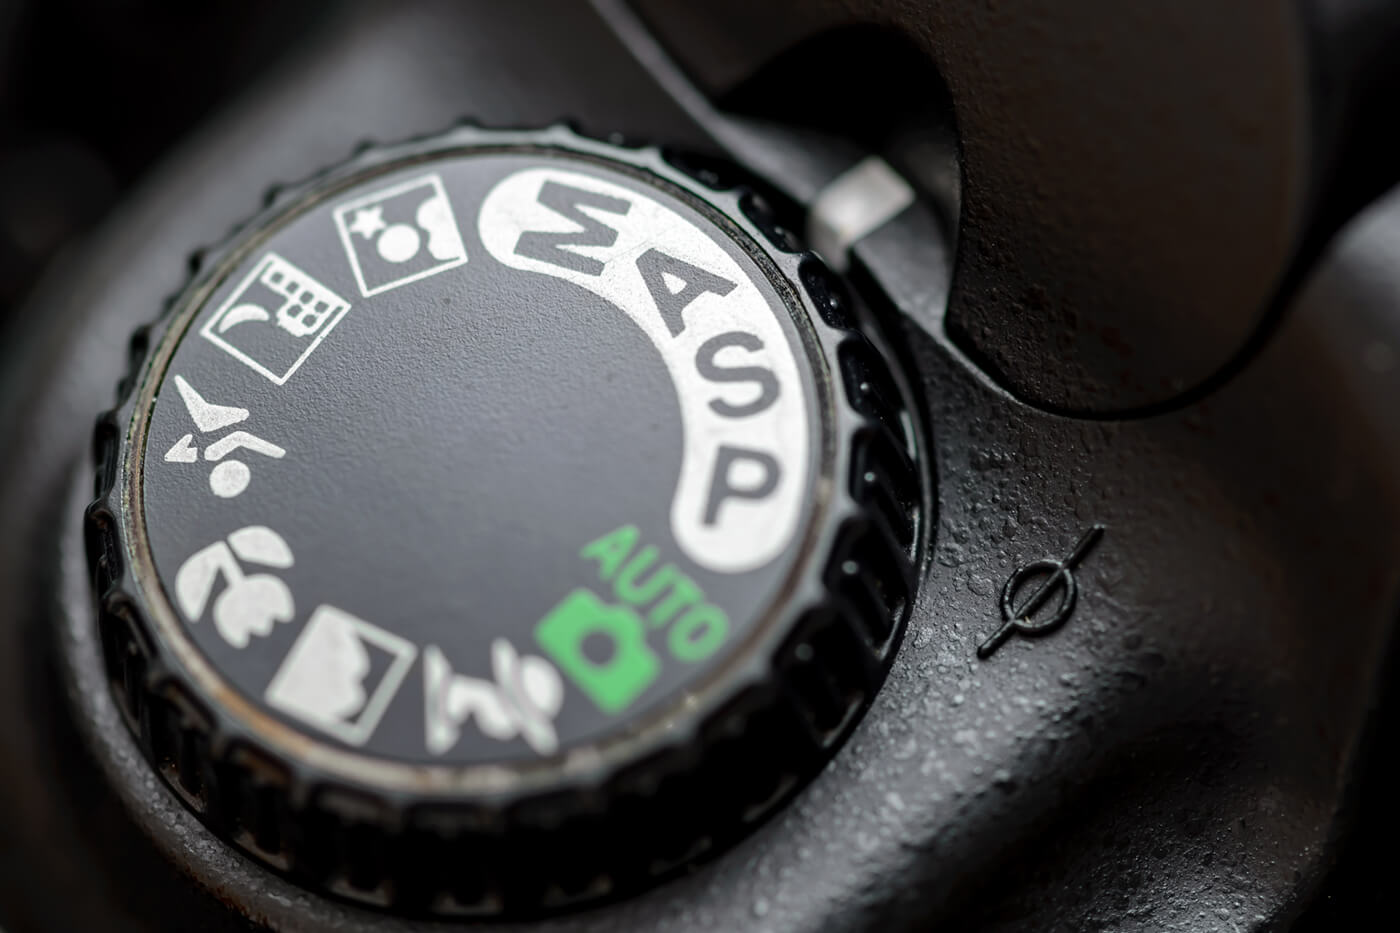
So what are those other settings on the exposure dial? Why would anyone choose the “S” or “Tv” for shutter-speed adjustments, or the “A” or “Av” to set the aperture?
I’ll deal with shutter speeds in a separate blog; now here are a few tips about the benefit of setting the aperture yourself.
The aperture, sometimes called the “F-Stop,” is a measurement of how relatively large or small the adjustable hole is that lets light pass from the scene to the camera’s sensor. Standard “lens openings” or aperture settings are 1.4, 2, 2.8, 4, 5.6, 8, 11, 16 and 22. Some lenses have a 1.8 value as well. The lower numbers (F-1.8, F-2.8) let the most light in, and the higher numbers (F-16, F-22) let the least light in.
If you set the camera’s exposure dial to “A” or “Av” instead of the green “Auto,” you get to set the aperture and the camera will automatically set the commensurate shutter speed to give you the “correct” exposure.
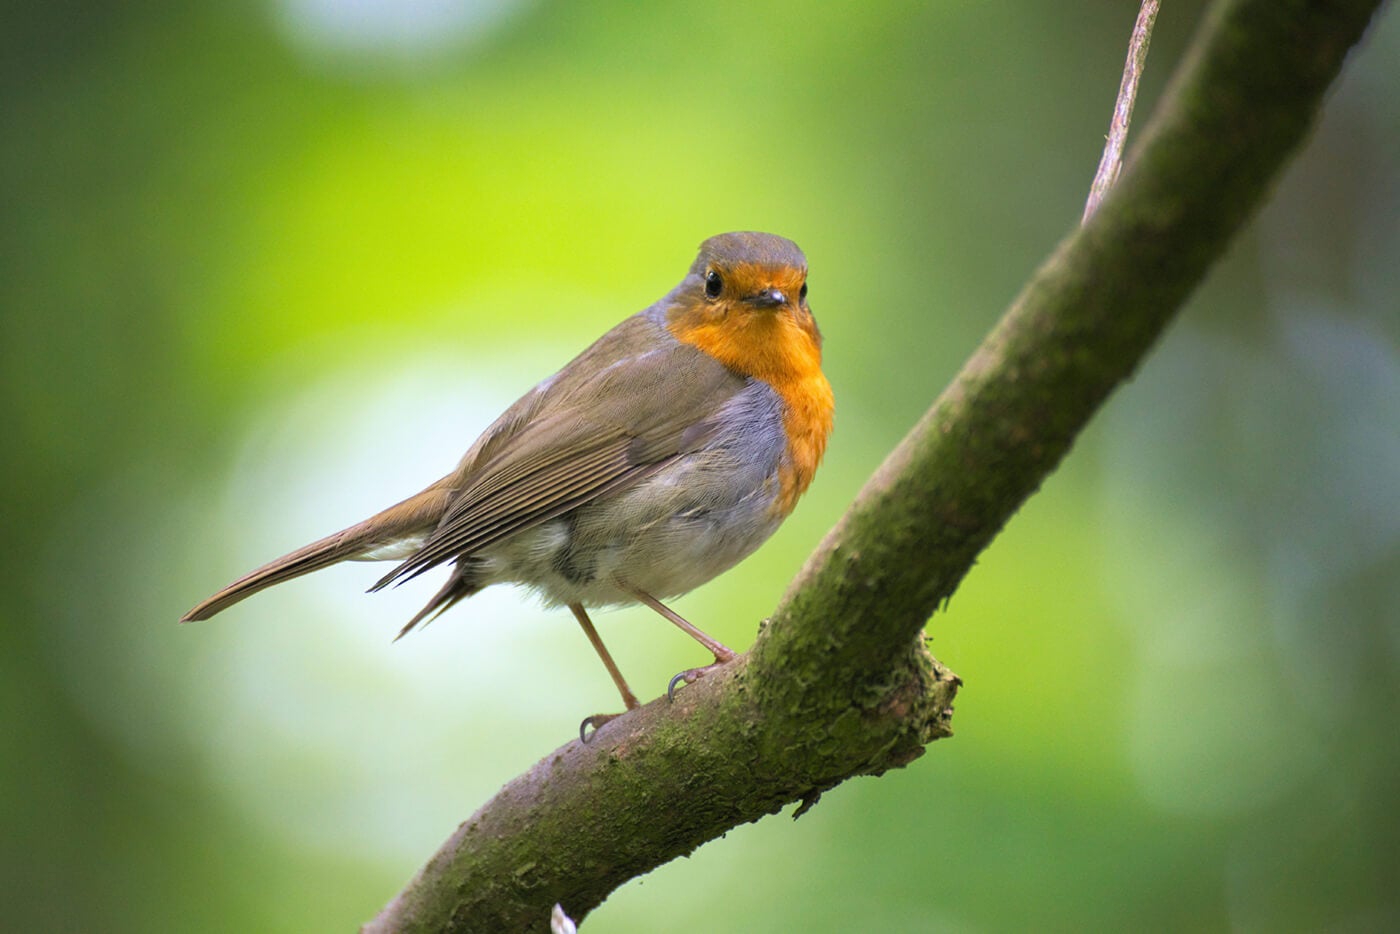
But the aperture determines another very important thing besides its effect on the amount of light admitted inside: Depth of Field (DoF). DoF is the area of your photo that will be in sharp focus. Using a small-numbered F-Stop, like 1.8 or 2.8 will limit the zone of sharpness to about the point you focus on in the scene. The rest of the scene, in front of and behind the focus-point, will be gradually less sharp, from soft to blurry.
Using wide apertures, such as 1.4, 1.8, 2, 2.8 or 4, are often excellent for portraits. Why? Because when you take a portrait, you want everyone to know that the picture is about the person you’re “focusing on,” not the background, not the foreground, just the person’s face or head-and-shoulders. By focusing exactly on a subject’s eyes, and using a wide aperture (1.8 or 2.8, for example) you “throw” what sometimes is a distracting or cluttered background so out of focus that the viewer is drawn to the sharpest, clearest part of the image: your subject.

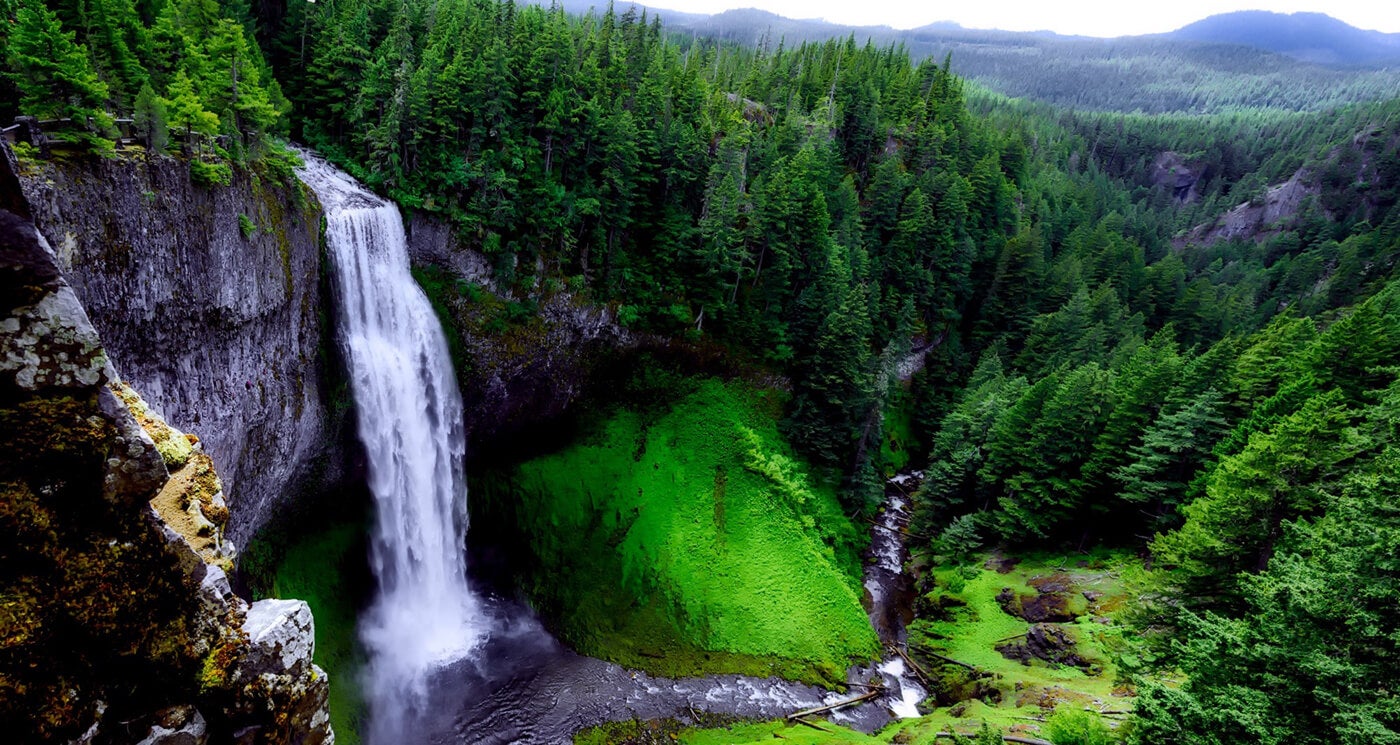
Conversely, a high-numbered F-Stop, like 16 or 22, will render most of the scene equally sharp, good for landscapes in most cases. A good landscape may have a foreground object, like seashells on the sand or boulders by a stream, as well as the skyscrapers or mountains in the background, and you want everything in sharp focus, not just the approximate midpoint you set your focus on. So use a small lens opening (high-numbered F-Stop like F-16 or so) to render most of the scene sharp.
There’s an arguable exception to the wide-open aperture portrait, in my opinion: travel photography. Sometimes the person in your picture is important, like your spouse or children, but so is the Eiffel Tower, Mount Rushmore, the Taj Mahal or Times Square they’re standing in front of. In some cases, you want the background in either sharp focus or at least not completely blurred out. So use a higher-numbered F-Stop, like F-8, F-11 or higher to get more of the scene in acceptable focus.
Try it some day. Put your camera on Aperture Priority and for half the day, take a subject and photograph it at the widest opening (lowest F-Stop number, like 1.8, 2.8, 4) available for your lens. For the rest of the day, set your lens opening to its smallest, like F-16 or F-22, and photograph the subject again. You’ll see the difference immediately.
Now look at the images on your computer. Just looking at the camera’s viewing screen won’t be good enough to appreciate the differences. See how the F-2.8 shots soften the background mayhem? See how the F-16 shots make most of the scenes clearly in focus?
Next time you’re ready to photograph think about backgrounds (do they add to or distract from the photo), who you want the focus of the picture to be on, and take control: shoot at least some of your pictures on Aperture Priority Exposure Control.
For more Basic Photography Education check out these articles: