


Forgot Password?
Please enter your email address to receive a link for resetting your password.
Thank You
You will receive an email with further instructions. Please contact customer support if you need any further assistance.
Please verify your email address
A verification link has been sent to your email to activate your account. The link will be valid for 1 hour.
Please check the spam inbox if you can't find the email. If you still can't find it, we can resend it.
A verification link has been sent to your email 00:00

 Facebook
 Twitter
 LinkedIn
 Email
Email
By John O’Connell
As most camera-clickers know, getting a properly exposed picture — not too dark, not too bright — depends on allowing just the right amount of light to fall on the sensor. The light entering the camera is regulated by three functions: how wide the lens opening is (Aperture or F-Stop), ISO (light sensitivity or what used to be called film speed), and how fast the light door, or shutter, opens and closes.
While many DSLR owners set their ISO to Auto and turn their exposure control dial to the green Auto setting to let the manufacturer’s excellent algorithms determine the “correct” aperture and shutter speed, there are other settings on that exposure dial that enables you to take more than just snapshots. They allow you to create images with intentionality.
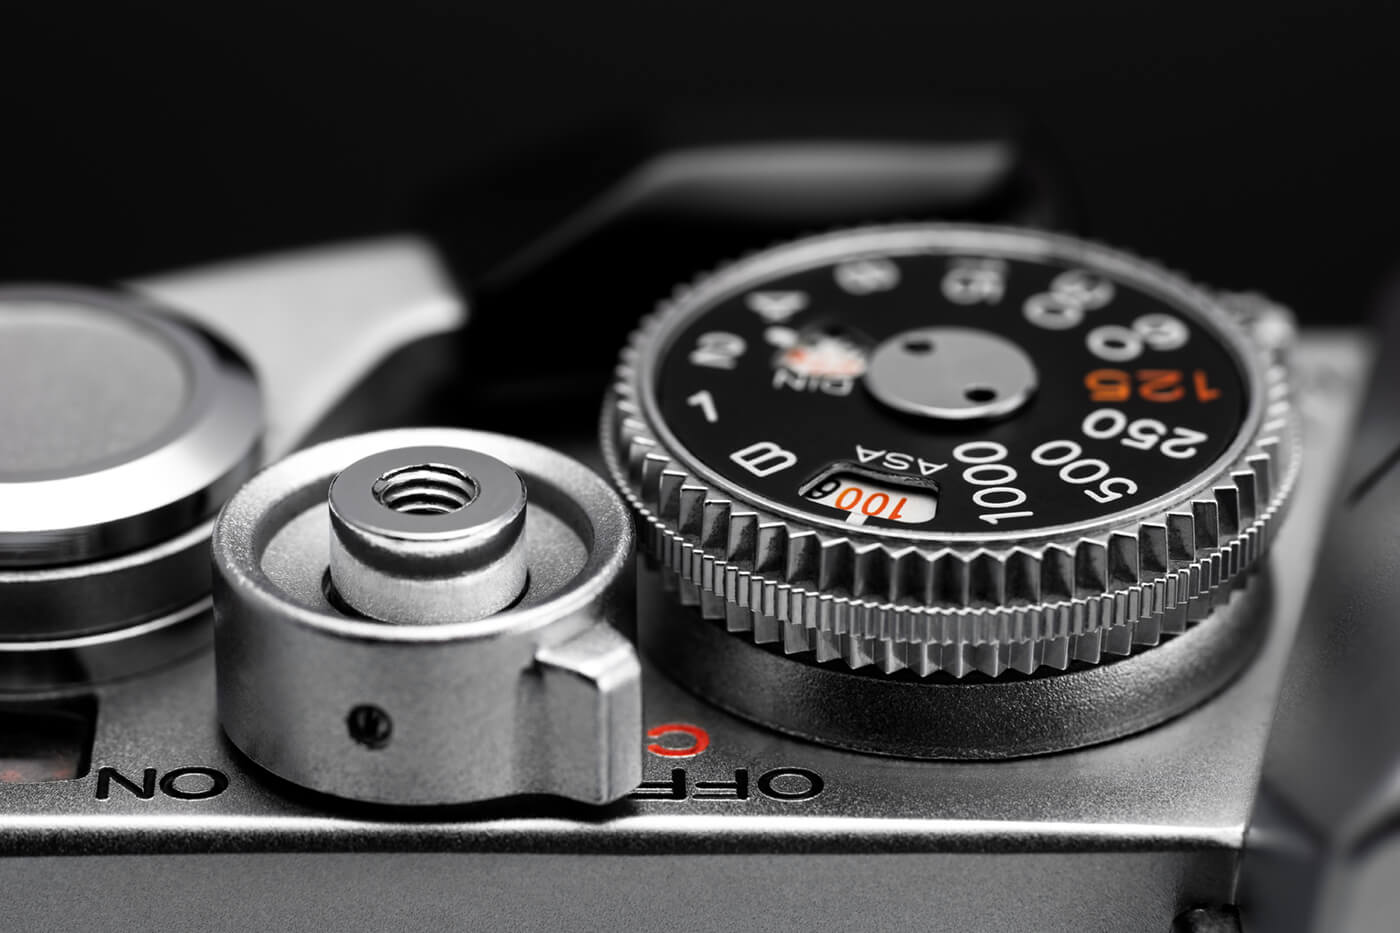
One of those settings is the S or Tv (Canon), or shutter speed, position on the dial. On this setting, you use your command dial to set the shutter speed you desire and the camera will set the right aperture or F-Stop appropriate for that shutter speed.
Why bother with setting the shutter speed when the manufacturer’s scientists have already provided you with the “correct” exposure settings on Auto? Because the algorithm designers have no idea what’s in front of the lens when you take your picture. Are you shooting a close-up macro of a flower in a gentle breeze? Is your subject a child running through the meadow, the Milky way in a star-filled sky or a racehorse passing the finish line?
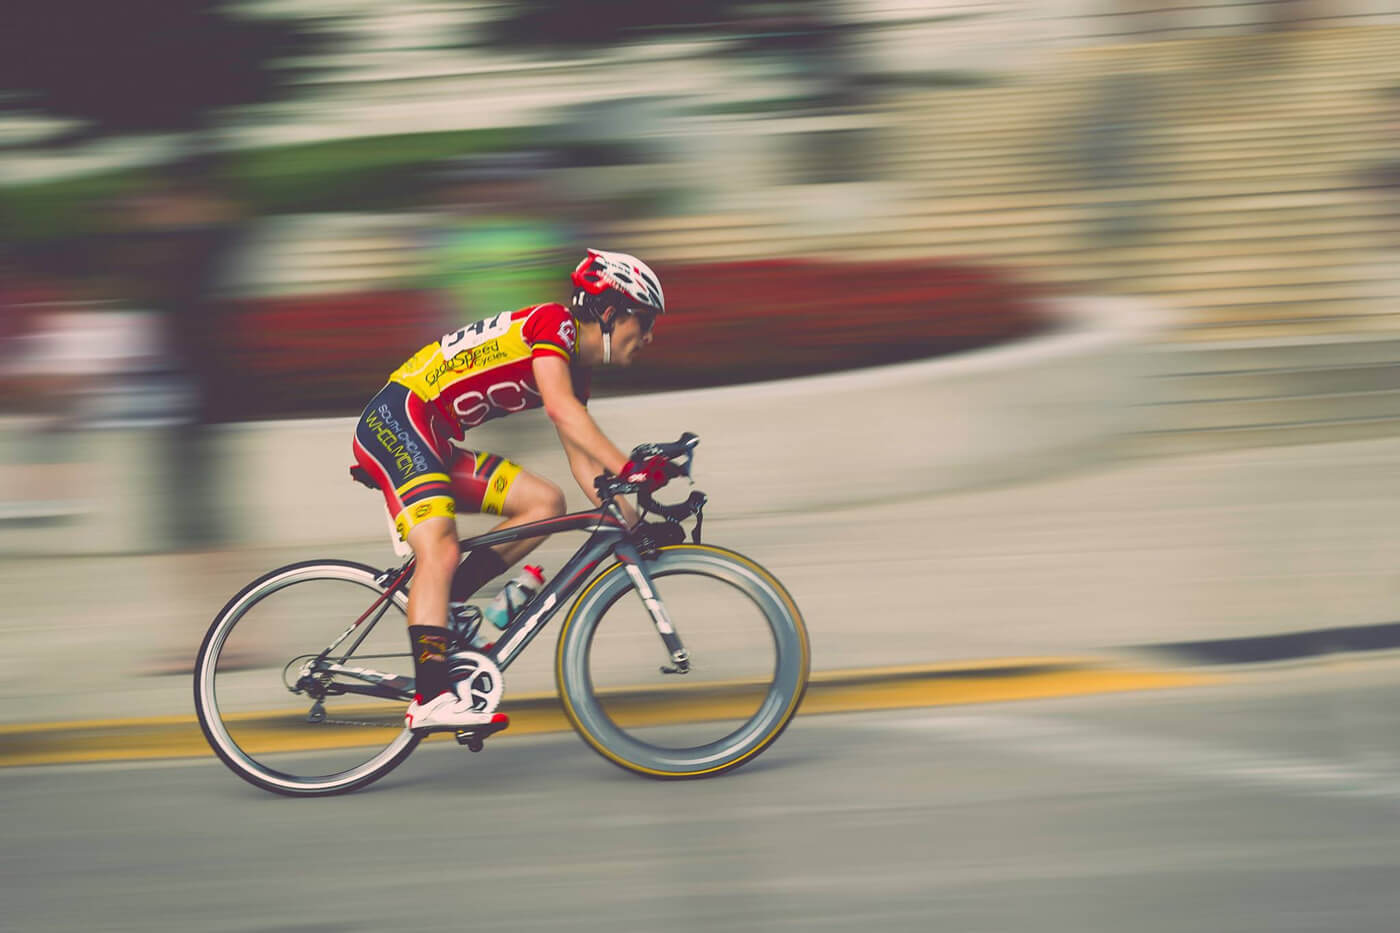
If you want to “stop” the swaying flower from being blurry in your picture, get a sharp shot of the running child or the thoroughbred, or prevent the twinkling stars from becoming smudgy hyphens in the heavens, you need to use faster shutter speeds than what Auto will choose.
Shutter speeds — the amount of seconds or fractions of one second that light can pass through the lens and onto the sensor — can freeze motion or even creatively permit a little blur to emphasize motion. Shutter speeds generally range from a really long 30 seconds (or much longer f you want) to 1 sec., 1/2 of one second, 1/4th, 1/8th, 1/15th, 1/30th, 1/60th, 1/125th, 1/250th, 1/500th, 1/1,000th, and much faster.
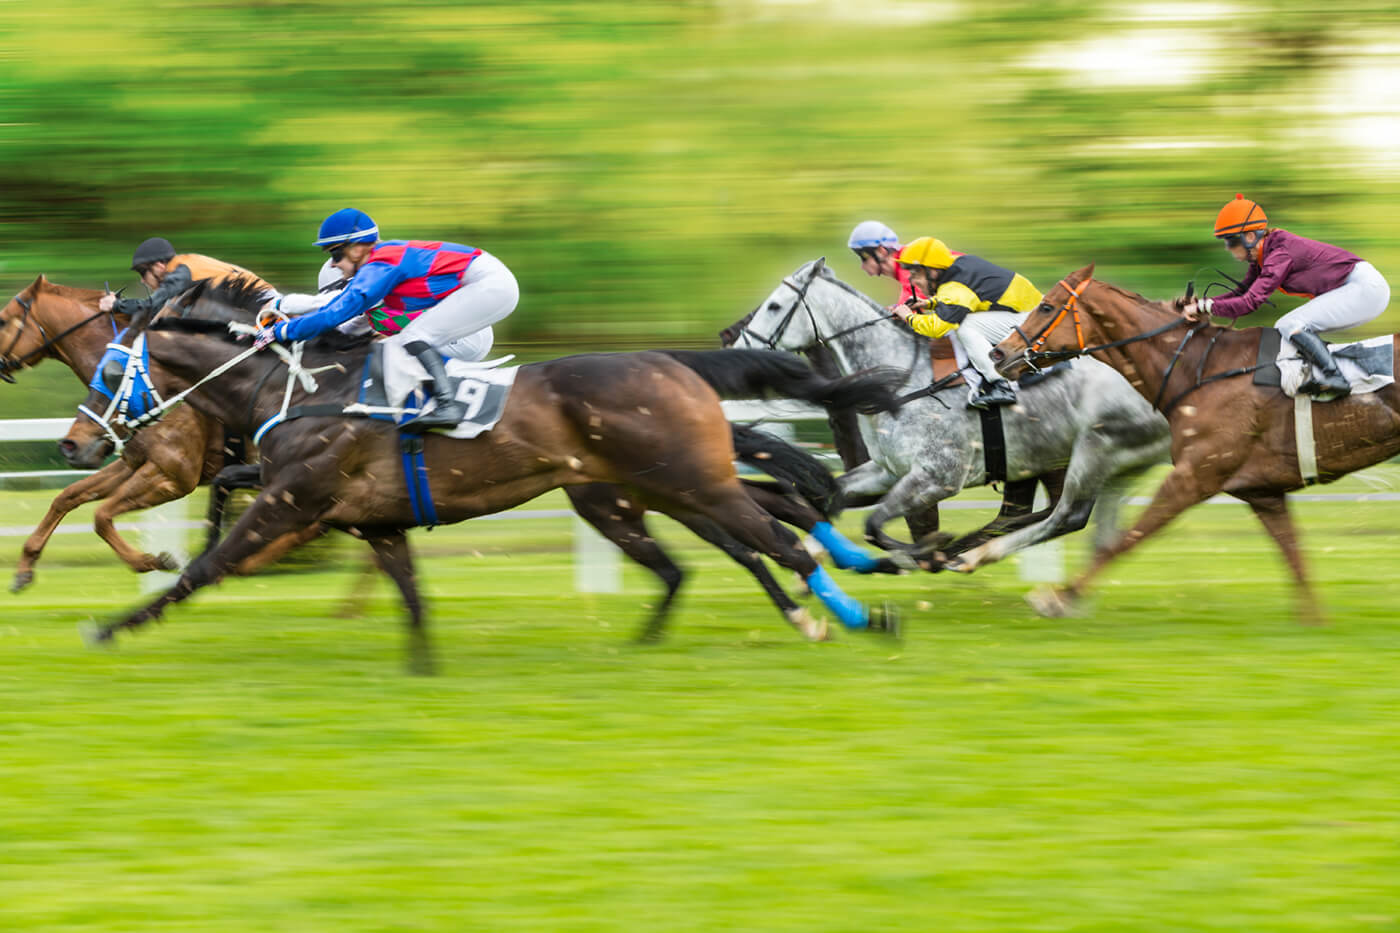
The shutter speed you choose to use should depend on the speed and angle of motion you’re recording. Subjects moving directly toward you reveal less motion than the same subject moving diagonally toward or away from you. Subjects like the racehorse running perpendicular to the lens as it crossed the finish line needs the shortest shutter speed to “stop” the motion.
With moving subjects, you should start at 1/125th or 1/250th of a second if you want to freeze the motion. Shooting at right angles to the subject, you may need to bump that speed up to 1/500th or faster. It depends on how fast the subject is moving, how close you are to the subject and the focal length of the lens (telephotos bring you closer to the subject’s movement even though you may be actually further away).
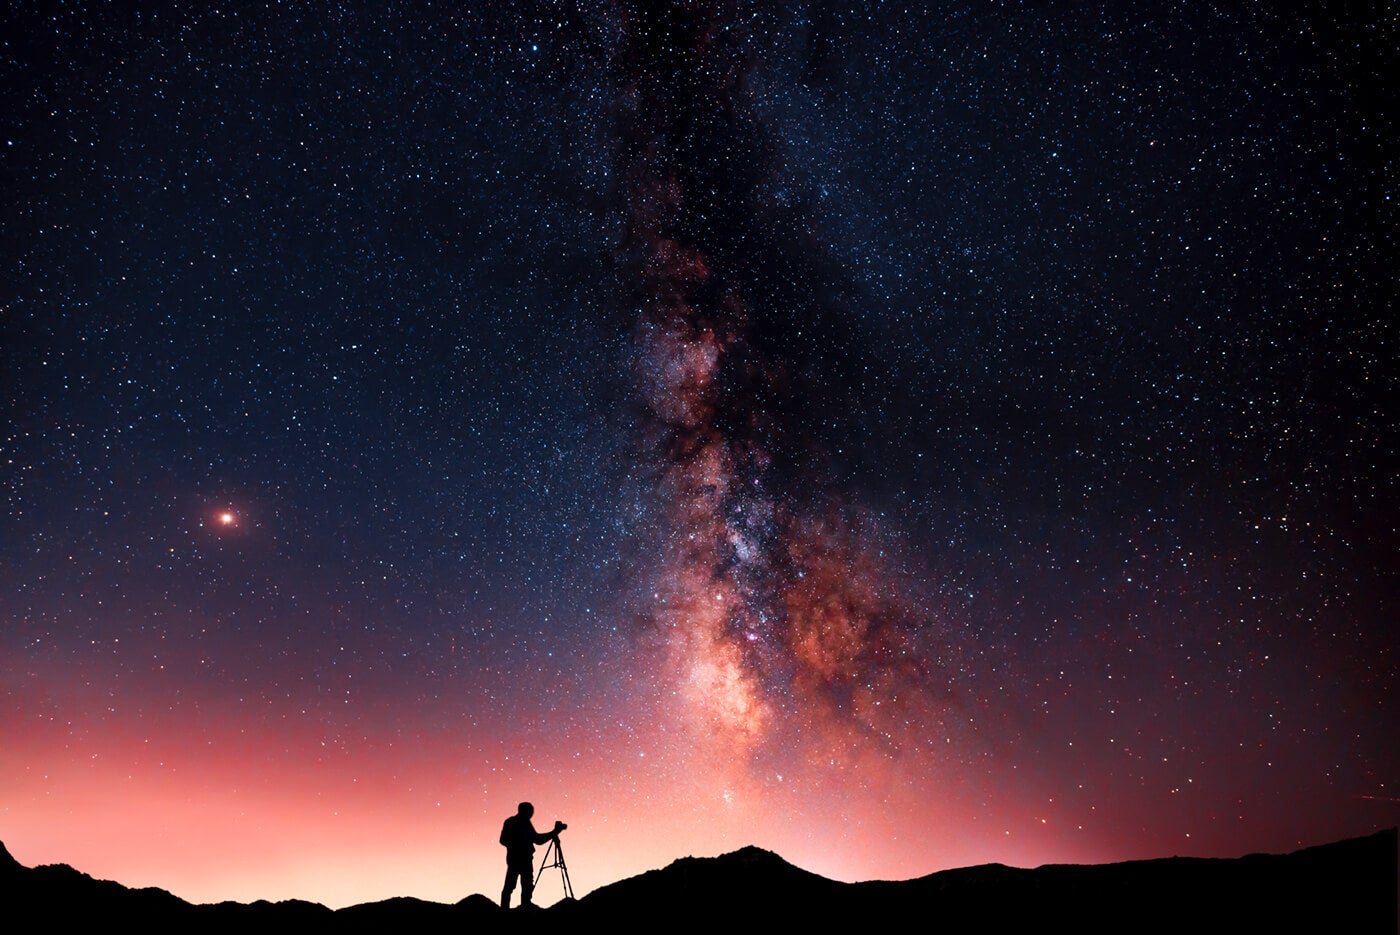
Taking photographs of the Milky Way or starry skies are tricky. You need to let a lot of light in, but if your shutter speed is too slow it will render the stars not as pinpoints of light but as short star trails. The best way to shoot stars is to open the aperture wide, focus on infinity, hike up the ISO to the highest your camera will allow without too much noise, and set the shutter at 1 second to start. You will then bracket your exposures adding many seconds or perhaps faster speed until you get the right exposure for the stars. It’s trial and error.
Another factor in deciding what shutter speed to use is how heavy your camera and lens are. Why? Because it’s hard to hold a “long lens” (a telephoto lens) steady. There’s a rule of thumb: use a shutter speed that represents the longest focal length of the lens (100, 200, 300, 500) as the bottom number of a fraction. In other words, use at least 1/250th of a second for a 200-millimeter lens, at least 1/500th of a second for a 500 mm lens, etc. That goes regardless of the motion or the lack of motion of the subject. This is just to compensate for shaky hands holding heavy equipment.
So try this out: Set your exposure dial to Shutter (S or Tv) Priority and shoot some pictures intentionally at slow speeds, medium speeds and fast speeds. When you look at the images on your computer, see what speeds had what effects on the scenes you shot. Then you’ll get a better idea of what shutter speeds to use on other photo-taking opportunities in the future.
For more Basic Photography Education check out these articles: