


Forgot Password?
Please enter your email address to receive a link for resetting your password.
Thank You
You will receive an email with further instructions. Please contact customer support if you need any further assistance.
Please verify your email address
A verification link has been sent to your email to activate your account. The link will be valid for 1 hour.
Please check the spam inbox if you can't find the email. If you still can't find it, we can resend it.
A verification link has been sent to your email 00:00

 Facebook
 Twitter
 LinkedIn
 Email
Email
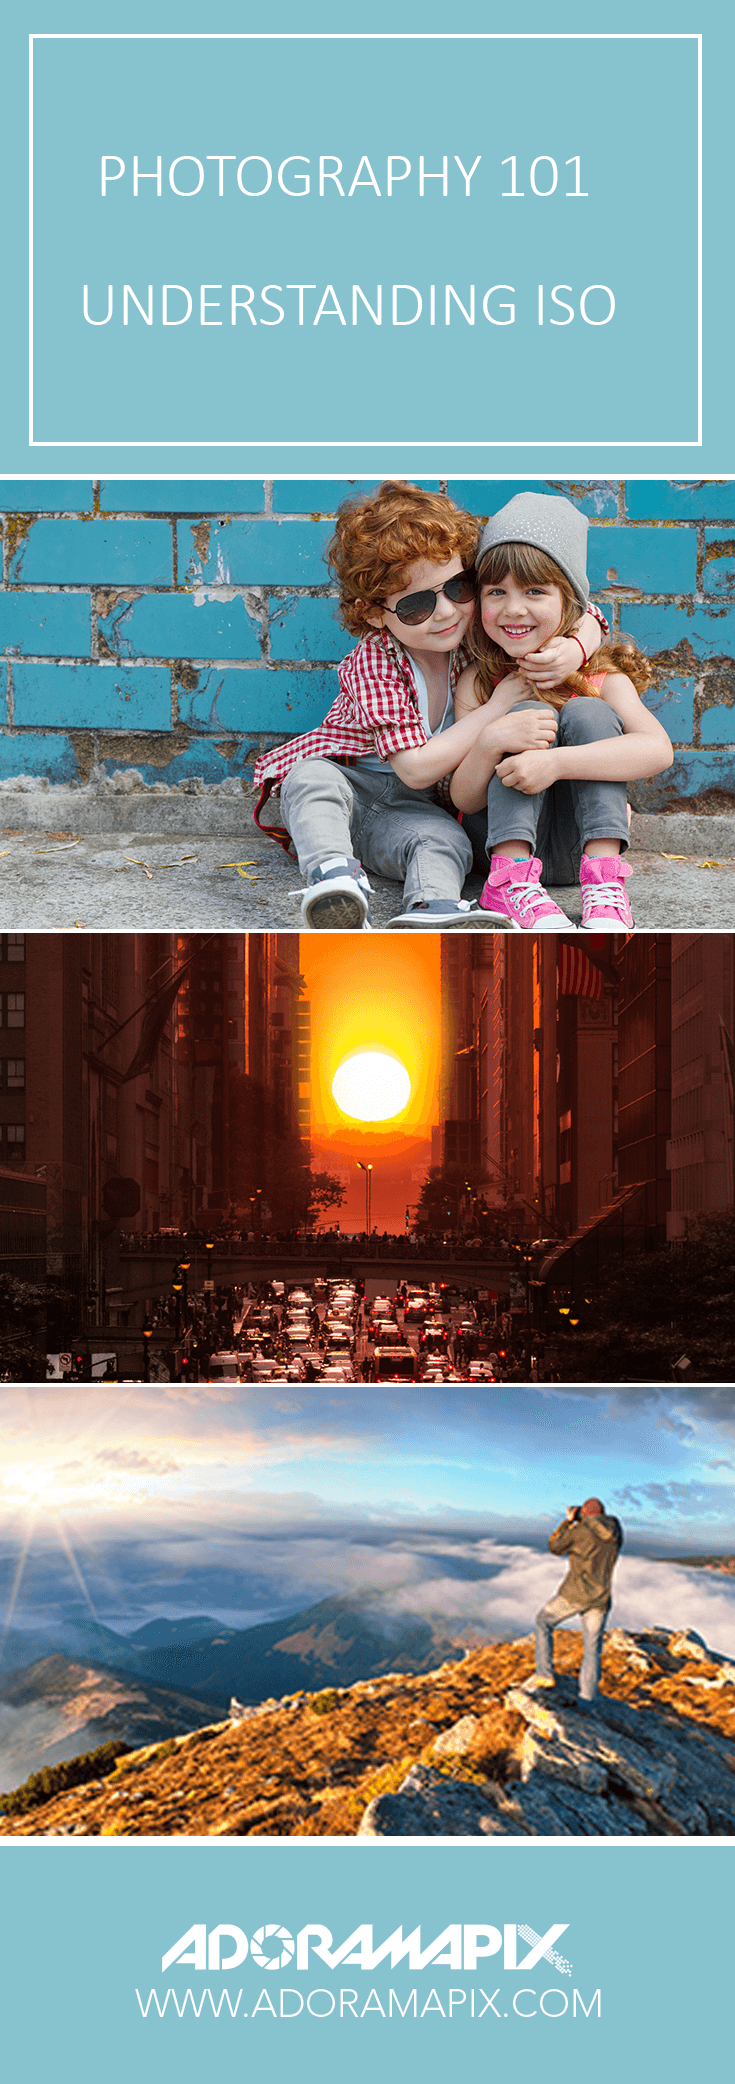
By John O’Connell
Most of our digital cameras have an ISO sensitivity setting to select, which, in combination with shutter speed and aperture, form the three legs of the exposure stool. What used to be called film speed in the days when you had to insert a roll of light-sensitive micro-layered plastic with perforated edges into the back of your camera, was replaced with an ISO rating in the digital camera age.
An old roll of Tri-X 400 ASA film was considered pretty “fast” in those days, a couple of F-Stops faster than the slower but cleaner image-producing Plus-X. Slow and fast meant how relatively sensitive each film was to light. (Slow, I think, implied you’d have to use a slow shutter speed to let in more light; fast meant you could use a fast shutter speed and still get a well-exposed image.)
ASA, or the American Standards Association ratings, were replaced by ratings from the International Standards Organization, or ISO, in the 1970s, but the relative sensitivity conventions remained.
Low-speed film produced very clean images, with black blacks and white whites. High-speed film enabled us to shoot in dim light, but our photos started to get more “grainy” as our film speed increased. Higher-speed films had larger grains, the better to gather light.
Today, this grain is called “noise,” even though it’s caused not by big grains but by the electronic static the devices create. There’s a better, more scientific explanation, but without getting into the photons, this noise detracts from the pureness of the image. The higher the ISO, the “louder” the signal static or noise gets.
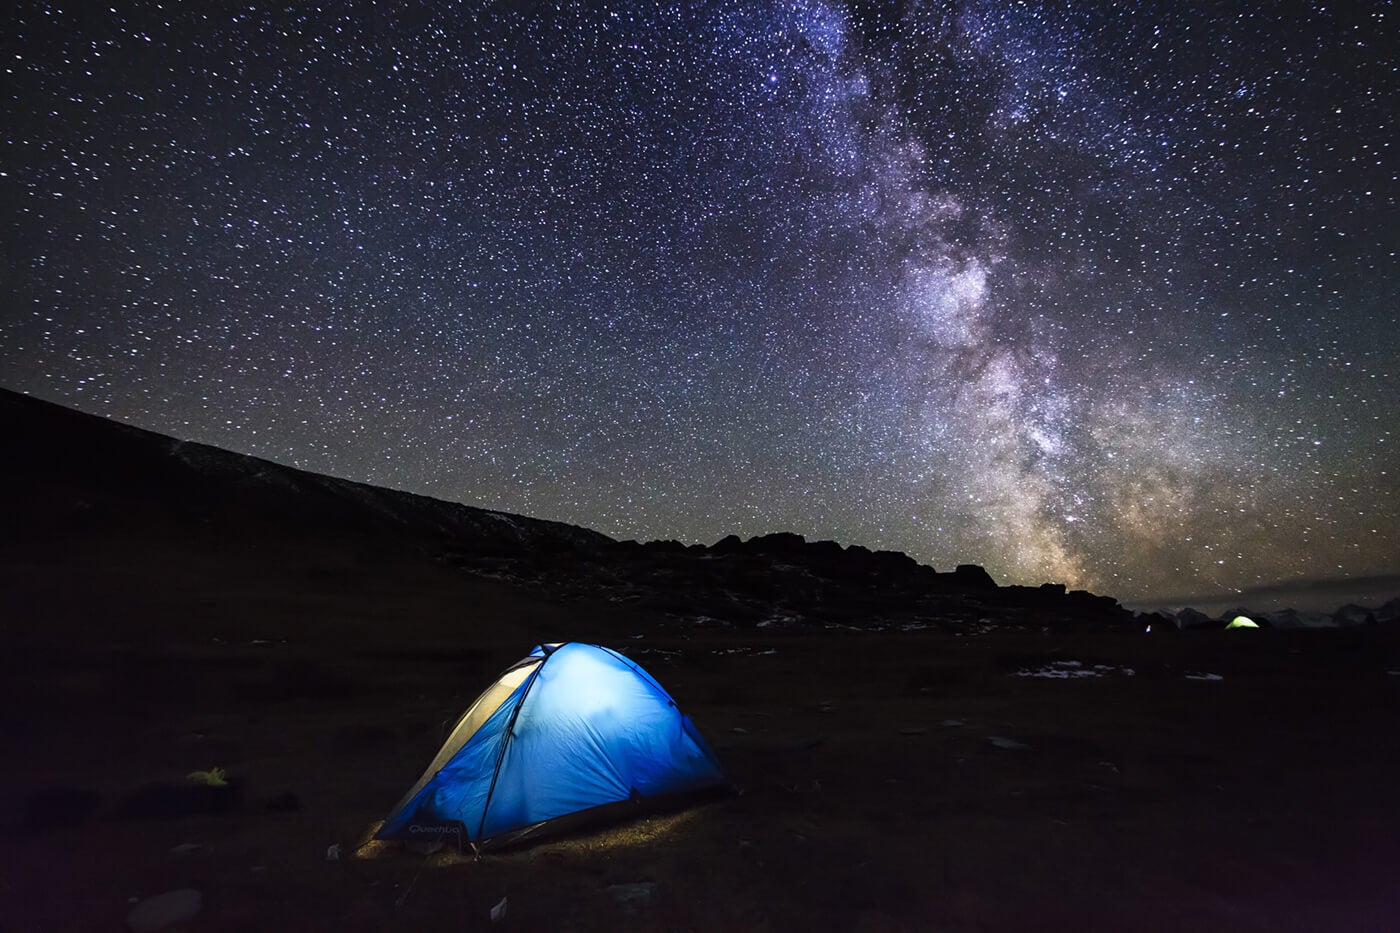
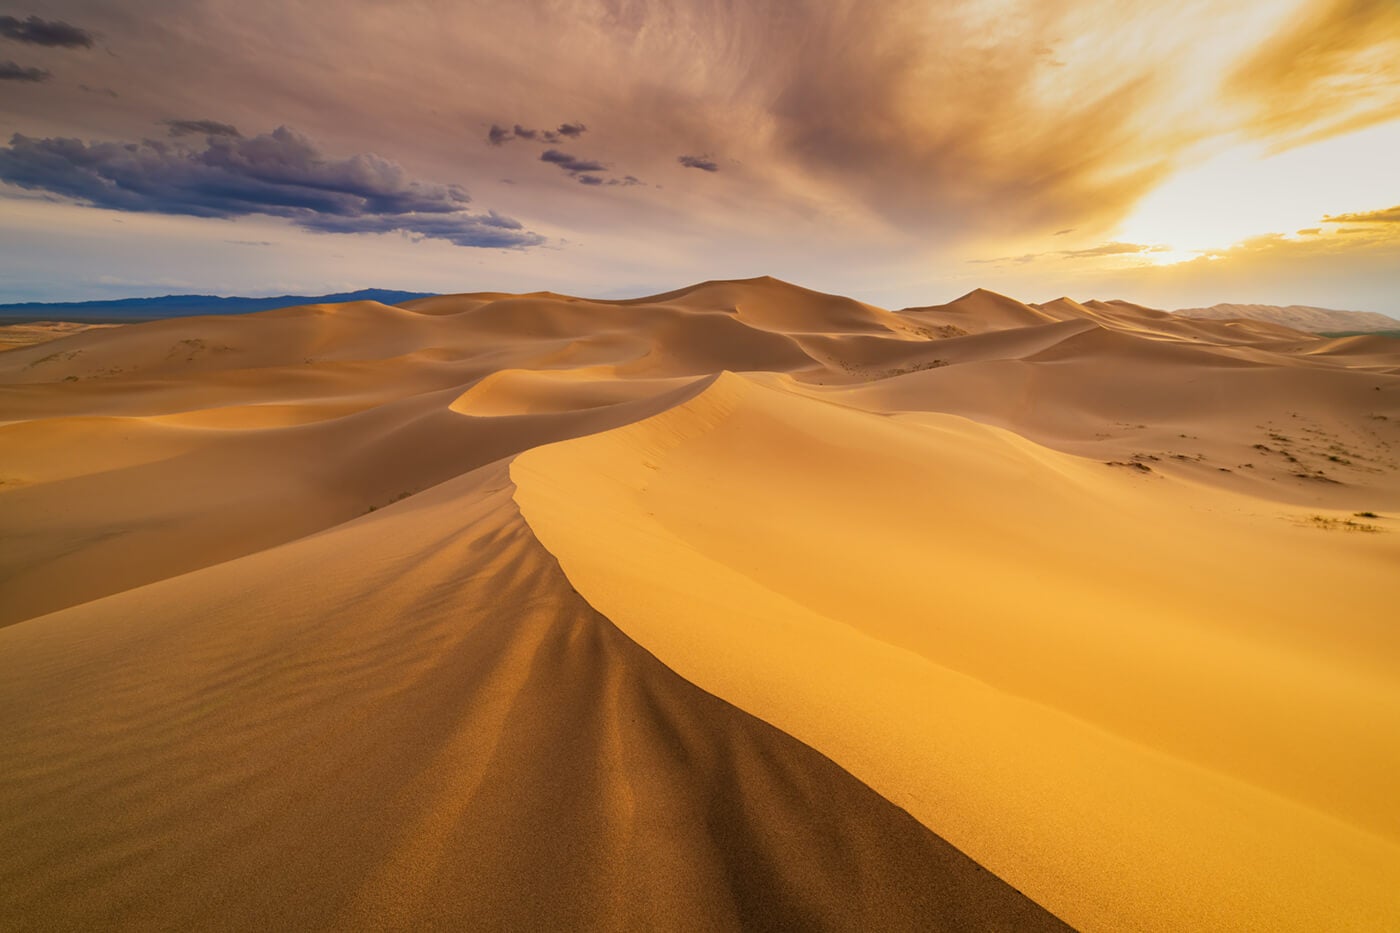
Thanks to the quality of today’s DSLRs and compacts, which get better with every new model, our cameras can capture pretty “noise-free” or at least very-low-noise images, even at relatively high speeds, like 1600, 3200 (or even higher with some of the most advanced cameras), especially those with full-frame sensors. While noise is still a problem at extremely high speeds, sensors, even cropped sensors like the Nikon’s DX or Canon’s and other manufacturer’s APS-C can handle most exposures with ease.

The best tip for picking the right ISO setting remains the same as it did for film speed: use the lowest ISO you can and still get a properly exposed photo, with a fast-enough shutter speed to stop motion and cancel out camera shake, and an F-Stop large or small enough to accomplish the depth of field desired. Sometimes that will be ISO 100 and at other times it might be 1600, 3200, 6400 or higher.
Another consideration: Long lenses add to weight, and the heavier the weight the harder it is to hold the equipment steady without a tripod. A 1.5-lb. camera and a 1 lb. lens require a fast shutter to hold things steady, and you may need to increase your ISO to enable a 1/250th or 1/500th or higher shutter speed. (If you can’t increase ISO for fear of noise, you’ll have to use a wider aperture to accommodate a fast shutter speed and low ISO setting.)
You might try using Auto ISO if your camera has that setting available. With Auto ISO, you can set the minimum and maximum ISO you want your camera to use. This way, if your shooting outdoors with lots of even light the camera will select the lowest ISO your shutter speed and aperture will permit; and as you move inside your camera will start increasing the ISO commensurate with the shutter and F-Stop settings, up to the maximum you’ve set.
Pros and experienced shooters typically prefer to set their own ISO rather than ceding the decision to the device. It’s all about how much control you want to exercise. Practice using different ISO settings on your next photo excursion and see how your pictures are affected.
For more Basic Photography Education check out these articles:
Photography 101: Shutter Speed