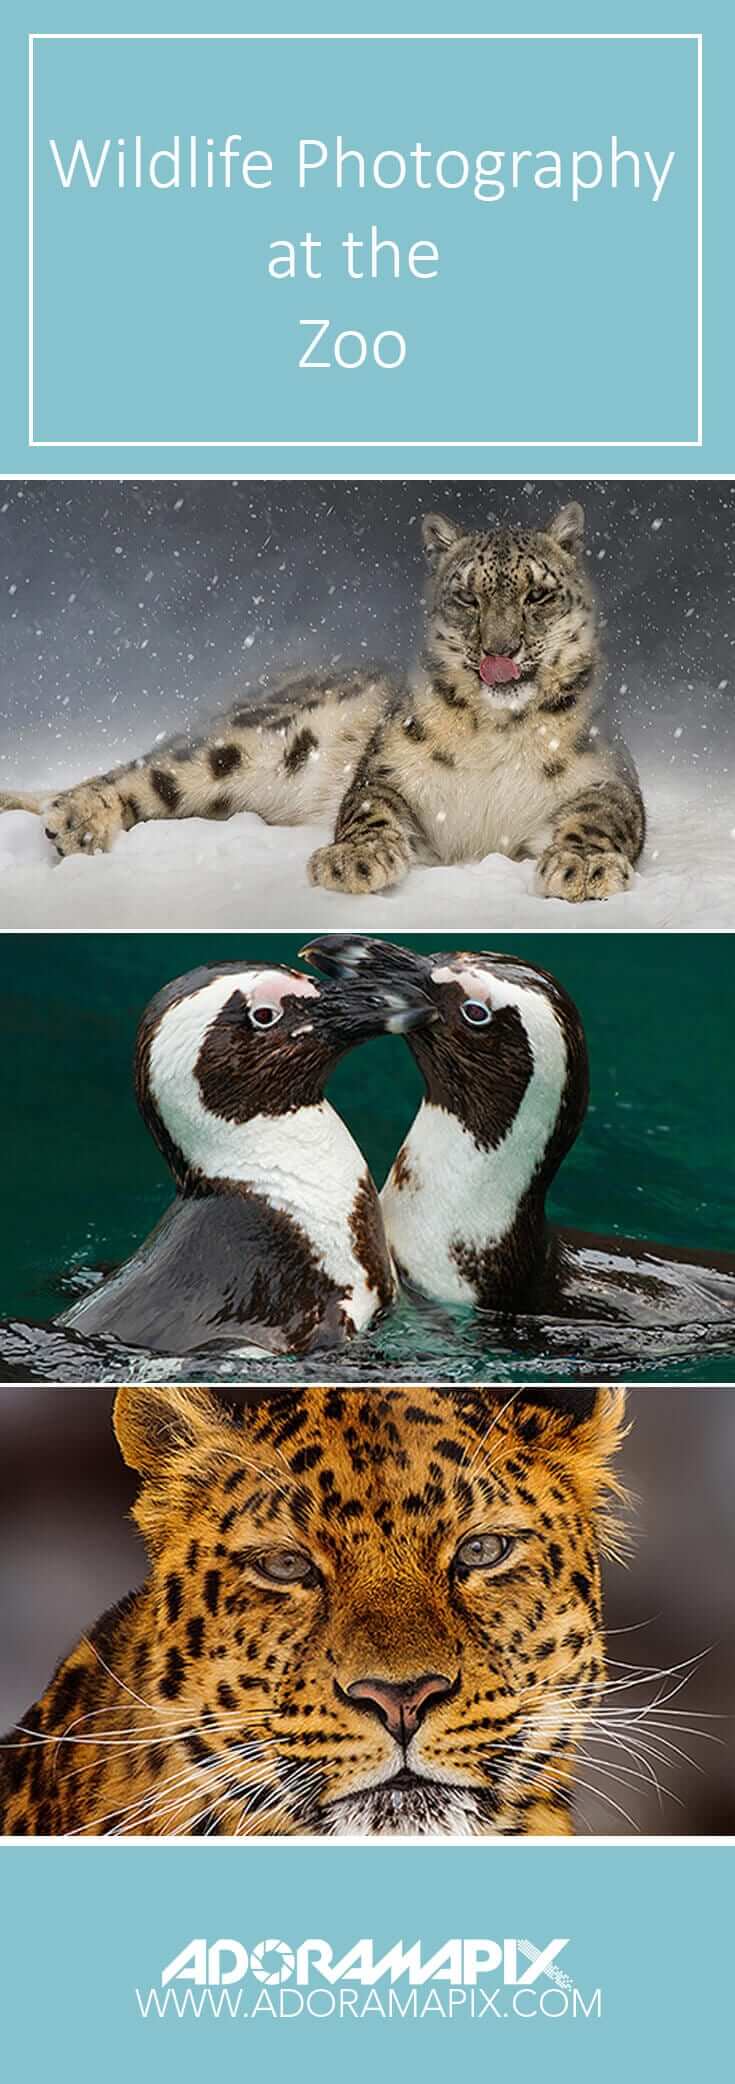
by Jessica Kirste of Jessica Kirste Photography
These days I hear a lot about conservation photography in the wild of undisturbed subjects and using photography to spread awareness. But realistically not everyone is able to travel halfway across the globe to photograph exotic wildlife and to be able to spread awareness about the species. I am going to share with you about a different kind of conservation photography that you can do close to home at your local zoo or aquarium. You can create beautiful and creative photos of your favorite zoo animals and still help people learn about that species and how you can help them. I frequently photograph at Turtle Back Zoo in West Orange, New Jersey and also allow the zoo to use my photos I take of their animals. This beautiful zoo has been expanding over the years and is accredited by the American Zoo and Aquarium Association and Zoological Association of America. Many of the animals in their care were either rescues that could not be released back into the wild or they are part of the Species Survival Plan. The plan’s purpose is to maintain a genetically pure healthy captive population of the most critically endangered species for release back into the wild when conditions improve in that animals native habitat. This plan has helped bring back California condors, black-footed ferrets, red wolves and several other endangered species from the brink of extinction over the last three decades.
Now that you know there is more to zoos then just seeing animals. Let’s get to some tips on photographing animals at your local zoo or aquarium! What do I bring to the zoo? I usually pack a small camera bag with a wide angle lens and my telephoto lens. Some exhibits are open, others are glass and some even have fences. A long lens will help you get closer to animals if they are far back in the enclosure and also the more zoom you have will help you blur out the fencing if the animal is not close to it. This makes it look like you are hanging out in the enclosure with the animals! Bring glass wipes, you can use these to clean an area of the glass window on your side that may be dirty. This could help you get a more clear shot. Always check with the zoo or aquarium if tripods are allowed. While I can use it at the zoo because it is outdoors. I have found that most aquariums do not allow them because they can become a tripping hazard for other guests. Because zoos require a lot of walking, I bring a small cart to pull my gear around in. You can get these at office supply stores, they are often used for files but small and sturdy enough for camera equipment.
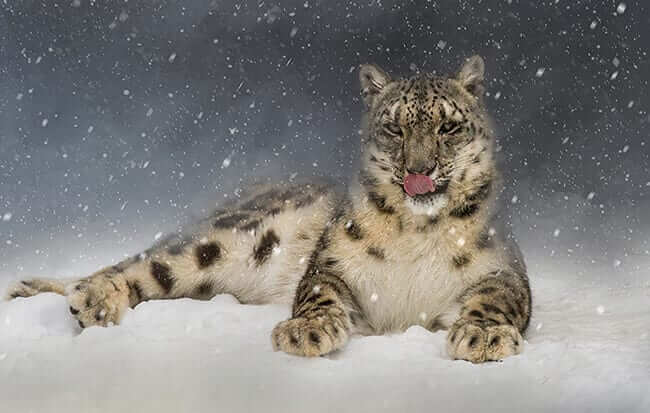
You will get the best results if you visit the zoo on cloudy or overcast days. Don’t skip out on those light rainy or snowy days either! In my experience, when there is some precipitation I have found that those have been some of my best days at the zoo! The animals are so active in a light rain and even snow! Use a rain jacket for your lens to protect your gear. Unless the weather is severe or extremely windy, zoos remain open. Try to get there when it opens and beat the crowds! It’s nice when you don’t have to fight for a spot at the window.
You photographed through the glass, your photo is sharp but the picture itself looks cloudy. If you are shooting in raw, open up your raw editor. Adobe Camera Raw in Photoshop CC and Lightroom under the FX tab have a slider called “Dehaze”, play with that slider it will really help clear up your photo! JPG shooters can still open up a photo in camera raw and try this slider, but I must warn it may degrade the quality of your photo a little.
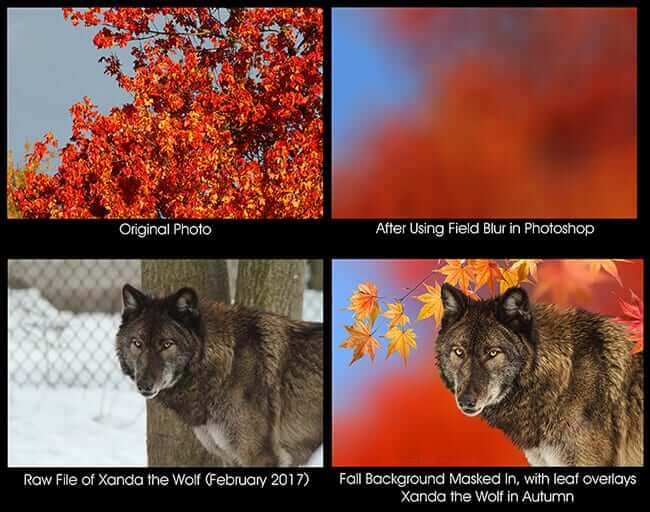
If you have some photoshop experience with using layers, texture layers are a great way to get creative with your zoo photos! Many people make textures for purchase and you can even find some for free. Or you can create your own backgrounds! A little tip I will offer is to take a photo with your long lens of a colorful area on trees. Open that photo in photoshop and under filters use the field blur under “blur”, blur the whole image to your liking and later use that as your texture layer for your background! If you do not have field blur in your version, Gaussian blur will also work, but be careful pushing it too much will cause posterization in the image.
How can you help others learn about the animals? Read the information boards and talk with the dedicated zookeepers that care for these animals daily! They would love to answer your questions and tell you about the animals! Attend the daily presentations or feeding times at your local zoo. Through your photography, you can share information on the species and about what you can do to help their cousins in the wild. These animals are ambassadors for animals in the wild and many are in decline due to habitat loss, poaching and declining food supply. Many zoos and aquariums also participate in many conservation programs to help species outside the zoo as well. You can make beautiful photos from your zoo captures! If you are in New Jersey, be sure to pay a visit to Turtle Back Zoo! Perhaps you may even run into me there! Hope you enjoy the photos, tips and to see more follow me on Instagram by clicking HERE.


 Facebook
 Twitter
 LinkedIn
 Email
Email