


Forgot Password?
Please enter your email address to receive a link for resetting your password.
Thank You
You will receive an email with further instructions. Please contact customer support if you need any further assistance.
Please verify your email address
A verification link has been sent to your email to activate your account. The link will be valid for 1 hour.
Please check the spam inbox if you can't find the email. If you still can't find it, we can resend it.
A verification link has been sent to your email 00:00

 Facebook
 Twitter
 LinkedIn
 Email
Email
5 Road-Tested Techniques For Better Food Photography
by Barry Morgan of Barry Morgan Photography
Photography is both a science and an art form. Like a painting, photographers start with a blank canvas. Food, ingredients, dishes, silverware, and cookware are added layer by layer until the photographer feels he has completed his masterpiece. Here are a few tips to help photographers become better in food photography.
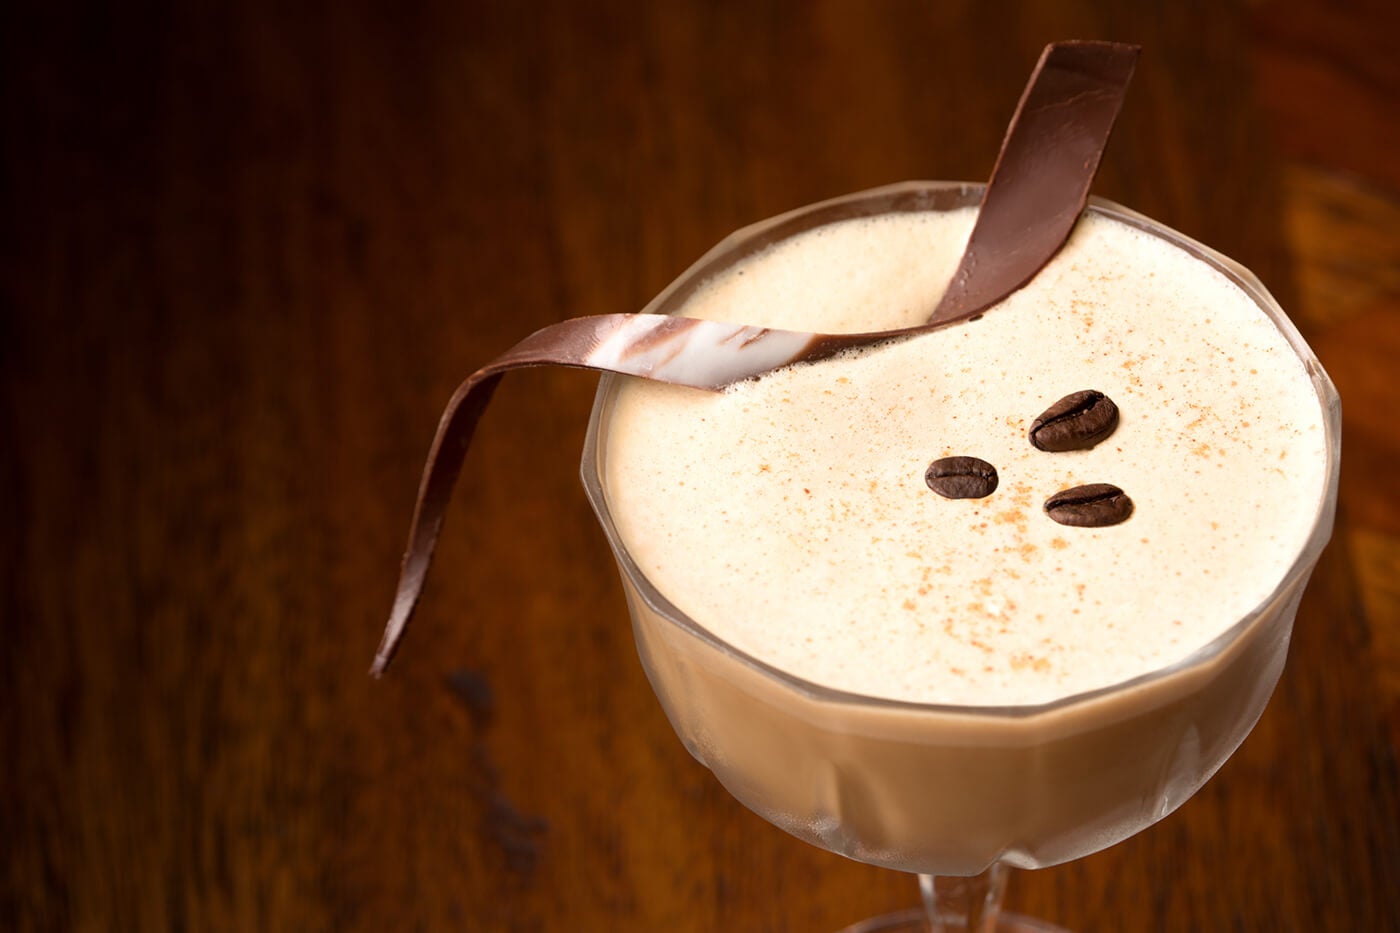
1. Use Natural Light
Food photography is best done in the shade during a bright sunny day or using indirect light from a large window The light produced by indirect sunlight produces more vibrant colors. Plus, the images do not come with a harsh tint like indoor lighting produces. Do not use direct sunlight or direct camera flash. These two light sources produce lots of glare, dark shadows and unwanted reflections. Backlights can help create a more textured look to your images. Use backlights if you want to show smoke or steam rising from the food. You can use reflectors to reflect some of the light back towards the darker parts of the dish. The quantity and quality of natural light changes depending on the time of day the shot is taken, and even the weather. Try photographing at different times of the day to see how these affect the look and feel of the dish. Experiment with the direction of the light as well. Take note that if you leave the food out for too long, it may change the way it looks on camera. Generally, you want to shoot the dish as soon as plated. You may need to have several copies of the dish ready if you are doing a whole day shoot.
2. Use a Tripod
Stabilize your camera so you can create blur-free photos. If a tripod is unavailable, prop the camera or yourself against a chair or wall. The goal is to keep the camera still while taking the photos. Using a tripod also makes it easier to shoot the dish from the same distance and angle.
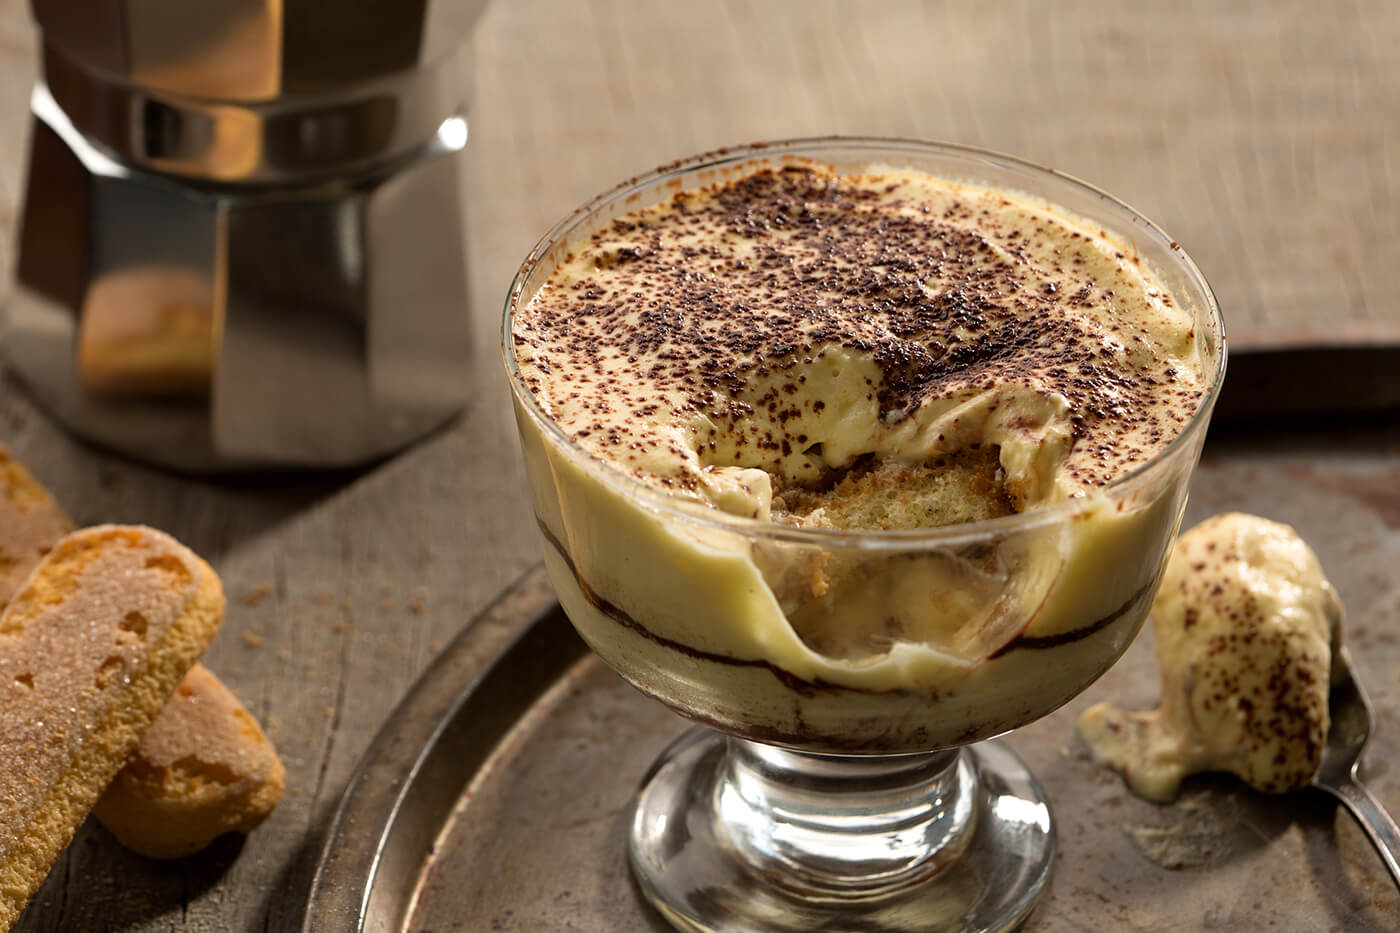
3. Choose the Freshest Ingredients
As food photography involves taking close up shots of food and ingredients, you will have to be more meticulous when it comes to picking the right elements for the shot. The smallest flaws become more obvious when the image is captured. Choose fruits, vegetables, herbs and other food elements that are in pristine condition. If it looks wrinkled or damaged in any way, discard that item and use a different one or turn it in such a way that the flaw is no longer visible. The same philosophy does not necessarily apply to non-food elements such as utensils, dinnerware or cookware. Often the older more “used” utensils, baking trays, etc. give you a lot more character. But be careful; old and rustic does not mean dirty and cheap.

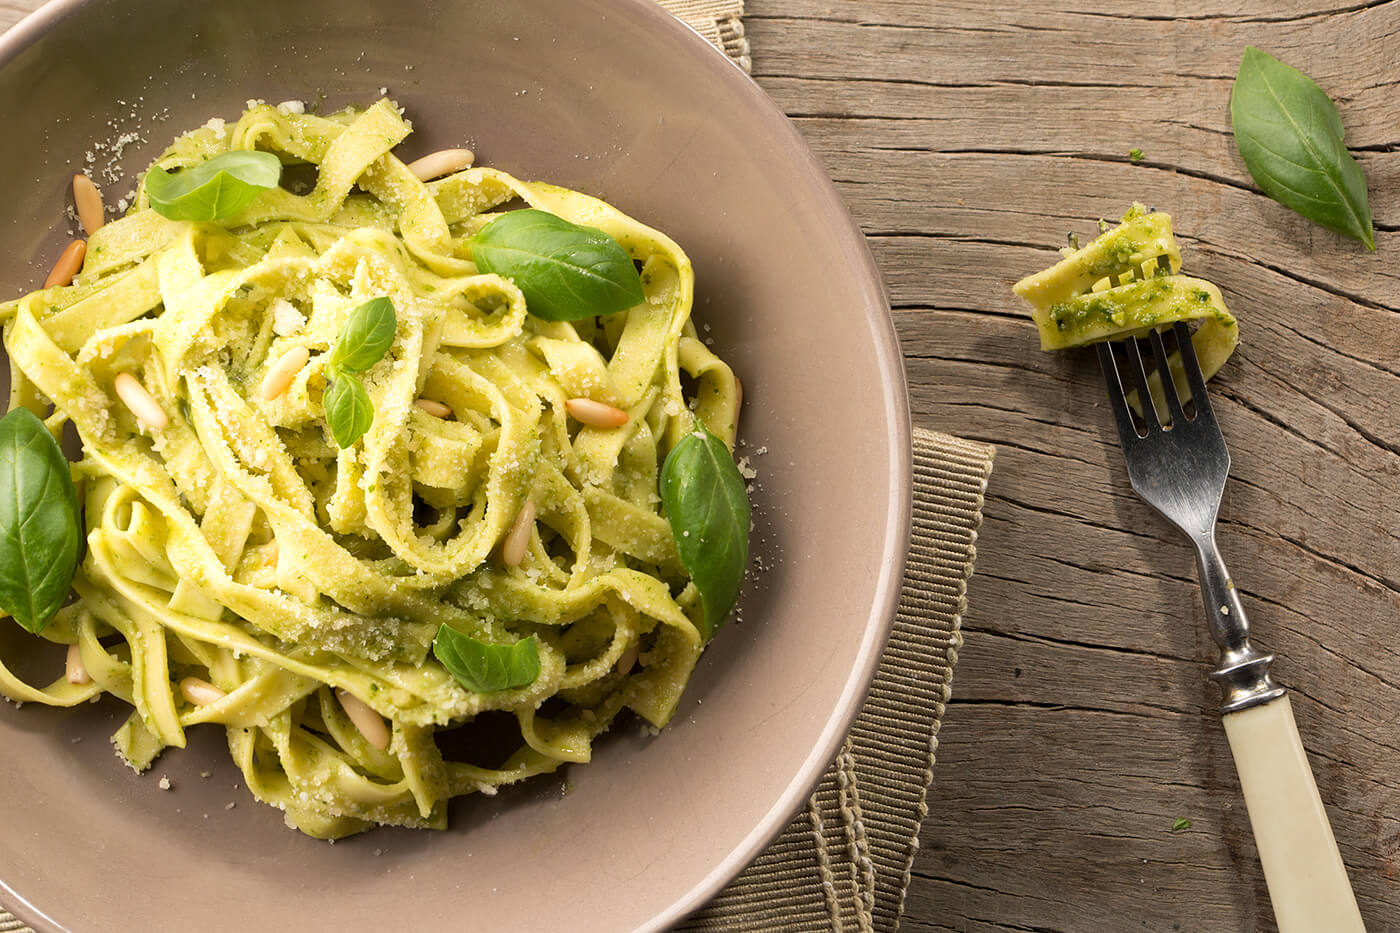
4. Play with Angles
There are a few common angles to photographing food. The objective is to highlight the meal’s best traits or take several images that tell a story. You can photograph the setup from the top which gives an overview of the dishes. Usually, this works best for numerous dishes or you can try taking shots from a 45-degree angle, and with the camera directly horizontal from the dish, which tends to work better for a single dish or even a close up of part of a dish. When photographing food, it is better to get as many shots as you can. Start with getting some safety shots. Take a few shots of the entire plate from the three basic angles. Next, take some close-up shots of the dish, which emphasizes the details. Once you have those down, you can start playing with different angles, adding or removing details and changing the lighting.
5. Take Before and After Shots
Showing the cooking process is an effective way of using photos to tell a story and it helps people understand what goes into preparing the dish. You can take photos of each step of the preparation and cooking process. An alternative is to take before and after shots. Photographing food this way works well in cases where the food doesn’t look presentable after it is cooked. Another idea is to take photos of the entire food dish followed by a serving of the dish. For instance, your first photographs may consist of an entire cake. Once that is done, you can take shots of the cake with a few slices missing. You can also take photos of a cake slice presented on a separate dish.
Looking for more food photography tips? Check out Expert Photography’s Complete Guide to Food Photography with these 77 tips.
AUTHOR BIO
Barry Morgan is the creative force behind Barry Morgan Photography, his passions are photography, food and family, although not always in that order. He believes you should love what you do, to do exceptional work. Cooking was always a family affair in his home so naturally, once his passion for photography took root he was drawn to food photography. Barry Morgan Photography now works with hundreds of clients, turning their tasty dishes into mouthwatering visuals.
Now that you have fabulous food photos put it all together in a photo food book complete with recipes. Printique offers a gorgeous template called Farm to Brunch where you can catalog all of your favorite wholesome recipes in a stylish layout of deep earth tones and classic fonts. A timeless reference to pass down through the family. Ready to start your photo book, click HERE to start your print journey.