0
by John O’Connell
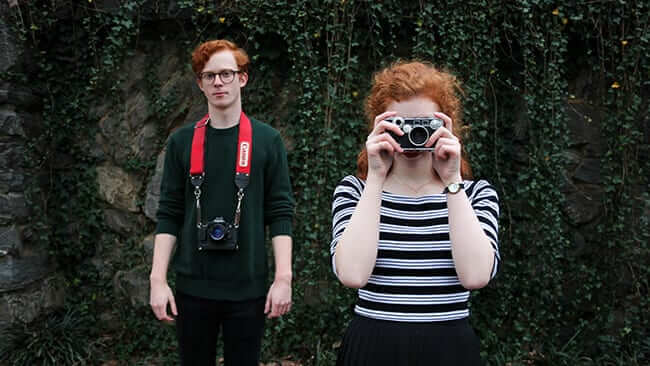
Cameras are pretty complicated. While the basics of exposure (shutter speed, aperture and ISO), focus and composition are the same as they ever were, DSLRs today are packed with fabulous features to make your pictures better and to enable you to take pictures you couldn’t take before.
You can change way more than how fast the shutter clicks or how wide your lens opening is. Sensors and the on-board computers are so intricate and capable that, depending on your camera, you can increase your light sensitivity (ISO) to enable taking pictures in near darkness, modify how the device reads the scene’s light temperature (white balance), switch from color to B&W, bracket exposures, share your pictures via wi-fi right from the camera, shoot a runner at a half-dozen frames per second, and so many more features. The camera manual can be 60 pages!
So how can the occasional shooter, the amateur travel photographer, the family portraitist ever hope to master all those complexities? Try learning one thing at a time. Then, practice.
1. Aperture
Next time you go out with your camera, try doing what the pros call “shooting wide open.” Set your camera on Aperture Priority and dial your lens opening to its lowest number (i.e., its widest aperture, like 1.8, 2.8, 3.5, 4.5) for the whole day. This will call for a correspondingly fast shutter speed, but if you’re set on aperture priority your camera will take care of the shutter speed. A wide-open aperture will give you a narrow depth of field, meaning the subject you focus on will be sharp but most of what’s in front and in back will be out of focus. This isolates your subject and helps let people who look at your picture know what was important to you when you pressed the shutter release.
Some of your pictures won’t come out good. That’s called learning. You’ll see what shooting wide open can do, when it works and when it doesn’t. Next time you want to make a subject pop out from a cluttered background or a chaotic scene, you’ll know what to do.

2. Shutter Speed
Go to your child’s soccer practice and ask for permission from the coach to stand on the sidelines and take pictures. Shoot half the game on a relatively slow shutter speed, varying between 1/15th of a second to 1/60th. Shoot the other half of the game at 1/250th, 1/500th or faster, if it’s a bright day and your lens can open wide enough to compensate for a really fast shutter speed. Then look at the pictures on your computer when you get home.
You’ll notice that most of your slow-shutter speed pics will have too much blur, but a few will perfectly capture the movement of one of the players. Then look at the fast-shutter shots. Most will be super sharp because all action will be frozen. And yet you’ll realize that the excitement of movement is missing, all the running and kicking and jumping is invisible in the static stillness of your pictures. And so you will learn what shutter speed is, when it’s best to slow it down, speed it up, and the effects of both.

3. Experiment With Background
Keep trying new things, one at a time. Try shooting one day outdoors without including the sky in your background. Only take pictures where your subject (spouse, child, pet) has a background of trees or rocks or walls or a waterfall or a city building, but no sky. Sometimes you’ll have to shoot down from a higher angle to keep the sky out.
Look at the pictures on the computer when you get home and compare them to images you’ve taken in the past with the horizon or the sky in the background. See how excluding the sky can help emphasize your subject. This will teach you about being conscious of your backgrounds, their power to enhance or distract from your subjects.
4. Shoot Single Colors
Take a day to do just one color. Make it a project where one day you’ll shoot red, or blue, or green. Don’t take pictures of anything that’s not that color. You can photograph different shades of the same color. Look for the color everywhere. Red stop signs, red hair, tomato juice, spaghetti sauce, a red convertible, a lady’s fingernail polish….
The idea is to learn to see colors and to focus on the feelings each color produces.

5. Explore Angles
Then take a day with angles. Only shoot straight lines, or only circles, or only rectangles. This time the idea is to appreciate what lines do in a two-dimensional image.

The most important thing to becoming a better photographer is to keep practicing. And have fun doing it! For more photography tips from Adoramapix.com, click here.
 Facebook
 Twitter
 LinkedIn
 Email
Email