0
 >
>
What began as the only way to see the photos taken on your camera has evolved into a way of preserving memories, expressing oneself, and telling stories through photographs. Classic photo prints are so much more than just tangible copies of your favorite photos. They’re a way to relive memories, deeply customize a space, and push your creative bounds.
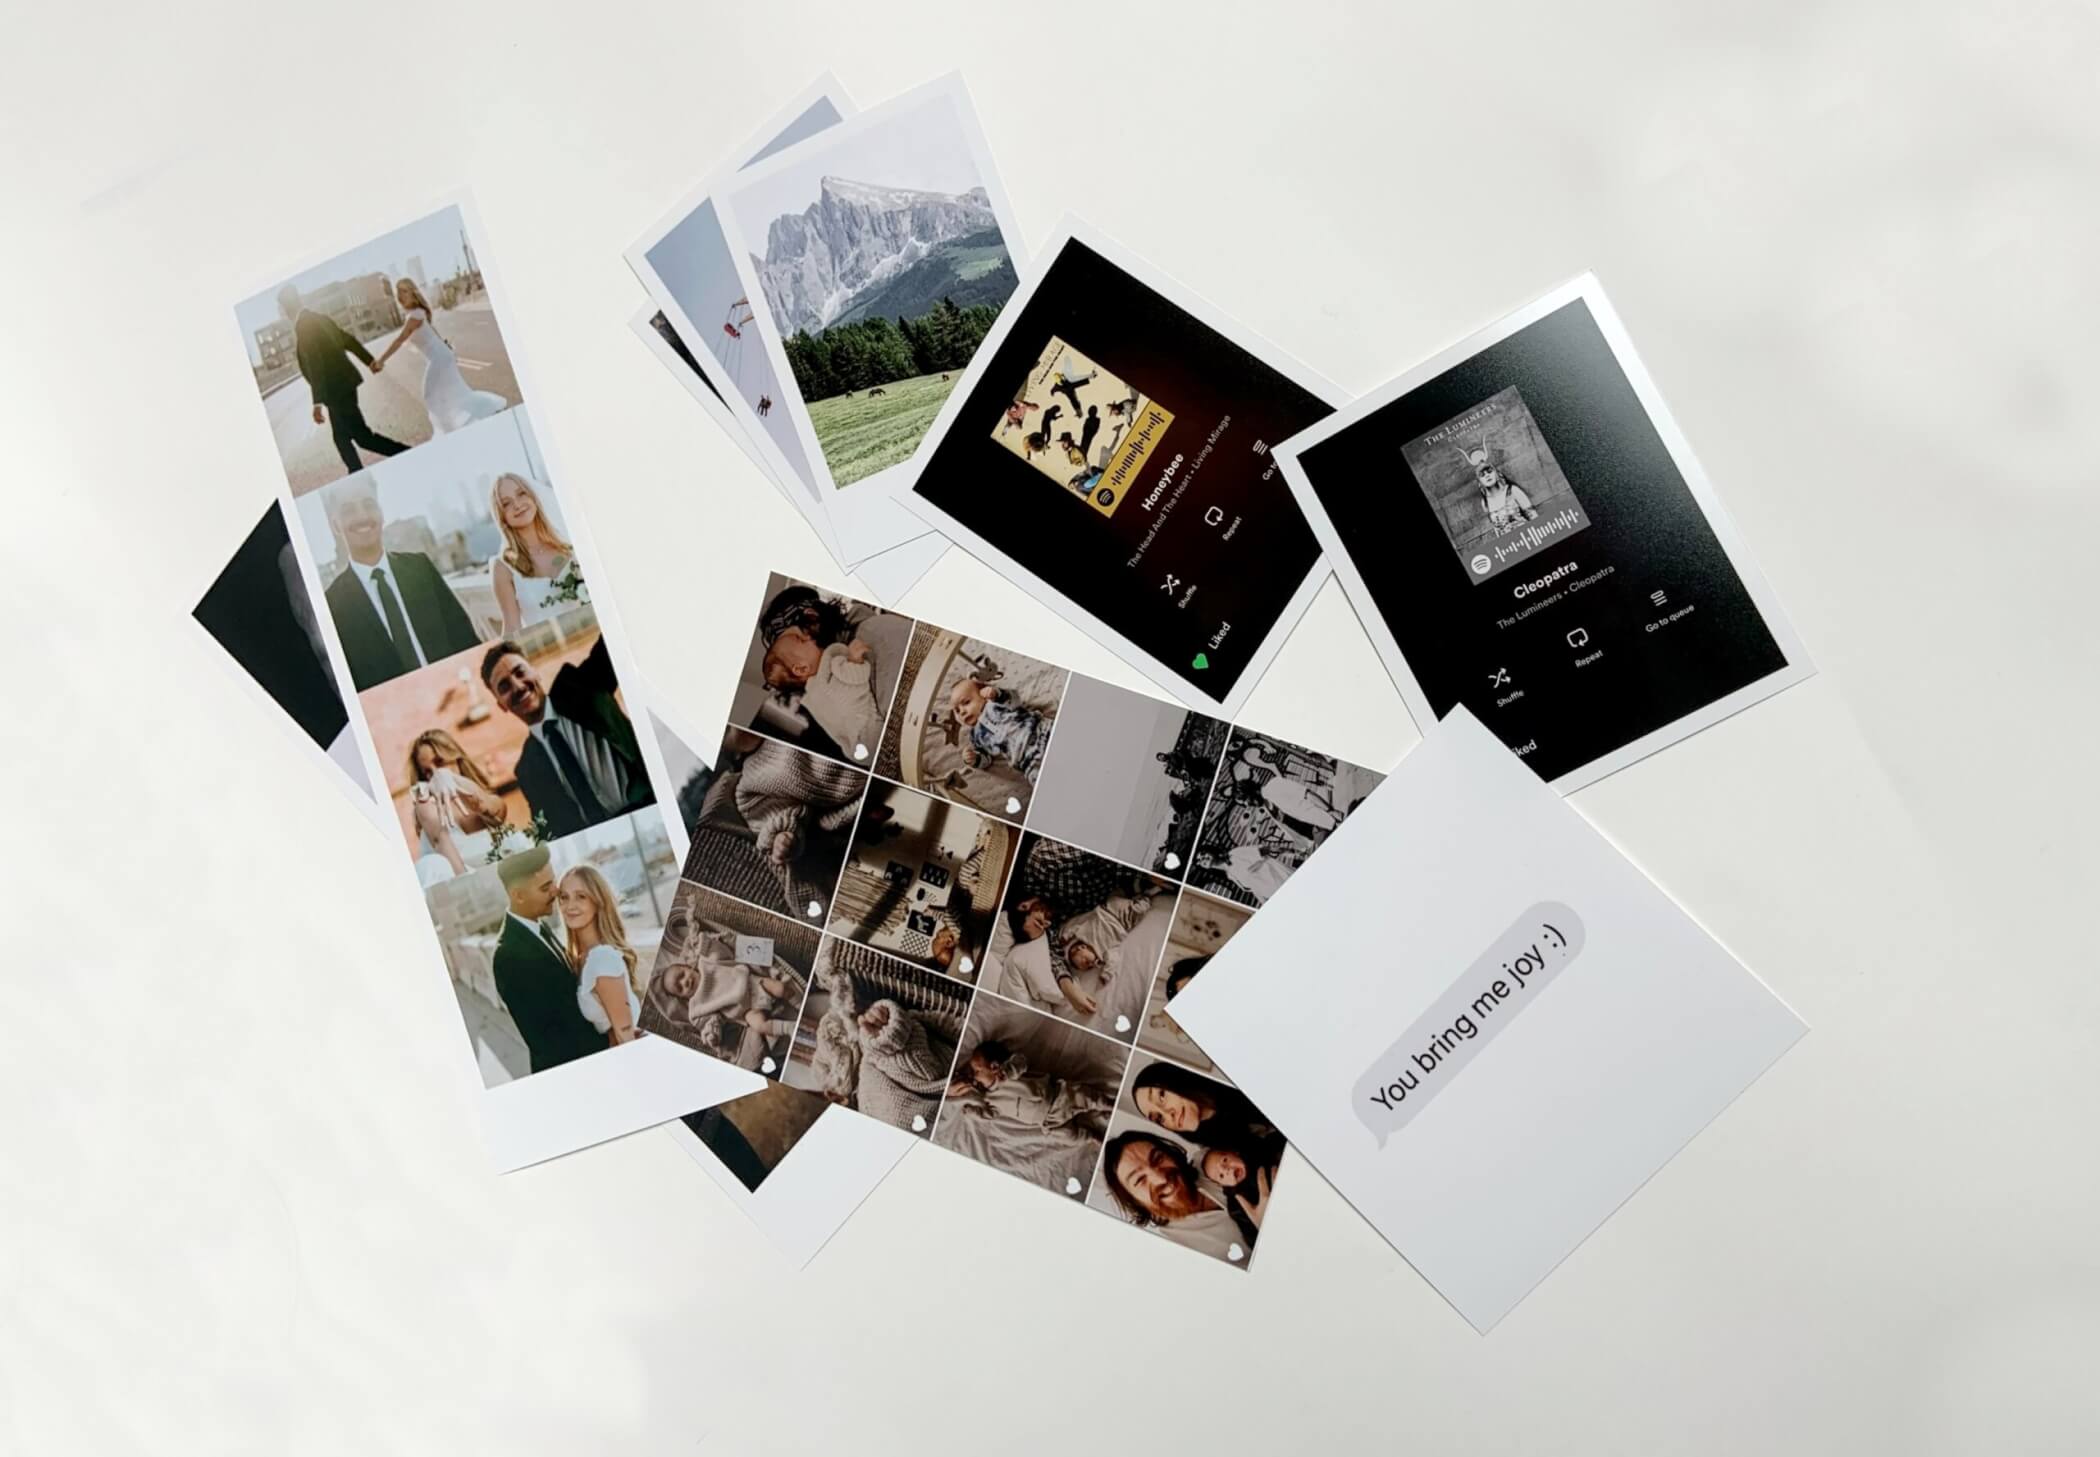
Our new mobile app adds a fresh element to photo prints: the ability to order them directly from your phone! We’ve outlined five awesome and original ways to print with classic photo prints, each one perfect for on-the-go printing!
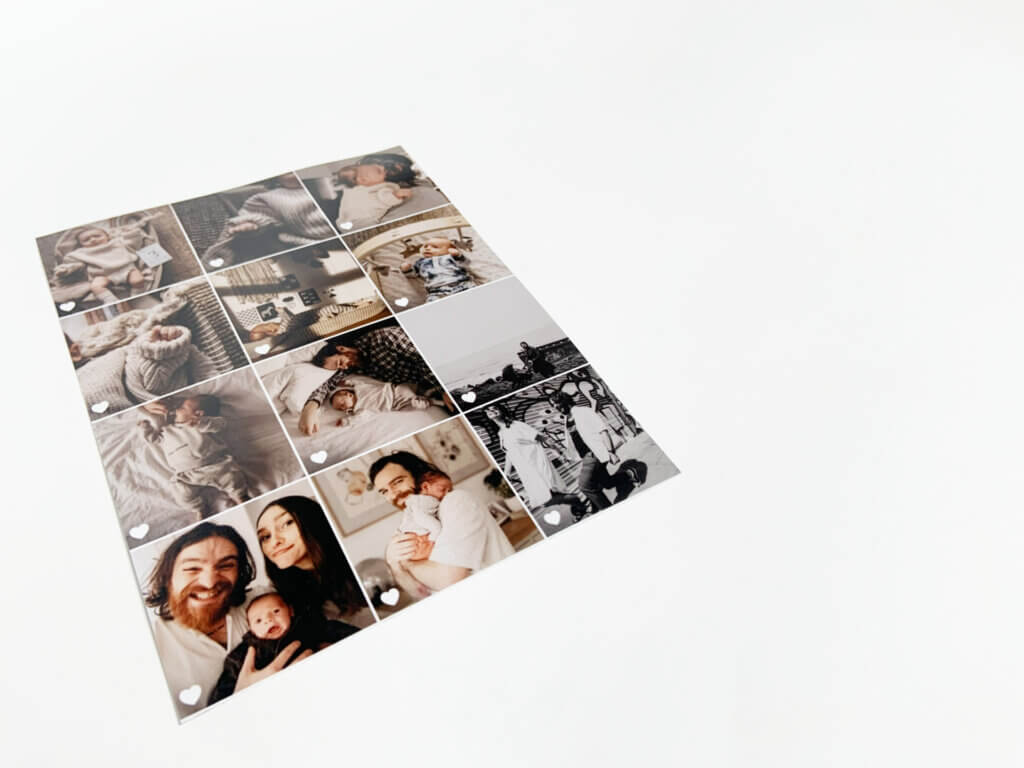
Have you ever noticed the little hearts that show up at the bottom left corner of each of your “Favorited” images on your camera roll? We have! We decided they were just too cute to not print, so off we were to make it work!
First you’ll want to favorite all of the images you want included in your grid. You may have to play around with the order they appear; Try screenshotting each of your selected images and favoriting the screenshots, so that all of your selections will show up in the order you want them in. Once your favorites section looks the way you want it to look, take a screenshot!
Crop your screenshot so that it only includes rows of photos; Cut just below the ‘Favorites’ title at the top of your screen, and just above the navigation bar at the bottom of your screen.
Then, head to the Printique Photos app! Upload your Favorites grid screenshot, and experiment with the print size that best displays your favorite rows. You likely won’t be able to fit all 5 or 6 rows neatly into any of our print sizes, so definitely take the time to see which look you like the best! In the print above, a bottom row was cut off.
You can see a video tutorial of each of these steps at the video below!
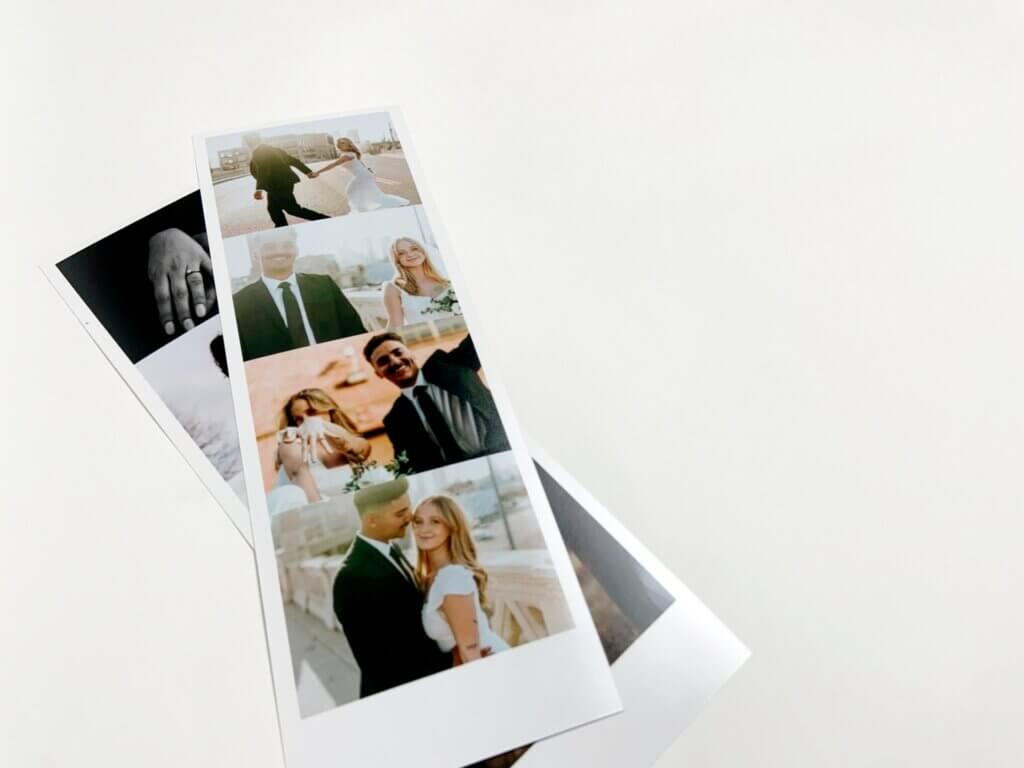
We have a soft spot for vintage printing styles, so you can imagine that photo booth style prints have completely stolen our hearts!
To make your own, create a blank design on your design platform of choice. We used Canva to create the prints above, which is an extremely approachable and easy-to-navigate platform. Whichever platform you use to design, set your design’s size to 800×2400 pixels. This ratio will fit perfectly on the 4x12inch prints you’ll be printing your final image on!
Drag and drop the images you want to include in your photo booth strip onto your blank design. If you want to leave a bit of white space at the bottom of your image, like we did above, divide 2200 (divide 2400 if you don’t want to leave blank space) by the number of images you want to include (we recommend using 4 or 5 images on your strip). Then, adjust each of your prints to be that height; For example, if you are using 4 prints and leaving white space, each print will be 550px tall. Pick photos that look best with the calculated height!
Once your photos are in place, save your design as a JPG. Select the 4×12 photo print size on the Printique website or app, and upload your design. We recommend selecting the “white border” option on the “Print Options” page to seal the deal on your authentic photo booth style print. Then just click order!
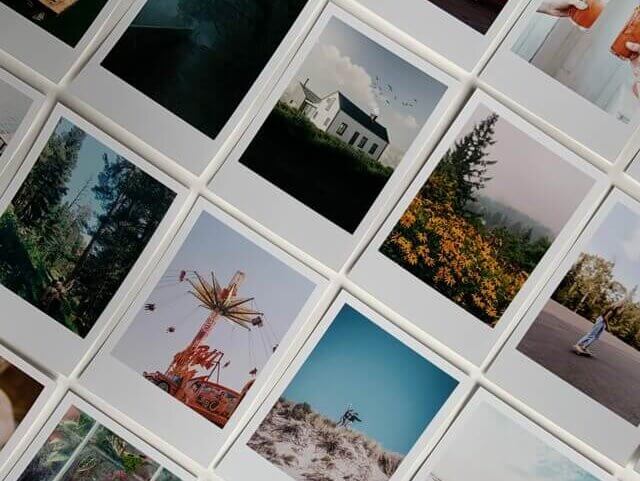
If you adore the vintage look of Polaroid prints but haven’t been snapping your photos on an old school Polaroid camera, you’re going to love this trick.
By adding your image to a blank design page and leaving a small area of white space beneath it, you can print incredible Polaroid-style photo prints!
We’ve outlined this project step-by-step in our DIY Polaroid prints guide and in the video below!
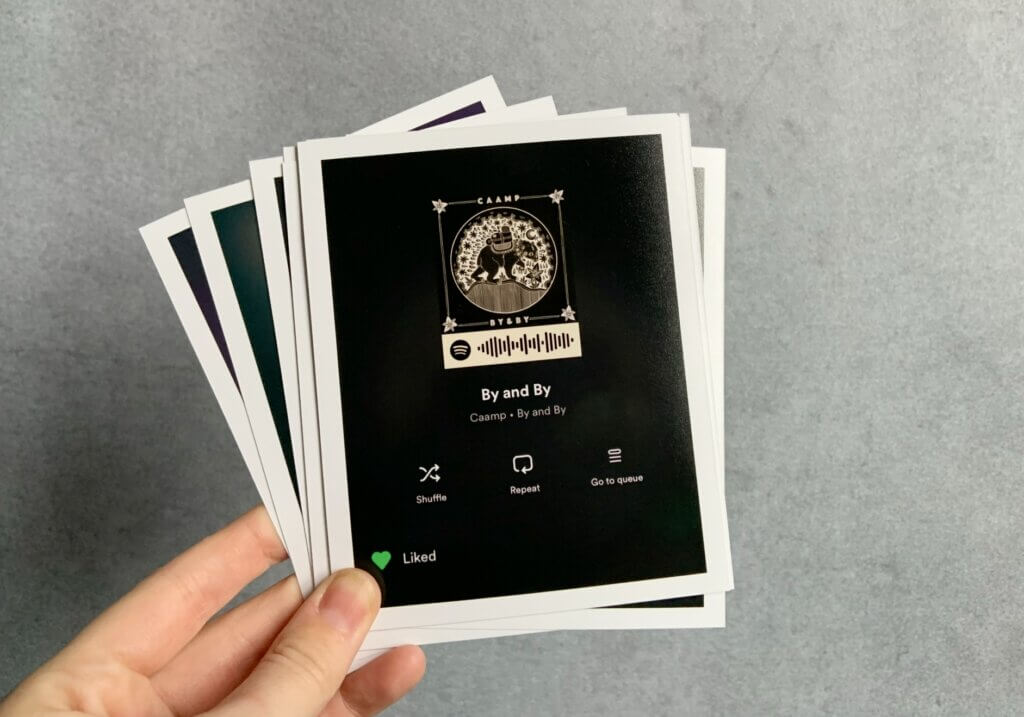
Buckle in for this next idea! Open the Spotify app on your mobile device. Search for a song you love. Click the three dots to the right of the song when it appears in the search results. Screen shot the page that appears after clicking those dots!
The barcode you see beneath the cover art of your selected song works as a QR code for Spotify. If you print this screenshot, anybody who visits your home will be able to scan the photo to play your favorite songs!
You can find a more detailed guide on how to do this here! You can also learn the steps in the video below!
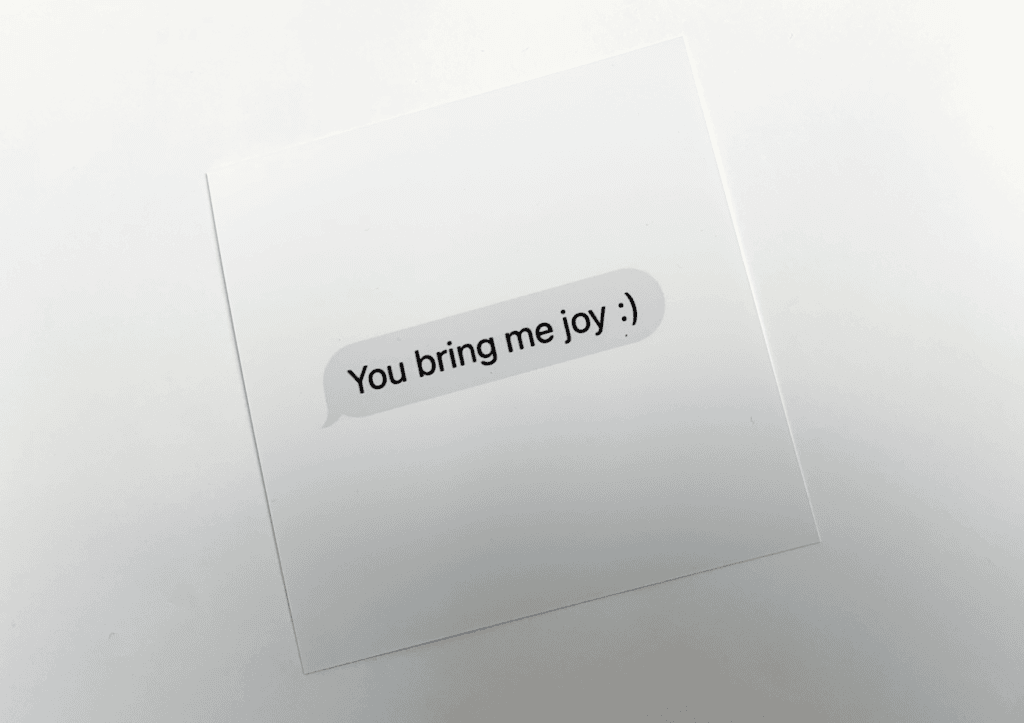
Text message screenshots can be a sentimental and meaningful addition to a scrap book, photo collection, or long distance letter – and they couldn’t be easier to print!
To give your screenshot a clean white background as seen in the print above, you can do one of two things. Whichever method you choose, the first step is going to be cropping your screenshot to show only the text messages you want to include. If you want it to be clear who the message is from, include this in your crop.
Then, you can either upload your cropped image to a new design page (this can be done on any design app: Canva, Pixlr, Photoshop and so on) and adjust your message to fit within the white space of your page; Alternatively, you can tap your cropped screenshot within your camera roll to make a white background appear. Then screenshot the page (while the white background is present) and crop the image to remove the excess details at the bottom and top of your screen. You will be left with a text message on a white background!
Head to the Printique Photos app, upload your screenshot to your galleries, and order it in any print size you like. The photo above is a 5×5 print. Have fun!
 Facebook
 Twitter
 LinkedIn
 Email
Email