


Forgot Password?
Please enter your email address to receive a link for resetting your password.
Thank You
You will receive an email with further instructions. Please contact customer support if you need any further assistance.
Please verify your email address
A verification link has been sent to your email to activate your account. The link will be valid for 1 hour.
Please check the spam inbox if you can't find the email. If you still can't find it, we can resend it.
A verification link has been sent to your email 00:00

 Facebook
 Twitter
 LinkedIn
 Email
Email
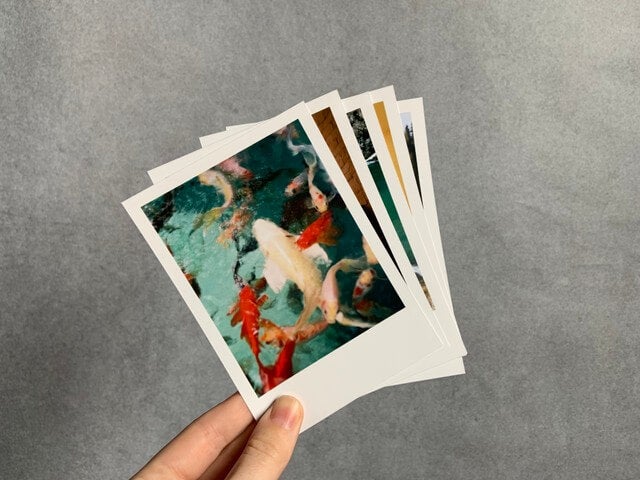
Have you ever stumbled upon an adorable décor idea only to realize your favorite part of its appearance was the Polaroids used to create it? If you’ve been questing for that timeless Polaroid look but only have digitals to work with, today’s your lucky day! We’re going to walk you through 7 simple steps that will lead you to a limitless collection of your very own Polaroid-style prints.

Go to Canva.com
The first thing you’re going to want to do is head to canva.com. Once you land on the site, click the Create a design button in the top right corner of the page. Set a custom ratio of 700x1000px. This ratio is equivalent to the 3.5x5in ratio you’ll be printing your images on!


Import your images
Once you land on the editing page of your new file, upload the images you want to print. Begin with dragging and dropping one image onto the blank space. Click and drag along its borders to adjust its size; You want your image to be 700px wide and 845px long. You can see an example of this step in the video below!
Duplicate the page.
Once your first image is set to this size, the next step is to duplicate the page. This will allow you to use this set image size as a template. Once you’ve duplicated the page, you can easily drag and drop the rest of your images in seconds. You can see an example of this step in the video below!
Download your design.
Once you’ve added each of your images to this template, it’s time to save your design! Click the Share button in the top right corner of the screen, then go down the options to where you see Download. When you click that, you’ll be prompted with a number of file options. To upload your images to a Printique website, they will have to be JPG files. This is the file type we recommend saving your images as!
Note: If you save all images at once, they will download from Canva in a Zip file. You will have to unzip them to upload them to your Printique gallery.
Head to Printique.com
Once you have saved your images, it’s time to upload and print! Select Standard Size Photo Prints from our Prints drop down menu. Once on this page, select 3.5x5in as your print size. You will then be prompted to upload your images.

Add a white border.
Don’t miss this step! Once your images are uploaded, you’ll be directed to a Print Options page. On this page, make sure you select white border from the section titled ¼” BORDER – shown above! This selection will add a ¼” border around your entire image, giving it a true Polaroid look!

Proceed to review.
Once you’ve applied this setting to all of your images (this can be done rapidly by using the Apply settings to all prints button after making this adjustment to your first image), you’re ready to order your photos! You’ll have the ability to review the crop of your images, but each of your images is already fit perfectly to a 3.5x5in ratio.
Ready to start creating?
