Forgot Password?
Please enter your email address to receive a link for resetting your password.
Thank You
You will receive an email with further instructions. Please contact customer support if you need any further assistance.
Please verify your email address
A verification link has been sent to your email to activate your account. The link will be valid for 1 hour.
Please check the spam inbox if you can't find the email. If you still can't find it, we can resend it.
A verification link has been sent to your email 00:00

They’re less than 5 inches deep, but picture ledges can have an outsize impact: They give rooms an art-collector vibe, but are actually much easier to arrange (and rearrange) than pictures hung on a wall.
Bonus: It’s easy to change your décor every few weeks without having to keep driving nails into the wall.
Much beloved by interior designers and photographers, picture ledges are narrow shelves (usually 3½ to 4¾ inches deep) that come in lengths that range from 24 to 60 inches long. Framed photos and other artwork and small items can be arranged on them. Available in a range of prices, they can be found at retailers including Ikea, Pottery Barn, Home Depot, Target and Room and Board.
Ready to give your picture ledges a professional look? Follow the tips below!

Depending on your space, you can hang one, two, three or as many ledges as will cover your entire wall. Take a look at your space and decide what will fit naturally with your current furniture pieces.
Note: If you hang multiple shelves, it will limit the height of the art you’ll be able to display on each one.
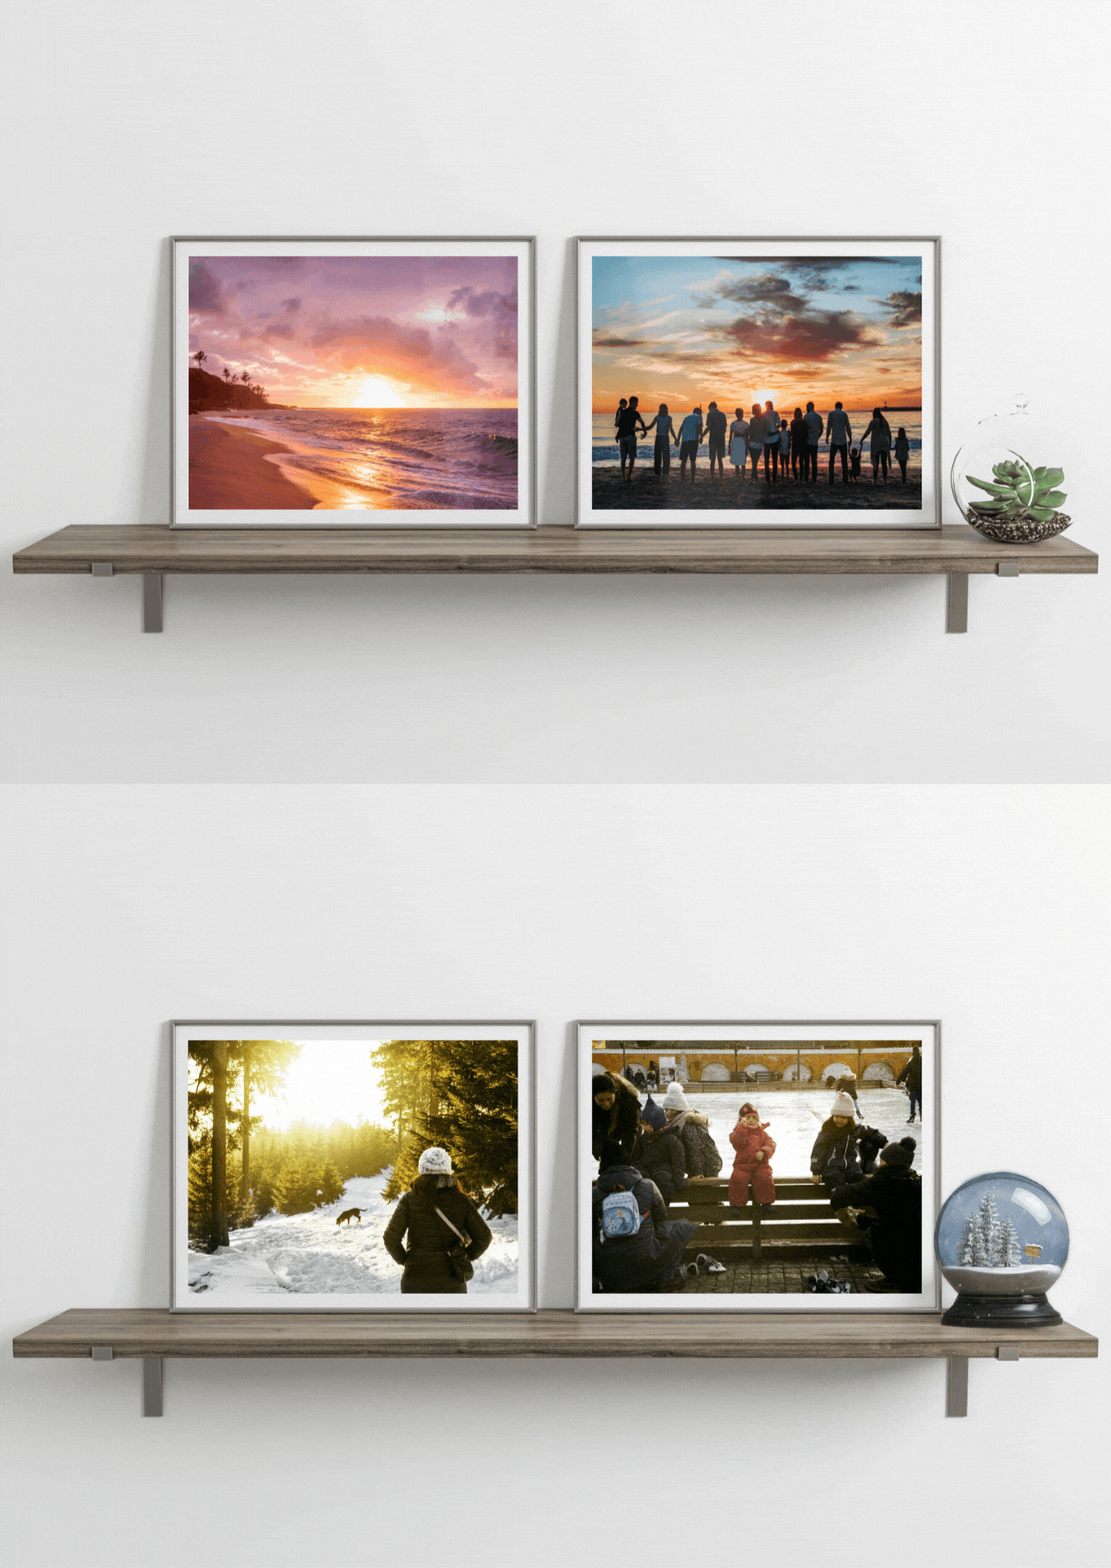
While this isn’t strictly necessary, it can help an arrangement look more cohesive. For instance, a wall of all portraits, all nature pictures or all shots of Paris can look very chic in a living room. In the bedroom, pictures of your wedding and honeymoon or a weekend with friends make a heartwarming display. An arrangement of food pictures looks great on a ledge in the kitchen, while brightly colored graphic prints can add energy and character to a kid’s bedroom.

Most people opt for ledges that match their wall color, but you can also find them in black and white; others are made of wood for a rustic look.
Sticking to one or two frame colors will help tie the arrangement together. You don’t need to do all black or all while frames, but you don’t want a complete hodgepodge, either. Black and white, silver and gray or wood and dark gold are classics pairings.
It can also make it easier create a unified look if you go with all black and white, or all color photos (though again, this is not a hard and fast rule).

Although a row of same-size photos in identical frames and with identical mats can be dramatic, a more common approach is to use an assortment of sizes. Generally, the largest picture goes in the middle to anchor the arrangement; medium-sized ones can go on either side. Smaller pics can perch in front of larger ones. On a longer ledge—one that fits more than three or four pictures—vary the sizes and heights. Let frames overlap for a layered look (but avoid crowding pictures too much).
There aren’t any hard and fast rules, so play with the arrangement until it looks good to you.
In addition to framed art, you may want to include figurines, small potted plants or mini vases, a souvenir of a trip (a mini Eiffel Tower for a travel-themed arrangement) or a vintage graphic sign.

Though they’ll lean on the ledge, to make sure items won’t fall if accidentally bumped, apply Command Strips to the top back of the photos and then adhere them to the wall.
Alternatively, apply command strips to the bottom of thicker décor pieces, such as acrylic blocks or ceramics, to ensure they stay in place. This is especially helpful if you live in a building with shared walls!
As the seasons change, picture ledges are the perfect place to start introducing fresh seasonal décor. Their moldability makes them a great way to set the tone for the rest of your home.
Heading into spring, swap some cozy winter photos with bright summer snapshots that will get you excited for the warm months ahead. Replace snow globes and holiday cards with plants and flower arrangements. The new season will come to life in your décor!
