


Forgot Password?
Please enter your email address to receive a link for resetting your password.
Thank You
You will receive an email with further instructions. Please contact customer support if you need any further assistance.
Please verify your email address
A verification link has been sent to your email to activate your account. The link will be valid for 1 hour.
Please check the spam inbox if you can't find the email. If you still can't find it, we can resend it.
A verification link has been sent to your email 00:00

 Facebook
 Twitter
 LinkedIn
 Email
Email
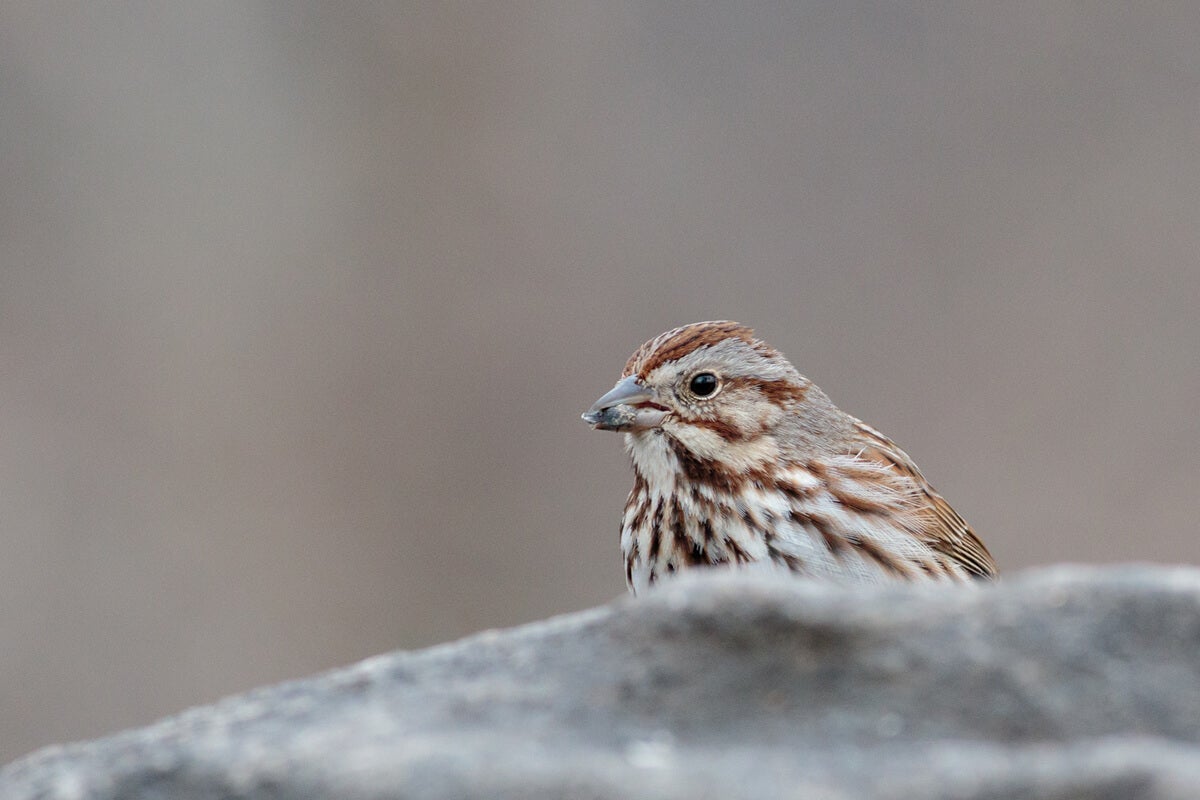
Written by Charles Chessler of Charles Chessler Photography
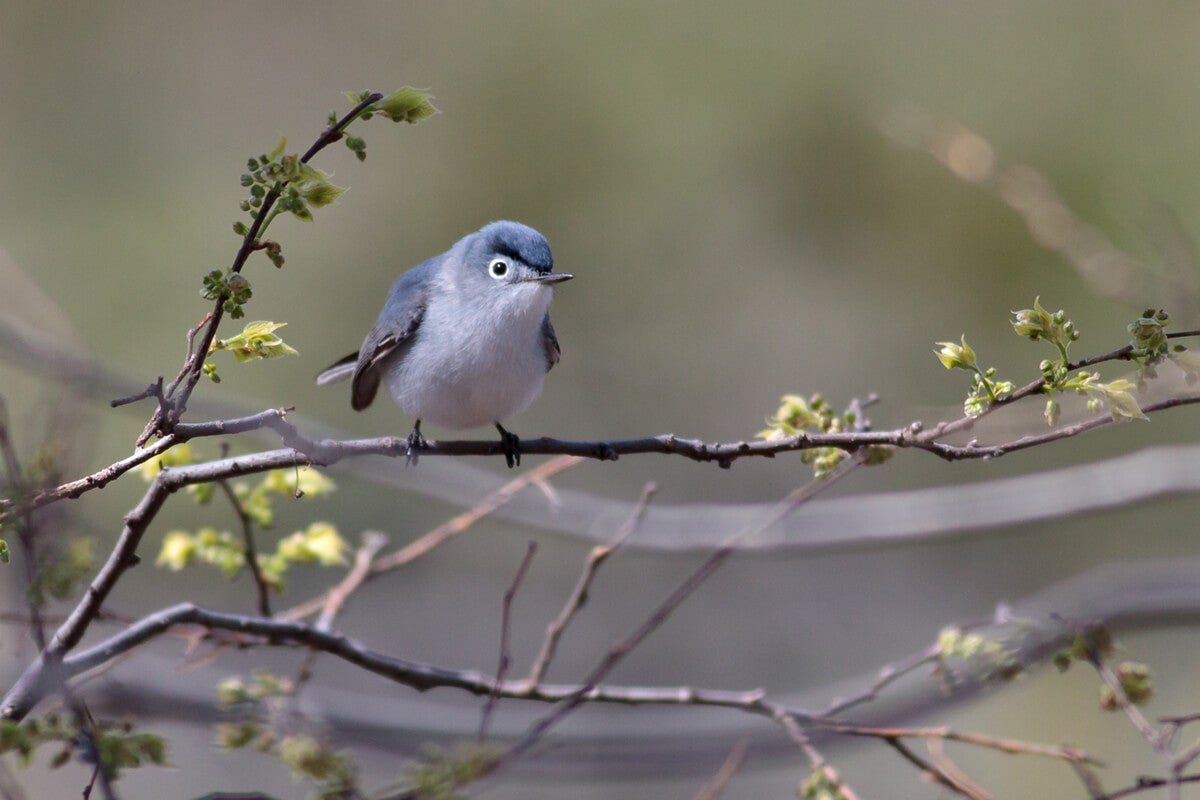
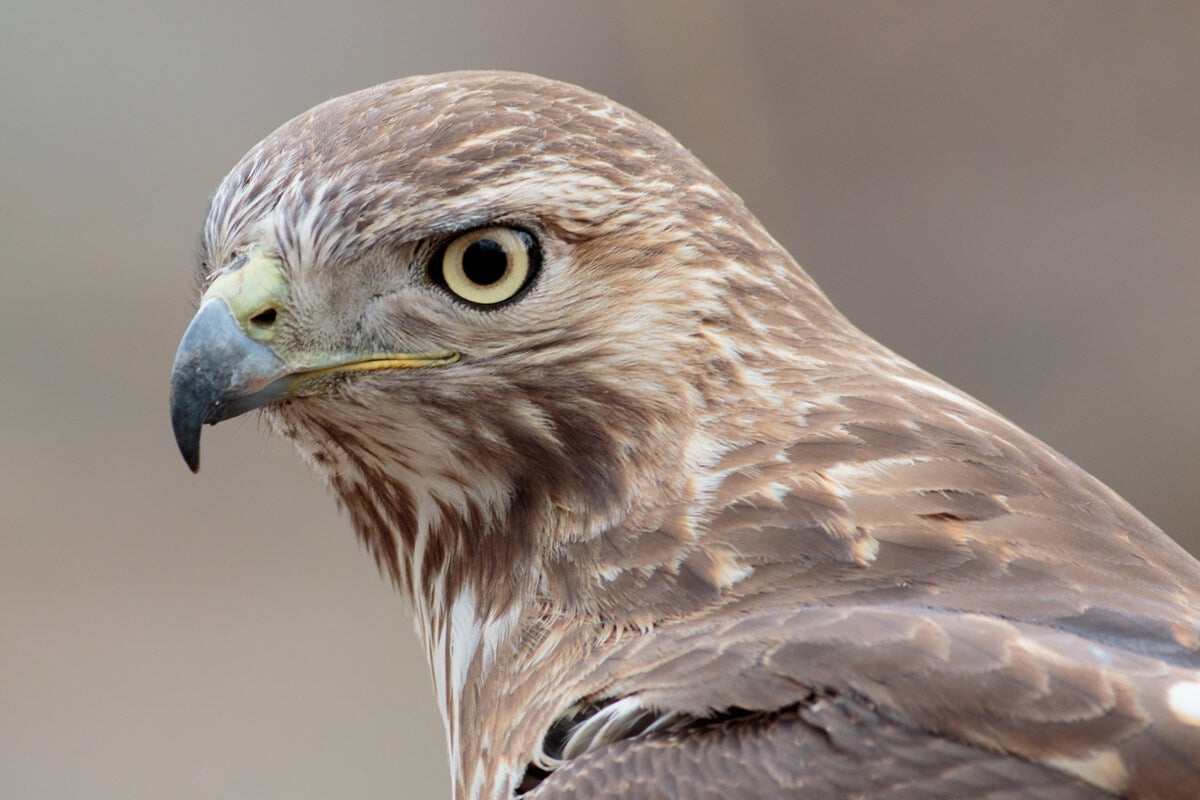
I’m a New York City-based photographer. We get a beautiful range of birds that pass through during the migration season. They stop to rest and refuel. We also have lots of year-rounders, not to mention an increase in the city’s Red-Tailed Hawk population in recent years.
Central Park is my most frequent spot as I can get there with ease. I like to stroll around and shoot handheld with my 400mm f/5.6 so these tips will be with that in mind. This is not about shooting with a tripod-mounted 800mm lens and a gimbal.
1. Acclimate
When you arrive, acclimate yourself to your environment. Take a moment to get present and be aware. Don’t start chasing anything that moves. Stop, listen, and observe. Look for patterns of movement. Look at what the light is doing. We can’t always be out in the best early morning or late afternoon light, but that shouldn’t prevent you from getting out and photographing. You might want to pick a spot with the best light and background when you are there and wait for one of our winged friends to land and pause for a moment.
2. Be Ready
Since a moment is all you might get, know your camera’s settings and be ready. After waitfor a long period of time you may only get the chance to shoot a burst of 3 or 4 shots before your subject is off to the next branch.
Some of my recommended settings: 1) Burst mode since the second or third shot might be the one with the best focus or a bit of interesting behavior. 2) Single point focus using the middle point as that’s often the most sensitive focus point and may acquire focus the fastest. It’s also easiest to get on the belly or largest part of the bird (Warblers are frequently tiny) and might increase your chances of an in-focus shot. 3) Aperture priority mode wide-open or close to it. This allows in the most light for any given lens, giving you the fastest shutter speed in whatever light you find yourself in. It also gives you shallow depth of field for that nice, out-of-focus background look.
3. Get Sharp
If your shutter speed ’s too slow, increase your ISO! I am a big advocate of increasing ISO to get a fast enough shutter speed for a sharp image. The general rule is that you need at least 1/the focal length of your lens. That is, if you’re shooting with a 400mm lens on a full frame camera, you need 1/400th of a second as a minimum shutter speed for a sharp shot. There are variations and you have to find what YOUR ideal is. As I get a little older I need it to be faster than that. Practice and see what works for you. The upshot is I’d rather have an in-focus image with some noise than a blurry one caused by a shutter speed that was too slow.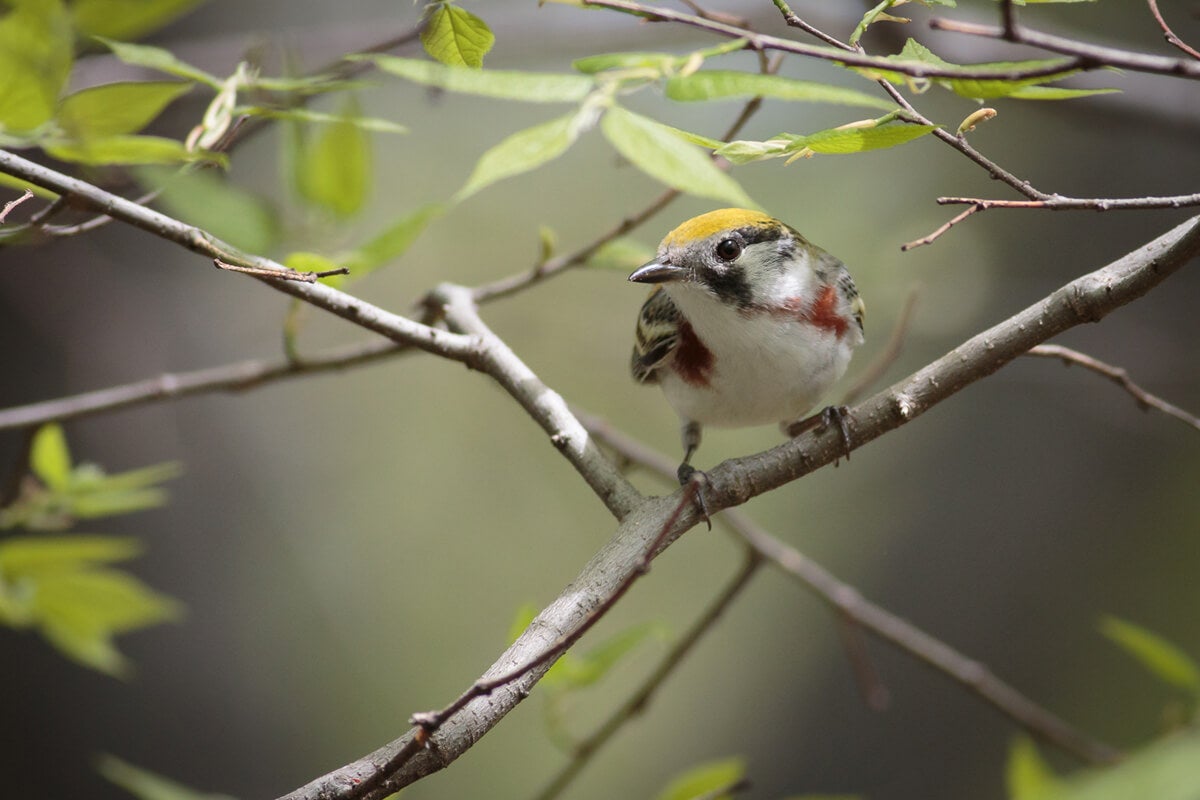
4. Patience
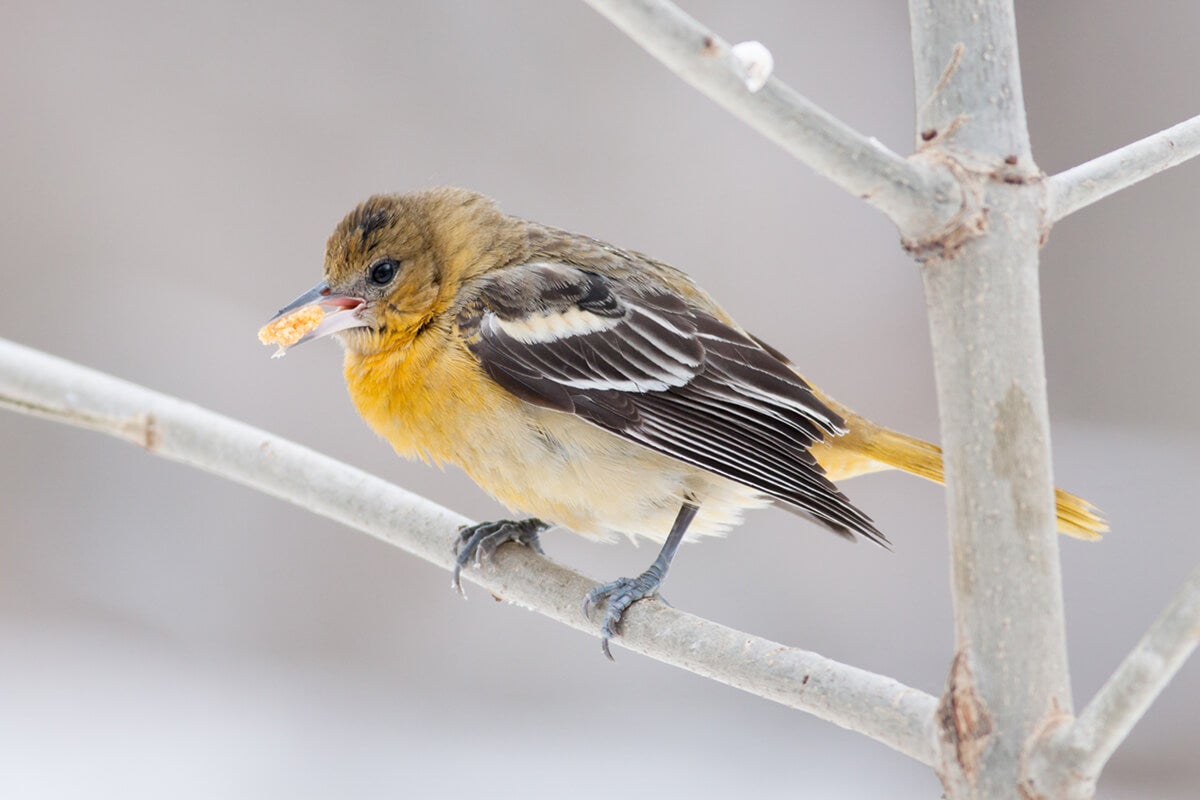
Be patient and return often. There are days when you see everything and days when you see nothing. You need to up your odds by getting into the field a lot. And, once there, be patient. While true that certain times of day may see more activity than others, if you stick around long enough, there’s a good chance that you’ll see something. There is also a joy in being out in nature and putting your attention gently on something outside of yourself. There is a meditative quality to bird photography for me because of that. This is especially true when you go out on your own and work at your own pace.
5. Know Your Light
Be aware of the direction of light. Light coming from behind you or from the side is frequently best and often has the benefit of adding some nice catchlight to the bird’s eye(s). As with portraits of people, that can really make an image pop, drawing the viewer’s eye to the bird’s eye.
But, I am also a fan of bird images taken in even light, overcast light or open shade. There can be a subtle and appealing quality that accentuates the color in the image.
If you have to shoot towards the light (your subject is backlit) know that your subject will most likely be in shadow and you will have to use exposure compensation to bring your subject out of said shadow. This can be as much as plus 2 or 3 stops of compensation. This is because the camera’s sensor will see the image as overly bright and darken it to what it deems normal. We have to be smarter than the camera and push the exposure back up, exposing for our subject, the bird. This will most likely make the background lose all detail (known as “blowing out the background), but you’ll get your best shot at a decent exposure for the bird in difficult light.
6. Practice
Practice, practice, practice! Photographing birds is not easy, but it sure is fun and is extremely rewarding when you get results. Whether you’re shooting with an all-in-one superzoom or a top of the line full-frame camera and five or six or eight hundred millimeter lens, you need to work at it. Remember that you are trying to get a sharp image of a frequently small subject that rarely stays still and is in an oft-changing light. Not easy, folks.
Thank you Charles! If you are looking to photograph more than just birds, check out this blog post about photographing wildlife! Click HERE.