Forgot Password?
Please enter your email address to receive a link for resetting your password.
Thank You
You will receive an email with further instructions. Please contact customer support if you need any further assistance.
Please verify your email address
A verification link has been sent to your email to activate your account. The link will be valid for 1 hour.
Please check the spam inbox if you can't find the email. If you still can't find it, we can resend it.
A verification link has been sent to your email 00:00

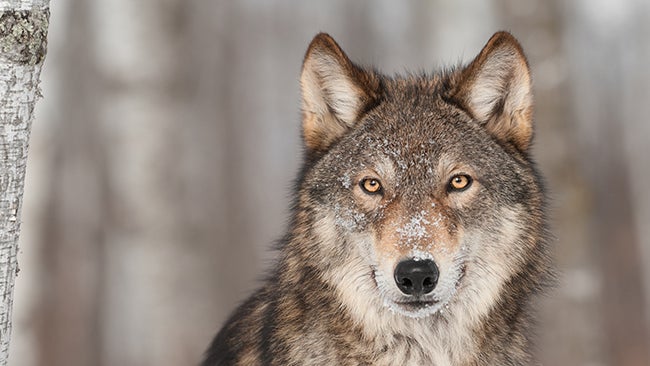
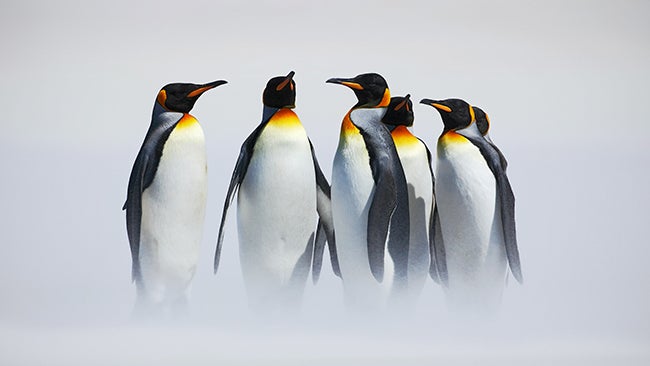
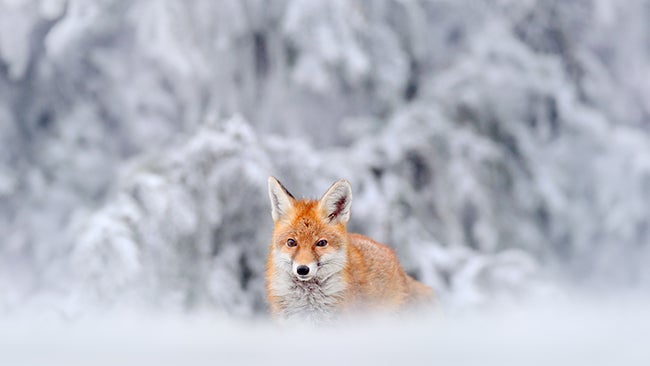
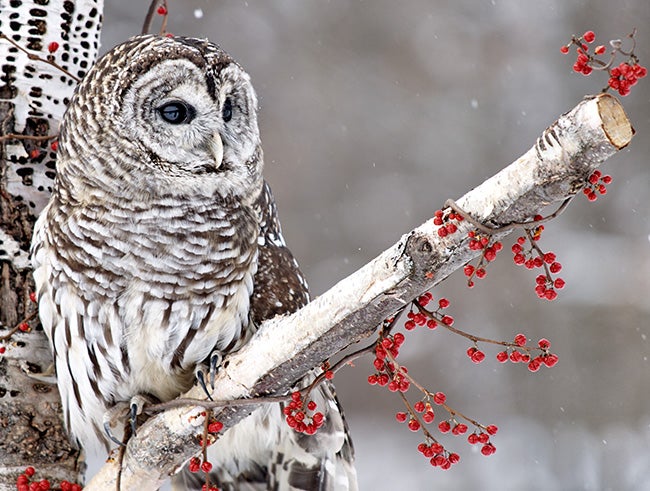
As the snow falls and blankets the outside, it creates a beautiful clean landscape. It’s the perfect backdrop for wildlife. It will isolate your subject and at the same time provide wonderful reflective white snow to brighten the animals faces. However, before you start there are a few things you show consider before pressing the shutter.
The animals are wild and most have amazing hearing capabilities. You are not going to go up to a snow owl with your 24 mm and get your shot. Instead, choose your longer lens. Typically, I wouldn’t start at anything under 105. Not only will you not invade their space but you’ll probably go unnoticed. Plus keep in mind, the smaller you go on your aperture the wider the lens is opened, giving you beautiful bokeh. This will soften the background while keeping your subject tack sharp. Plus, you’ll get a great catchlight in the eyes.
The mechanics of cameras are typically ok outside for a bit. However, your battery will wear out quickly in the cold. According to About.com: ” The electric current generated by a battery is produced when a connection is made between its positive and negative terminals. When the terminals are connected, a chemical reaction is initiated that generates electrons to supply the current of the battery. Lowering the temperature causes chemical reactions to proceed more slowly, so if a battery is used at a low temperature then less current is produced than at a higher temperature.” The solution? Bring a second warm battery with you to replace the first one. You can keep it in a mitten, wrap it in a scarf just try to keep it warm and dry.
You’ll need to be more in tune with your exposure since the bright, white snow will often trick your camera. Snow should be white, not grey you will need to do the thinking for your camera. Digital cameras typically underexpose snow scenes so move to manual metering and add some stops. I found this great article on How to Properly Meter Exposure in Snow from the SLR Lounge. The article goes into depth about exposure and snow.
Plus, your exposure will completely change from wide angle to close up. So remember to change it and shoot in RAW as dealing with highlights can be tricky and you want as much information as possible to your image.
Typically, the toes and the fingers are the first to get cold when outside. They are also the first to get frostbite. So make sure you have double the warmth in these areas. Also, hand warmers are inexpensive and can slip into your socks and gloves. Your gloves will need to be both warm and functional. When the moment strikes and the owl looks right at you, you don’t want to be fumbling with your gloves.
Never delete your images in the field. It’s hard to see on a small screen whether an image has worked out or not. You can read the histogram sure, but it’s a totally different ball game going from a small 3″ screen outside to a 23″ screen. Plus, you’ll be viewing under different lighting conditions.
Like anything else in photography, a lot of it is trial and error. I hope some of these starter tips will help you on your way to capturing the photograph you envision. If you’re ready to make your pictures into art – check out our wall decor section showcasing metal, wood and canvas prints.


 Facebook
 Twitter
 LinkedIn
 Email
Email