or
Sign in with
Already have an account?
or
Sign in with
New to Printique?

You have 0 items in your shopping cart
Forgot Password?
Please enter your email address to receive a link for resetting your password.
Thank You
You will receive an email with further instructions. Please contact customer support if you need any further assistance.
Please verify your email address
A verification link has been sent to your email to activate your account. The link will be valid for 1 hour.
Please check the spam inbox if you can't find the email. If you still can't find it, we can resend it.
A verification link has been sent to your email 00:00

Author: Libby - Printique by Adorama
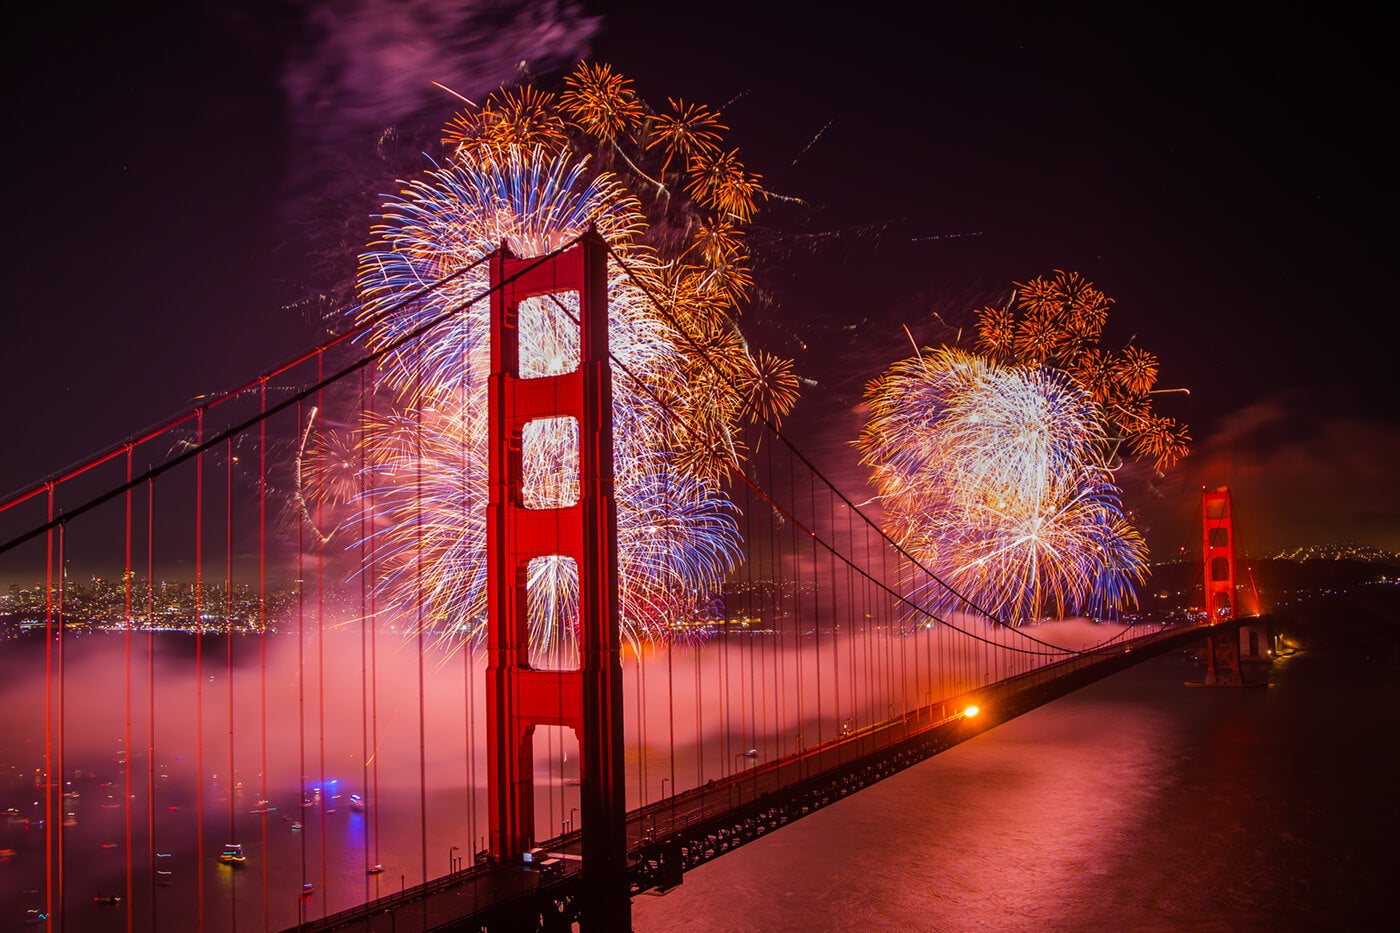
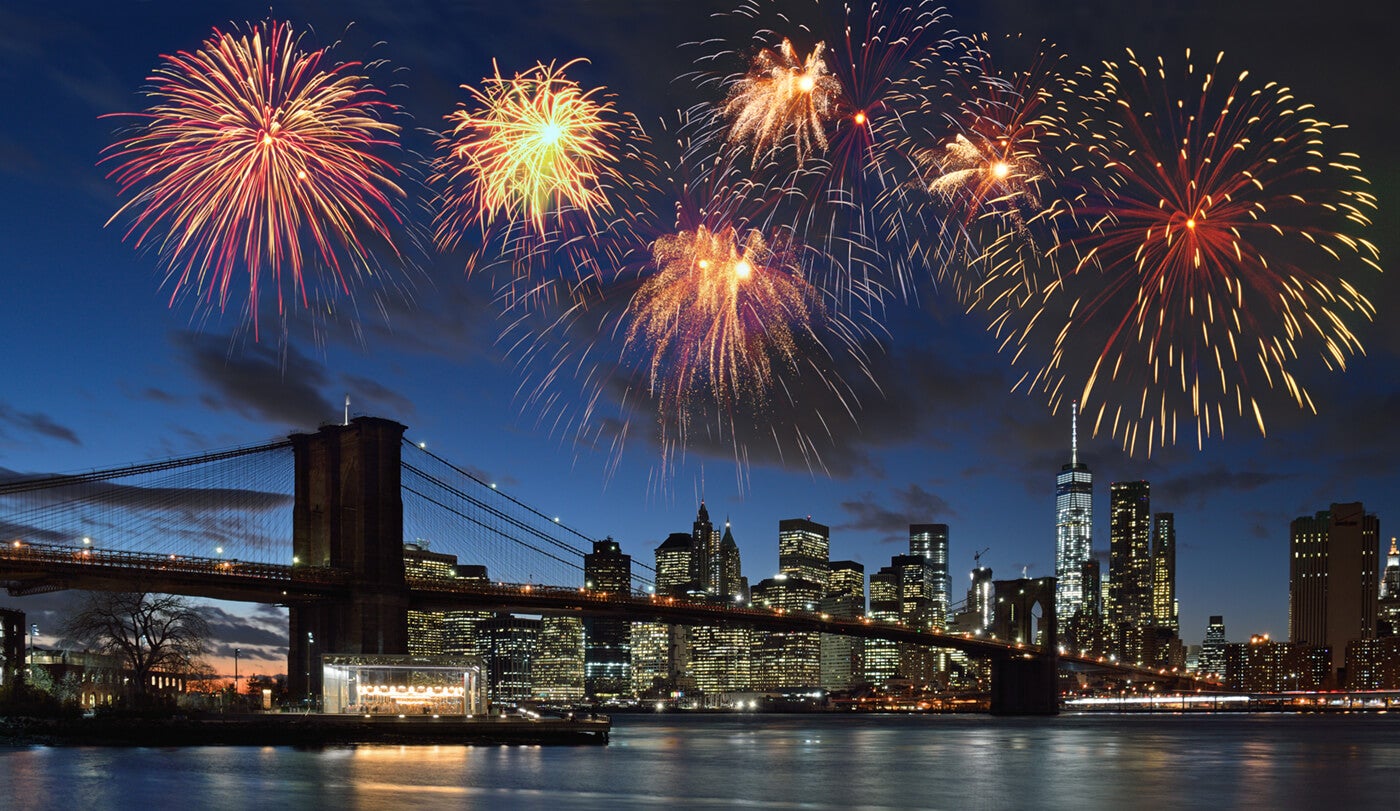
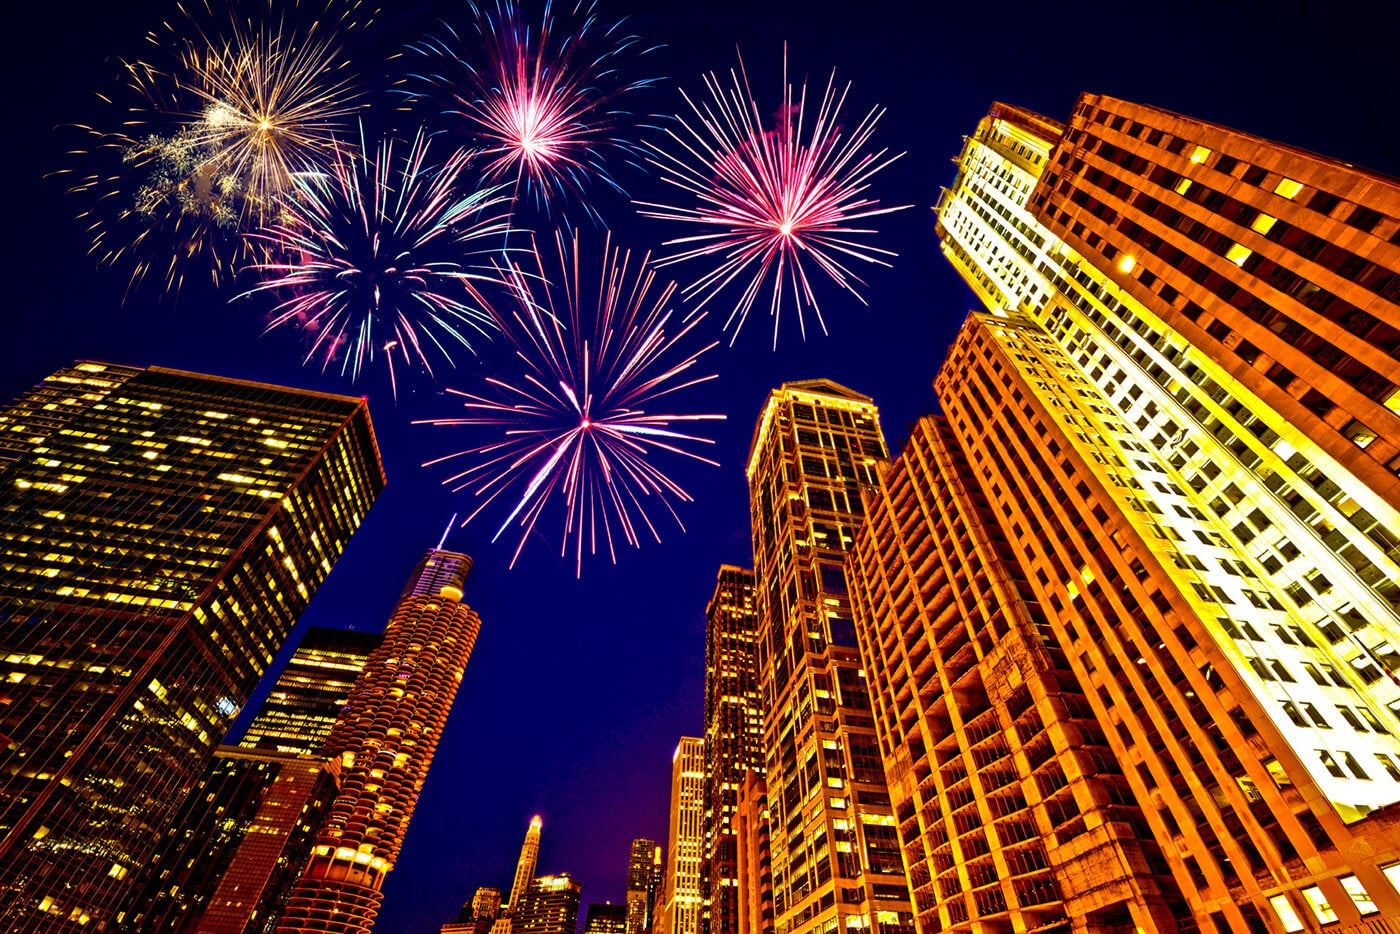
They light up the sky every year, and yet for some reason your photographs of the spectacular Fourth of July fireworks, never quite turn out. It’s ok, don’t give up, we can help. Here are five easy steps to master firework photography.
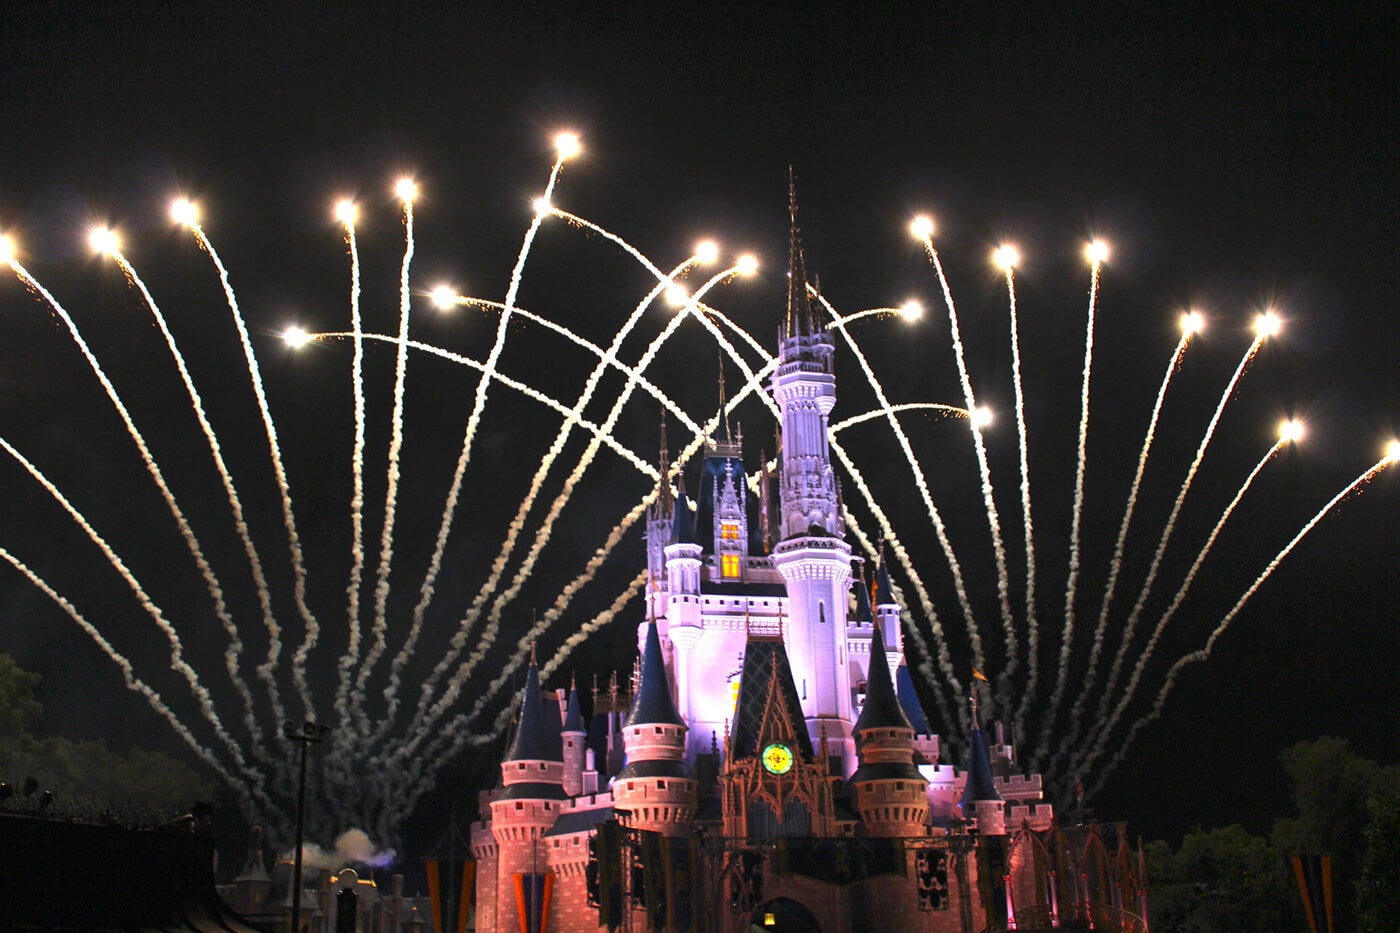
This is one of the most important features. The key to photographing fireworks is long exposures which means, you will need to keep the camera still while releasing the shutter. Don’t have a tripod? Improvise and put your camera on top of a stable, hard surface such as the top of your cooler or on your vehicle. Remember, you are trying to capture the trails and the movement of the fireworks not the movement of the camera.
Fireworks are usually fired off meters away from the public to ensure safety. Your flash on your camera will not reach the fireworks. Most on camera flashes only have a reach of a few feet. Turn the Flash off.
Photographing fireworks is a lot of experimentation and trial by error. In order to tweak and get the best results, you’ll need to put your camera on Manual mode. You need to do the thinking for the camera. So where do you start with manual? Well, let’s start with the lowest ISO you can, 100 is ideal. You want a low ISO to have a clean shot. Next your aperture. Generally, you can go from f8 to above and experiment with how wide you want your lens opening. Personally, I stick between F14 and F16. This seems to give me the results I am looking for. Next is shutter speed. This is the tricky part but also the most fun to experiment. I usually start on the “bulb” feature so I can control the trails and look. If you are not comfortable with the “bulb” setting, then try a setting of 30 seconds to begin. You can then adjust shutter speed depending on your results and your tastes. It’s ok to chimp and adjust on fireworks shot.
Setting up your shot is important. Remember, you have it on a tripod, trying to change its position after every explosion, will not work. Let a few fireworks go off so you can get a sense of their location in the sky. Next, put your focus on manual mode and set your focus point to those few bursts. This works best as it is hard for most cameras to focus when it’s dark. You’ll need to tell your camera where to focus.
These are general guidelines. It’s ingredients to a recipe. You get to add or subtract how you see fit until you think it’s perfect. Don’t be afraid to use different lenses, change your shutter speed, try a double exposure. It can be fun and rewarding. Plus don’t forget, they happen every year so if your images didn’t turn out the way you had hoped, learn from your experimenting and try again for the next year.
So you think you got this? Great, let’s take a step further.
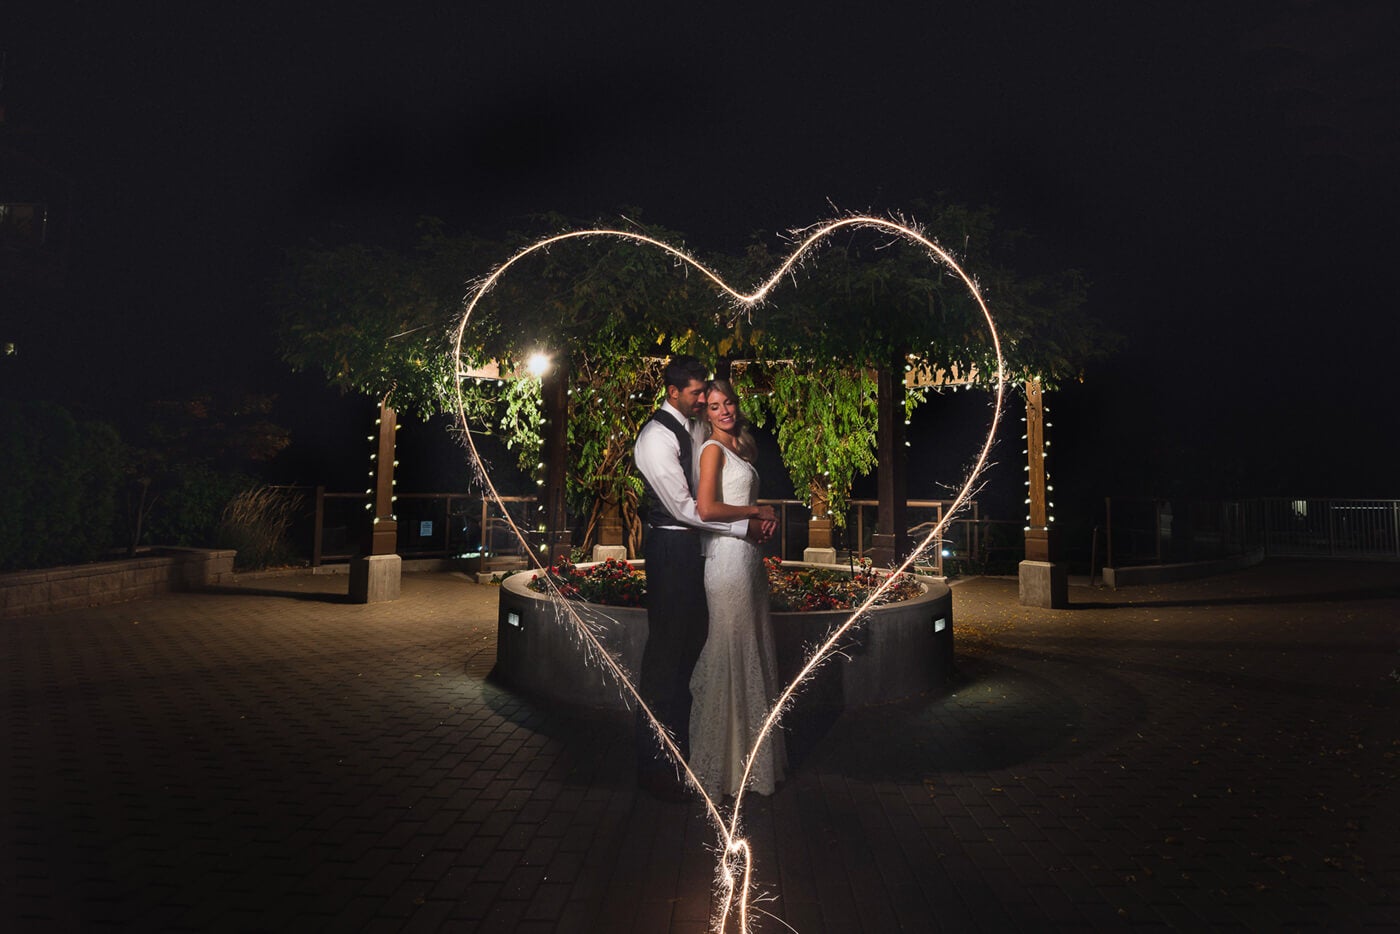
Click HERE to learn how to photograph sparklers.
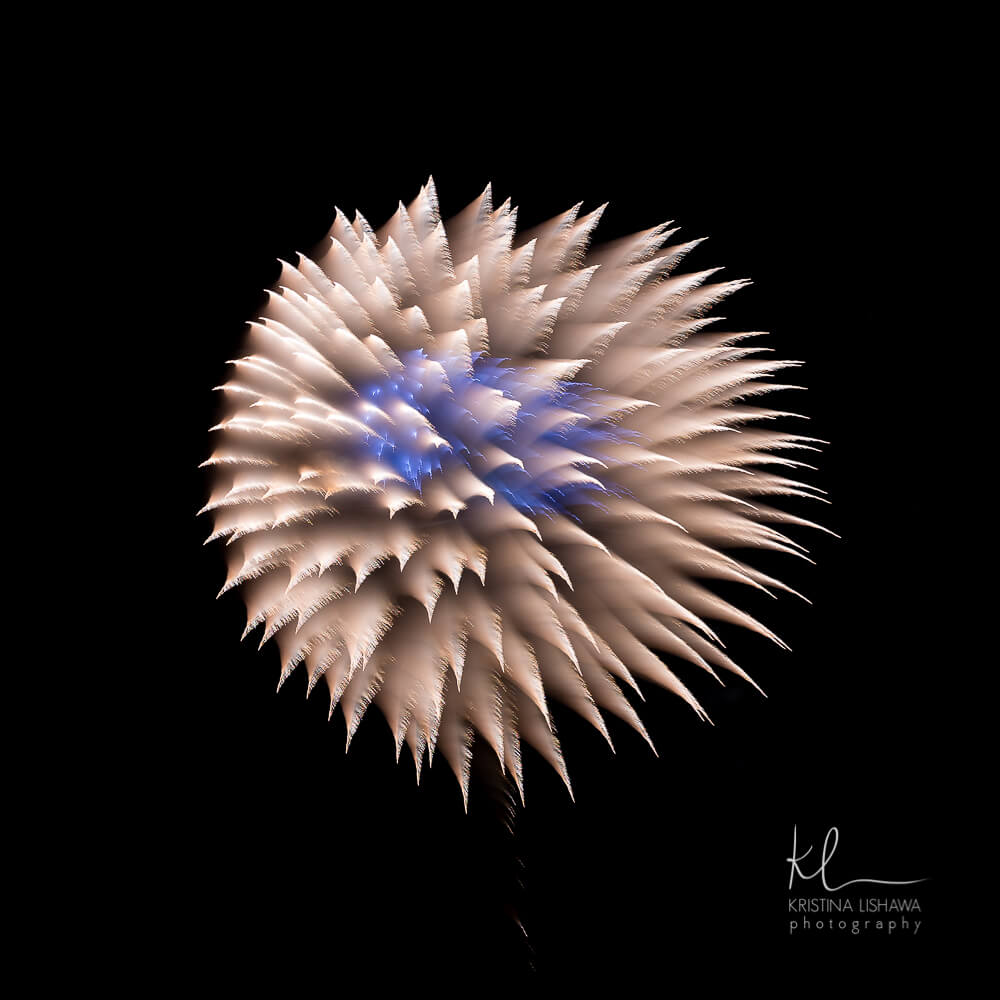
Click HERE to learn how to do focus pulling with fireworks.
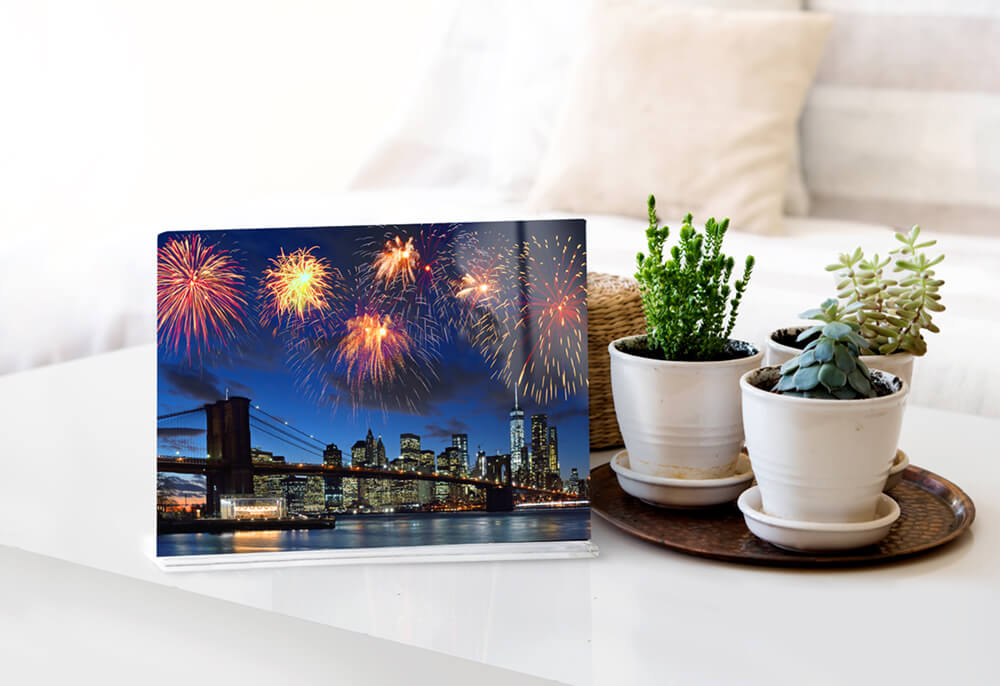
For your fireworks photos, try printing on metal with glossy, white to bring out the best in the details. If you’re wanting to print on paper, the glossy or metallic will make your prints pop with their vivid color and sheen!

