0
 >
>
Are your bookshelves a hodgepodge of your favorite volumes—as well as old college textbooks, raggedy paperbacks and a bunch of old remotes? Why not reinvent them and transform them into a beautifully curated display? All it takes is the artful addition of a few framed photos and artwork, plants and small figurines; And with the season of spring cleaning in full swing, there has never been a better time to tackle this project!
Here’s how to give your bookcase a fresh, new look.

Out with the old, in with the new; The first step for elevating your shelving space is to remove anything messy and unnecessary: Get rid of your old, tattered beach reads, schoolbooks and other volumes you’re never going to open again, put away or toss loose papers and recycle those VCR and DVR remotes.
Now that you have a blank canvas to work with, begin to craft a cohesive display.
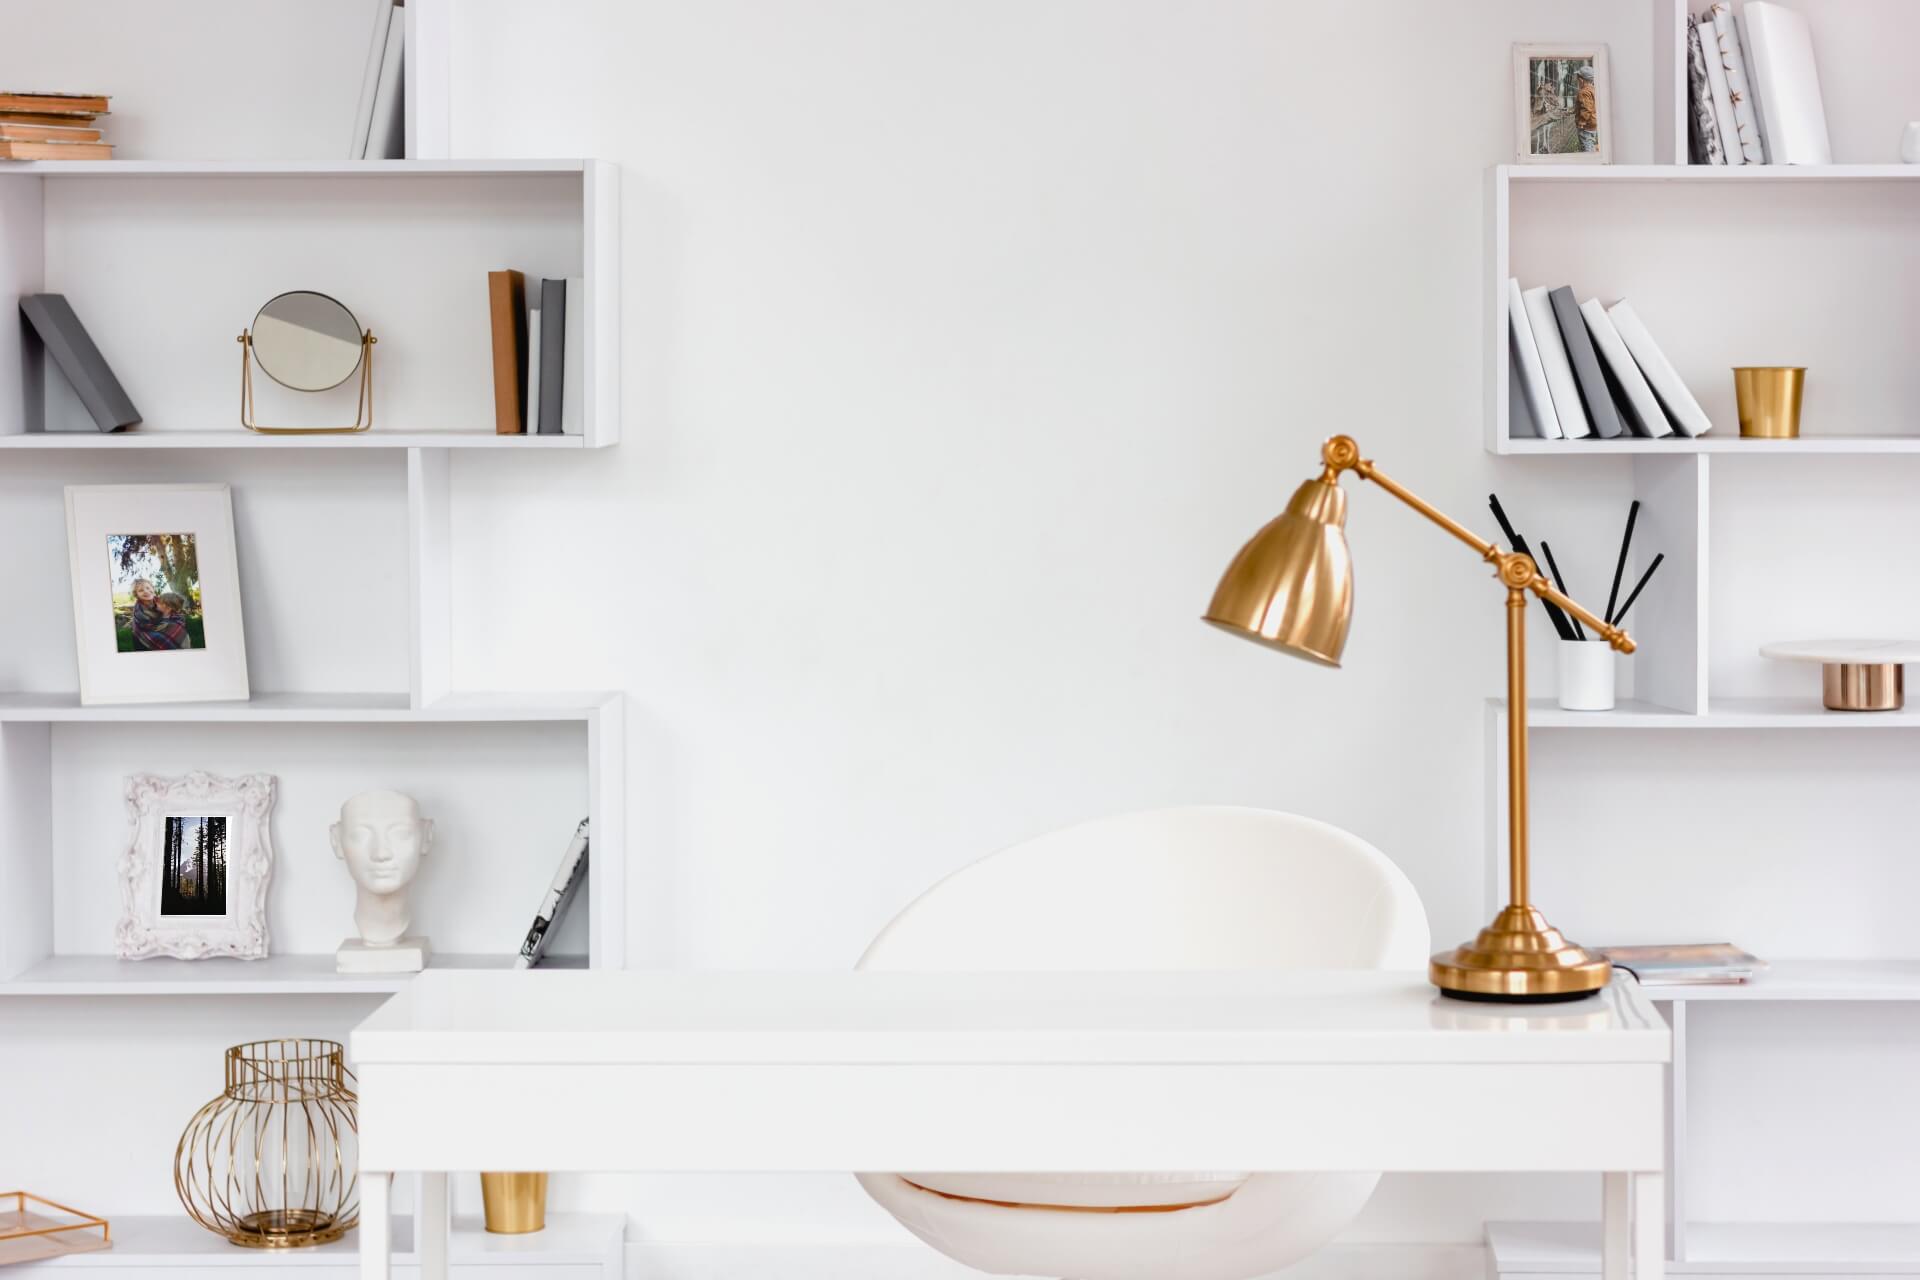
One way to do this is by picking a static theme: this can mean featuring a set of black and white portraits, a series of springtime photos, or a set of photographs from your last film roll. If you have a more diverse collection, say a mix of landscape shots and vintage pictures of your grandparents, you can give the bookcase a unified look by picking a cohesive color scheme; Then frame all the photos in the same color and style of frame.
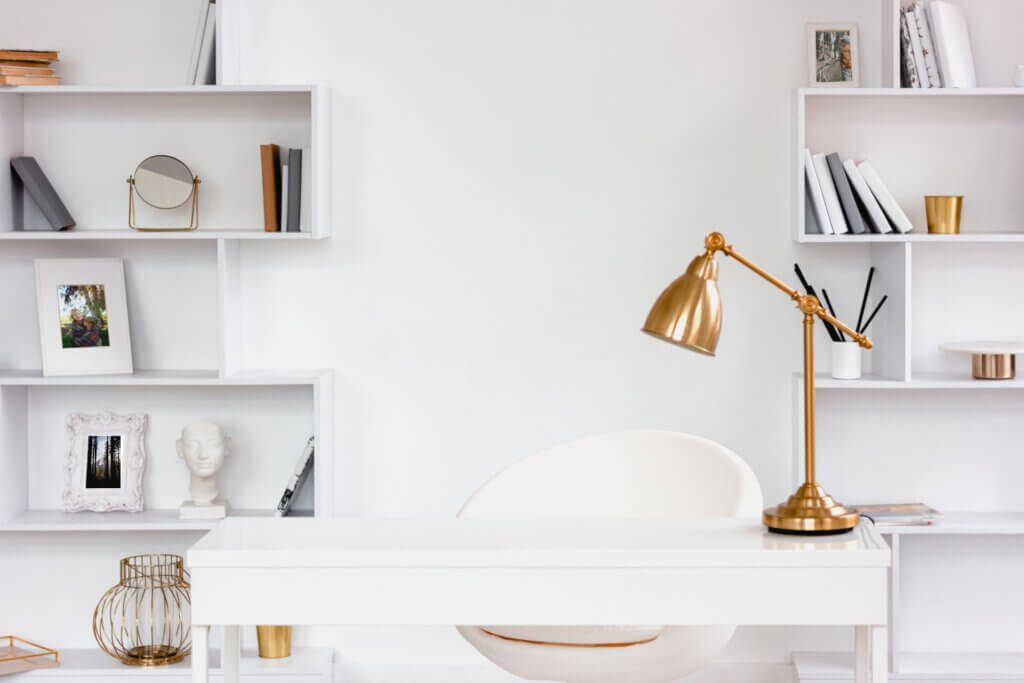
There are no hard and fast rules for arranging the shelves—you’ll want to play around until you find a pleasing arrangement. For example, not every section of the bookshelf needs (or should have) the same elements. Some can have just books, some can be all framed photos, some can be a mix of both. Lower shelves can do the heavy lifting, with mostly books. Get creative by incorporating more pictures and art on the middle and upper shelves.
Frames are a genius solution for hiding less aesthetically pleasing elements on your bookshelf. Strategically stash stacks of paper, remotes, and routers behind photos and other artwork. If your shelves are deep, you can also use a row or stack of photo books to hide unappealing elements.
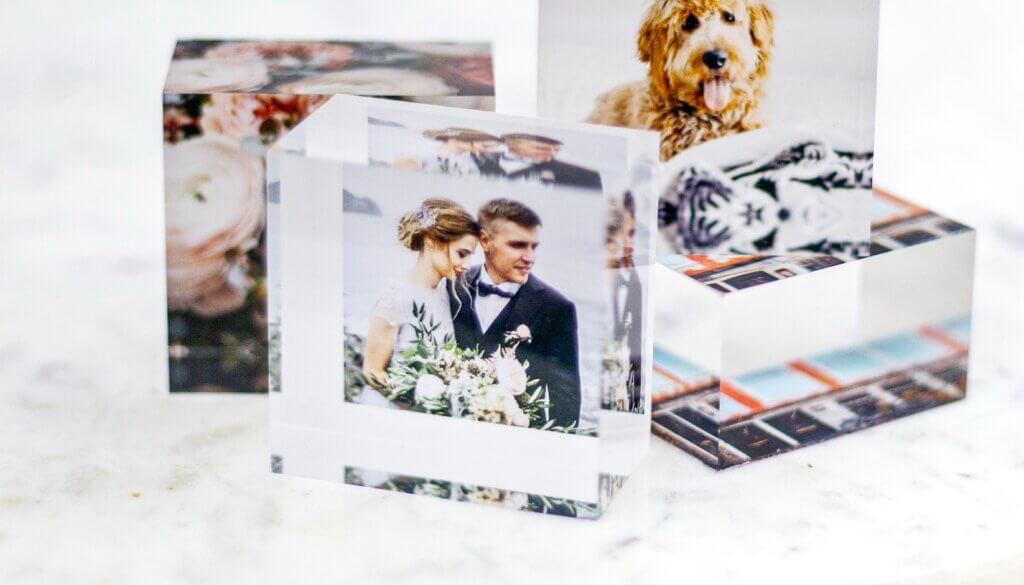
Acrylic photo blocks are one of our most loved products. These incredibly durable, museum-quality pieces can stand on their own when printed in block form, making them the perfect addition to any shelving space. Their clean, modern, and elevated feel make them hard to beat when it comes to refreshing a previously hodgepodge space. Arranging them miscellaneously across a large span of shelving is a great way to tie together a bigger space, like shelves that cover an entire wall.
Too many items will look cluttered, and diminish the impact of the overall arrangement. In general, if your décor is modern, you’ll want to keep things minimal, while you can go for a busier, more eclectic look in more traditional rooms.
If the shelves you’re redecorating are home to a lot of products that can’t be done away with, try filling the lowest row of your shelving with concealed boxes. Match the aesthetic of these boxes to your frames or shelving color and load them up with all the papers, books, and knick-knacks that have no where else to go.
If you want to incorporate one or more larger pieces, decide where you want those to go first. Keep in mind that frames can lean against the back of the bookshelf, sit on top of a stack of books or hang from the frame of bookshelf.
Start by figuring out which pictures you’ll hang on the bookshelf itself, as these will take up the most visible real estate. Pro tip: To avoid drilling holes in the wood, use Command strips or Velcro to attach artwork to the bookshelf’s frame. Use lighter weight frames to ensure the print stays in place.
Next, for each “tableau,” place the tallest items on the shelves where you’ve designated as display areas. This will anchor each grouping and make it easier to figure out how to arrange each vignette. Next place the books on the shelf; consider alternating horizontal and vertical stacks for a less static look. Finally, arrange the other items (framed pictures, plants, etc.) around them (opt for odd numbers of items for a more balanced looking display).
Keep playing with placement until you like the look.
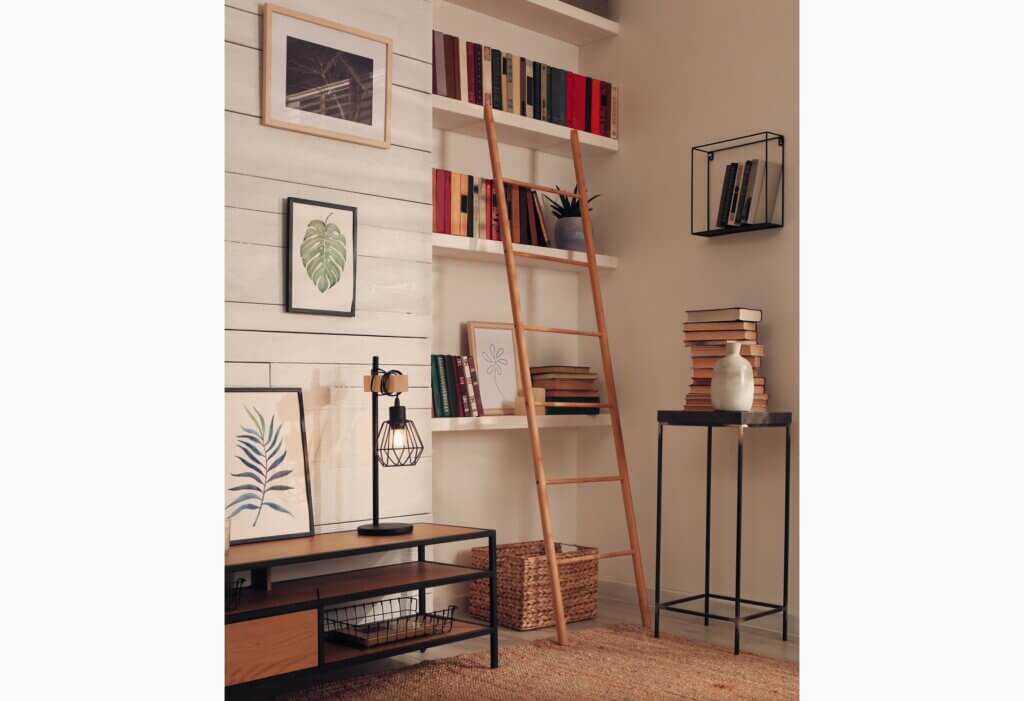
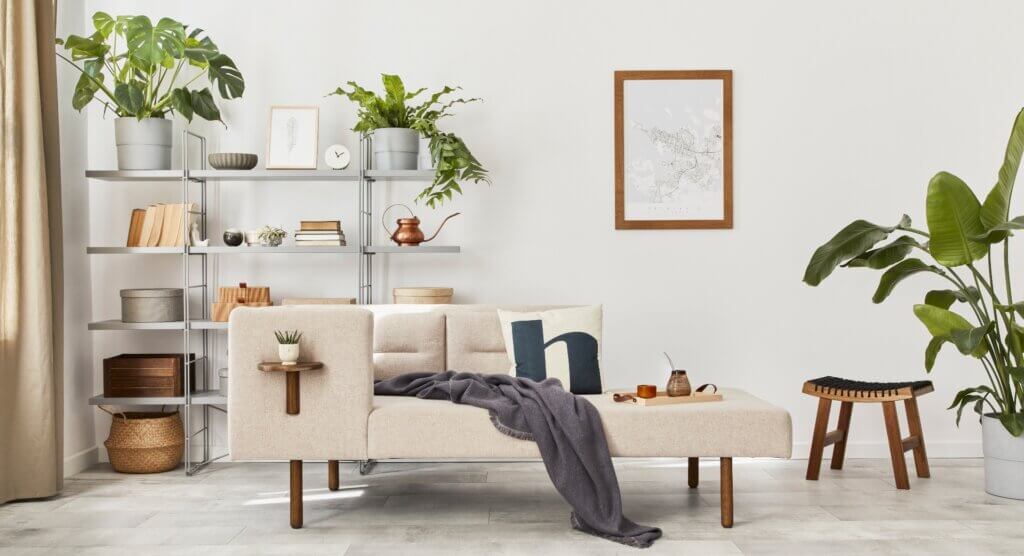
Don’t let the beauty of your redesigned bookshelf stand alone! Build off of your bookcase to blend it aesthetically with its surroundings. Space out wall décor at eye level beside the shelf or arrange large plants alongside the base of your shelving.
If your book shelf is on the shorter side and leaves empty wall space above, take advantage of it! Create a gallery wall or hang a large statement piece. This is a great way to help a smaller bookshelf seem less miscellaneous and more filled out. The wall décor and bookcase will become one element visually.
That’s all there is too it! Declutter, plan, and execute! We love the simplicity and flexibility of bookcase projects. It lets you create an entirely customized area, filled with anything from memories to knick-knacks to family heirlooms. In a lot of ways, it’s like your home’s very own museum.
Feel free to change up the arrangement whenever the fancy strikes. If you utilized framed prints on your shelf, swap out the photos to reflect changes in the seasons. Rotate which décor pieces are tucked away in your storage boxes and which pieces are put on display.
Be warned: you may be so pleased with how your new curated bookshelf looks that you can’t keep from installing more bookshelves in other rooms: your bedroom, home office, hallway, kitchen, bathroom – the opportunities are endless!
 Facebook
 Twitter
 LinkedIn
 Email
Email