0
(Guest post by Mahesh Thapa. Mahesh Thapa is known for his breathtaking landscape photos. You can find him on Instagram as @starvingphotographer on Instagram.)
“There are no rules for good photographs, there are only good photographs.” – Ansel Adams
Before we begin to talk about camera, lenses, tripods, rules of thirds, etc., there are a few fundamental ideas a novice shutterbug should take to heart about landscape photography. First, be familiar with your equipment, also known as the RtDM principle: Read the Damn Manual. You should know the basics of your camera such as how to change ISO values, how to enable the bracket function, and how to adjust the exposure compensation. The light changes quickly, and the last thing you want to do is fiddle around with the menu system and buttons when this is happening. Second, investigate weather conditions before going out. Don’t be caught unprepared in a snowstorm or a heatwave. Third, bring along a tripod. I know it might not be cool to carry a tripod, and it can be a bit cumbersome, but if you want the best image possible, you’ll need a tripod, especially since a lot of great landscape images are made during low-light conditions. I’d rather leave a lens or two behind than my tripod. I really believe the single most important equipment for a landscape photographer is a sturdy tripod.
What lenses should you carry? There is no strict rule for what focal length lens you should use. The scene, your compositional goals, and personal preference will dictate the focal length. That being said, for landscape photography, I carry three lenses in roughly the following focal lengths:
By the way, it’s important to note the best camera to have is the one that’s on you. For a lot of people, that means their smartphones. These five tips are not only for those with all the bells and whistles but for those that also just have their iPhones and androids.
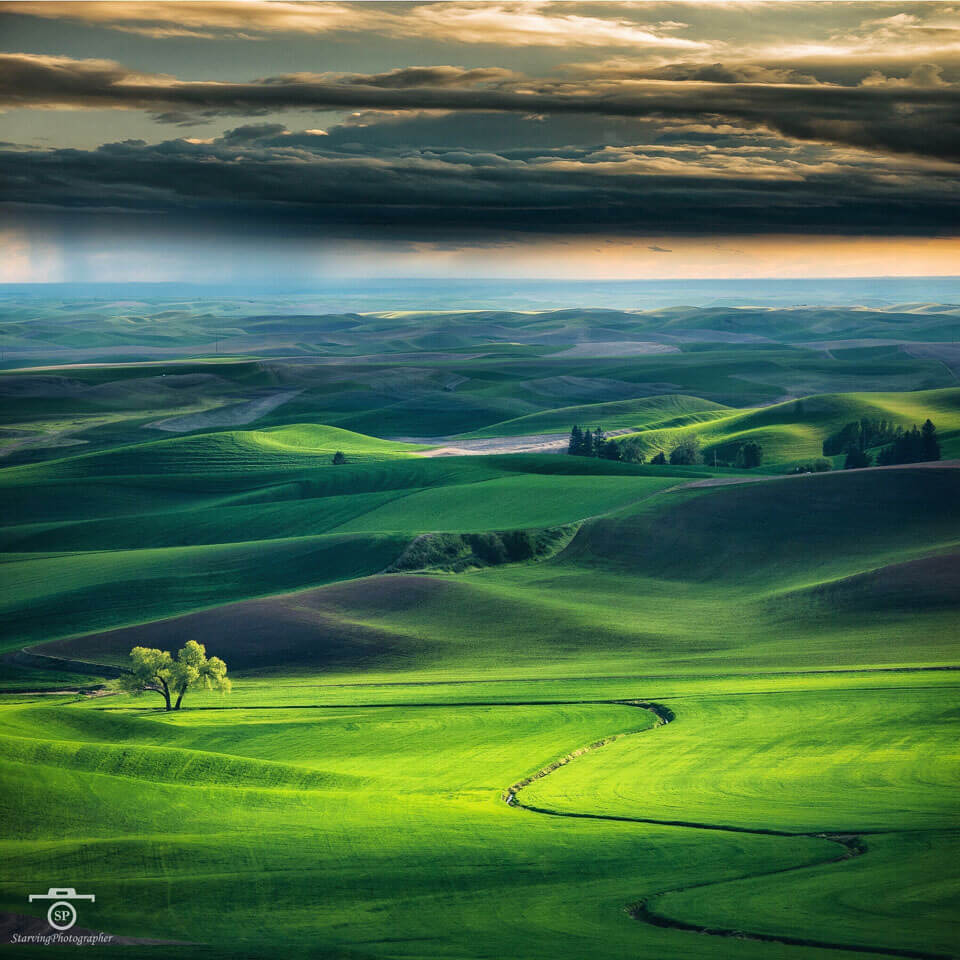
Rule of thirds: Don’t place your main subject in the dead center for every shot. If you mentally divide your scene into thirds, place the subject at one of those division markers. A corollary to this rule is don’t place the horizon at the center.
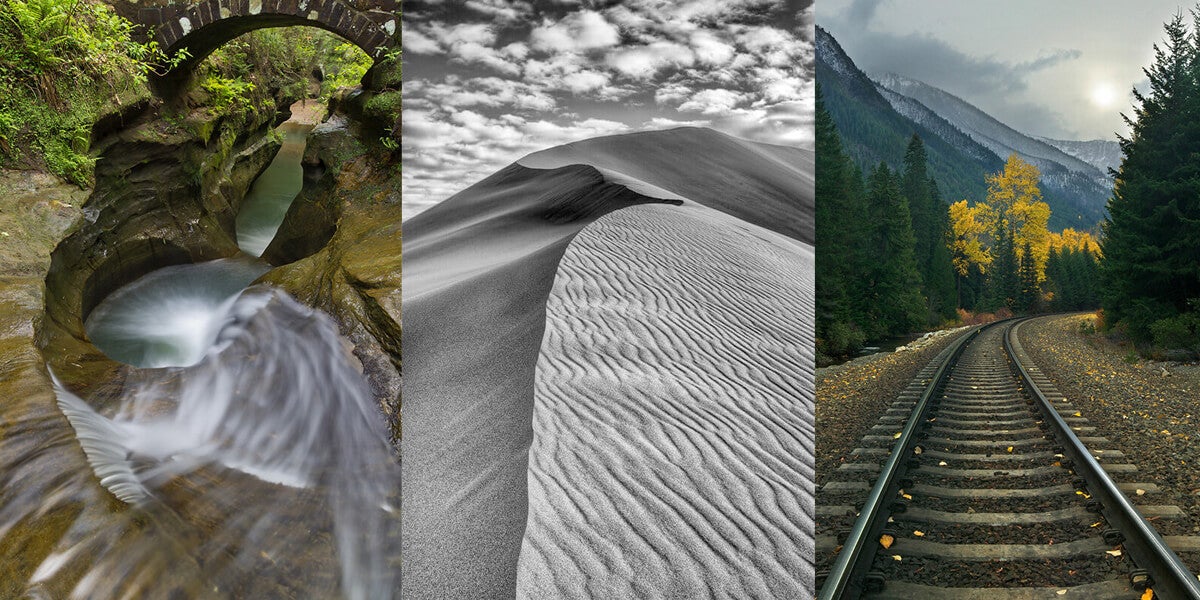
When possible, use leading lines or S-shaped curves to draw the viewer into the photograph. Examples include railway lines, flowing water, and ridge-lines.
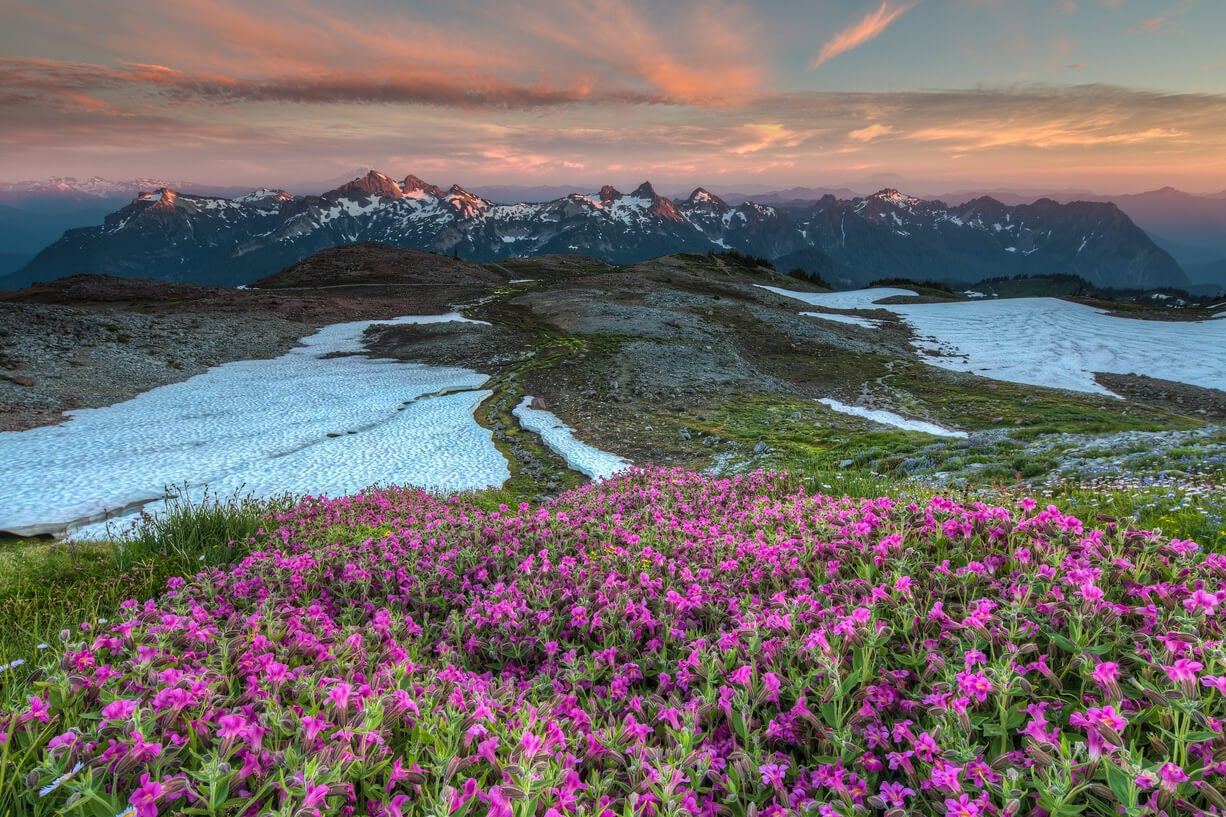
Look for “natural frames” to surround or bracket your subject. A natural frame can provide context and balance. It may also give perspective and a sense of scale. This type of set up is perfect for metal prints. Metal prints come without a frame so when you make one yourself in-camera, it’s the perfect complement to the medium.

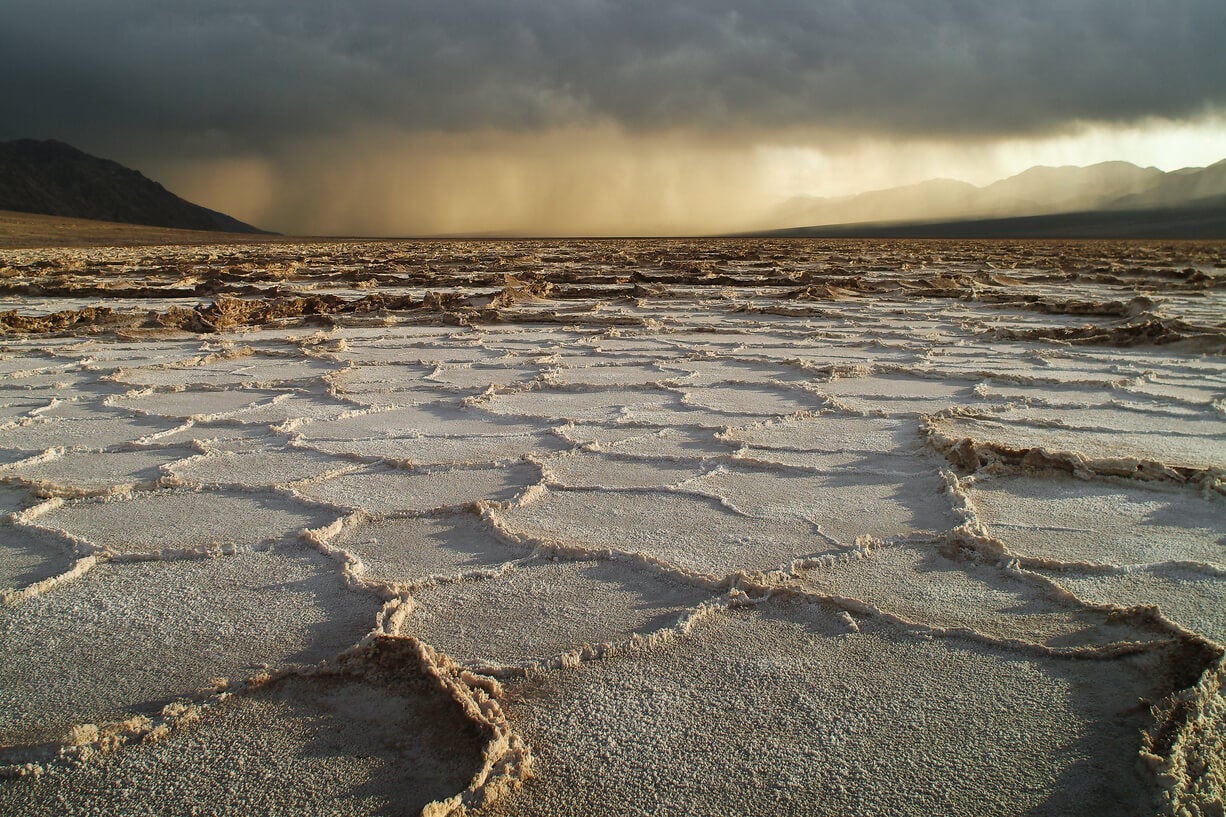
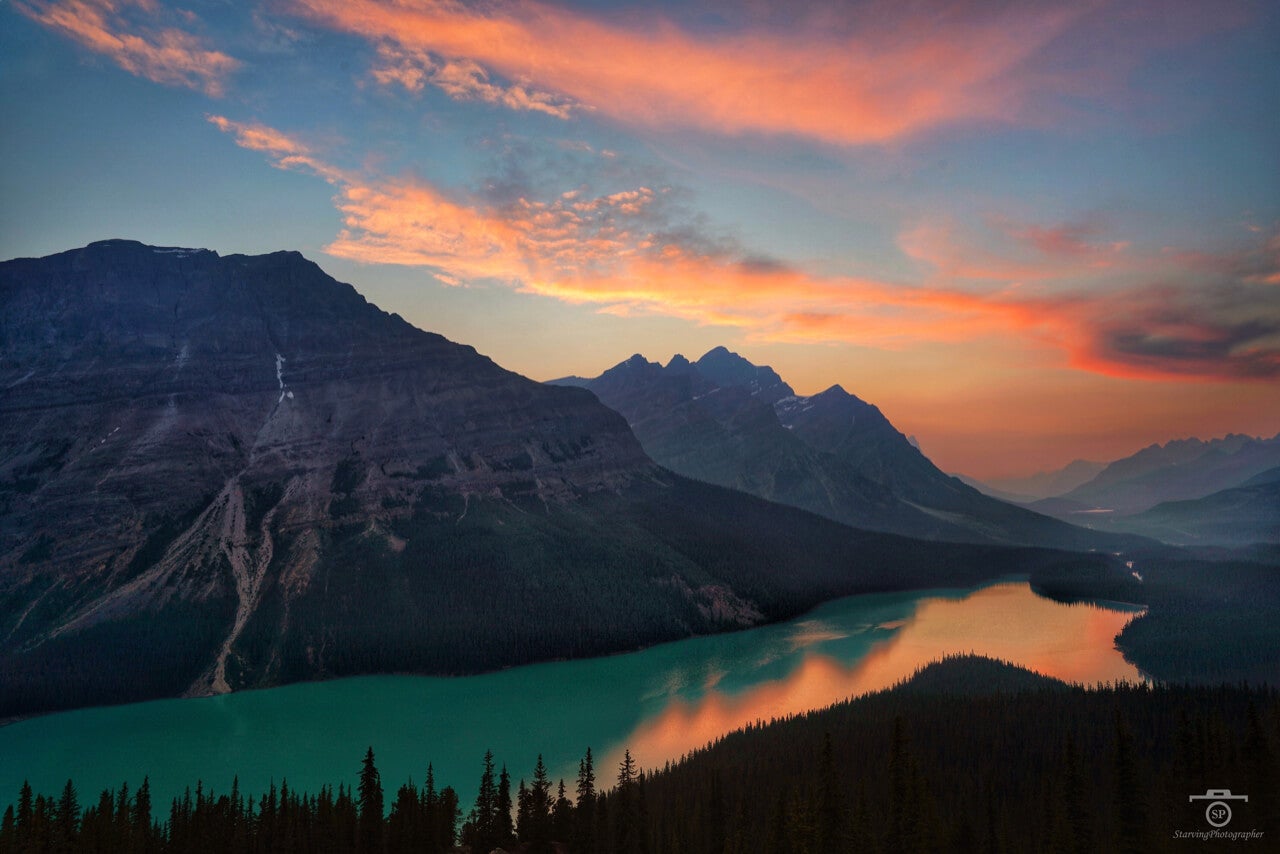
A classic landscape image has a fore-, mid-, and background elements. Try to have something interesting in each of those locations. Make sure to go large with your landscape photos. Large prints (16×20 and higher) display beautifully. Just make sure to get your prints mounted so they do not wrinkle or warp when hanging.
The best light is typically in the early morning or late afternoon. Midday light is often harsh, so try to be out with your camera during the golden hours.
These are some fundamental tips that help you on your journey. As you delve deeper into the world of landscape photography, such concepts will become second nature and serve as building blocks for your photographic development.
 Facebook
 Twitter
 LinkedIn
 Email
Email