0
Now that you know metal prints are a novel way to display your photographs, it’s time to think of the possibilities with clusters. There are a few things you should know design-wise to make sure your artwork is the best it can possibly be and give the most impact to any room you hang it in. Here are four metal print cluster design tips.
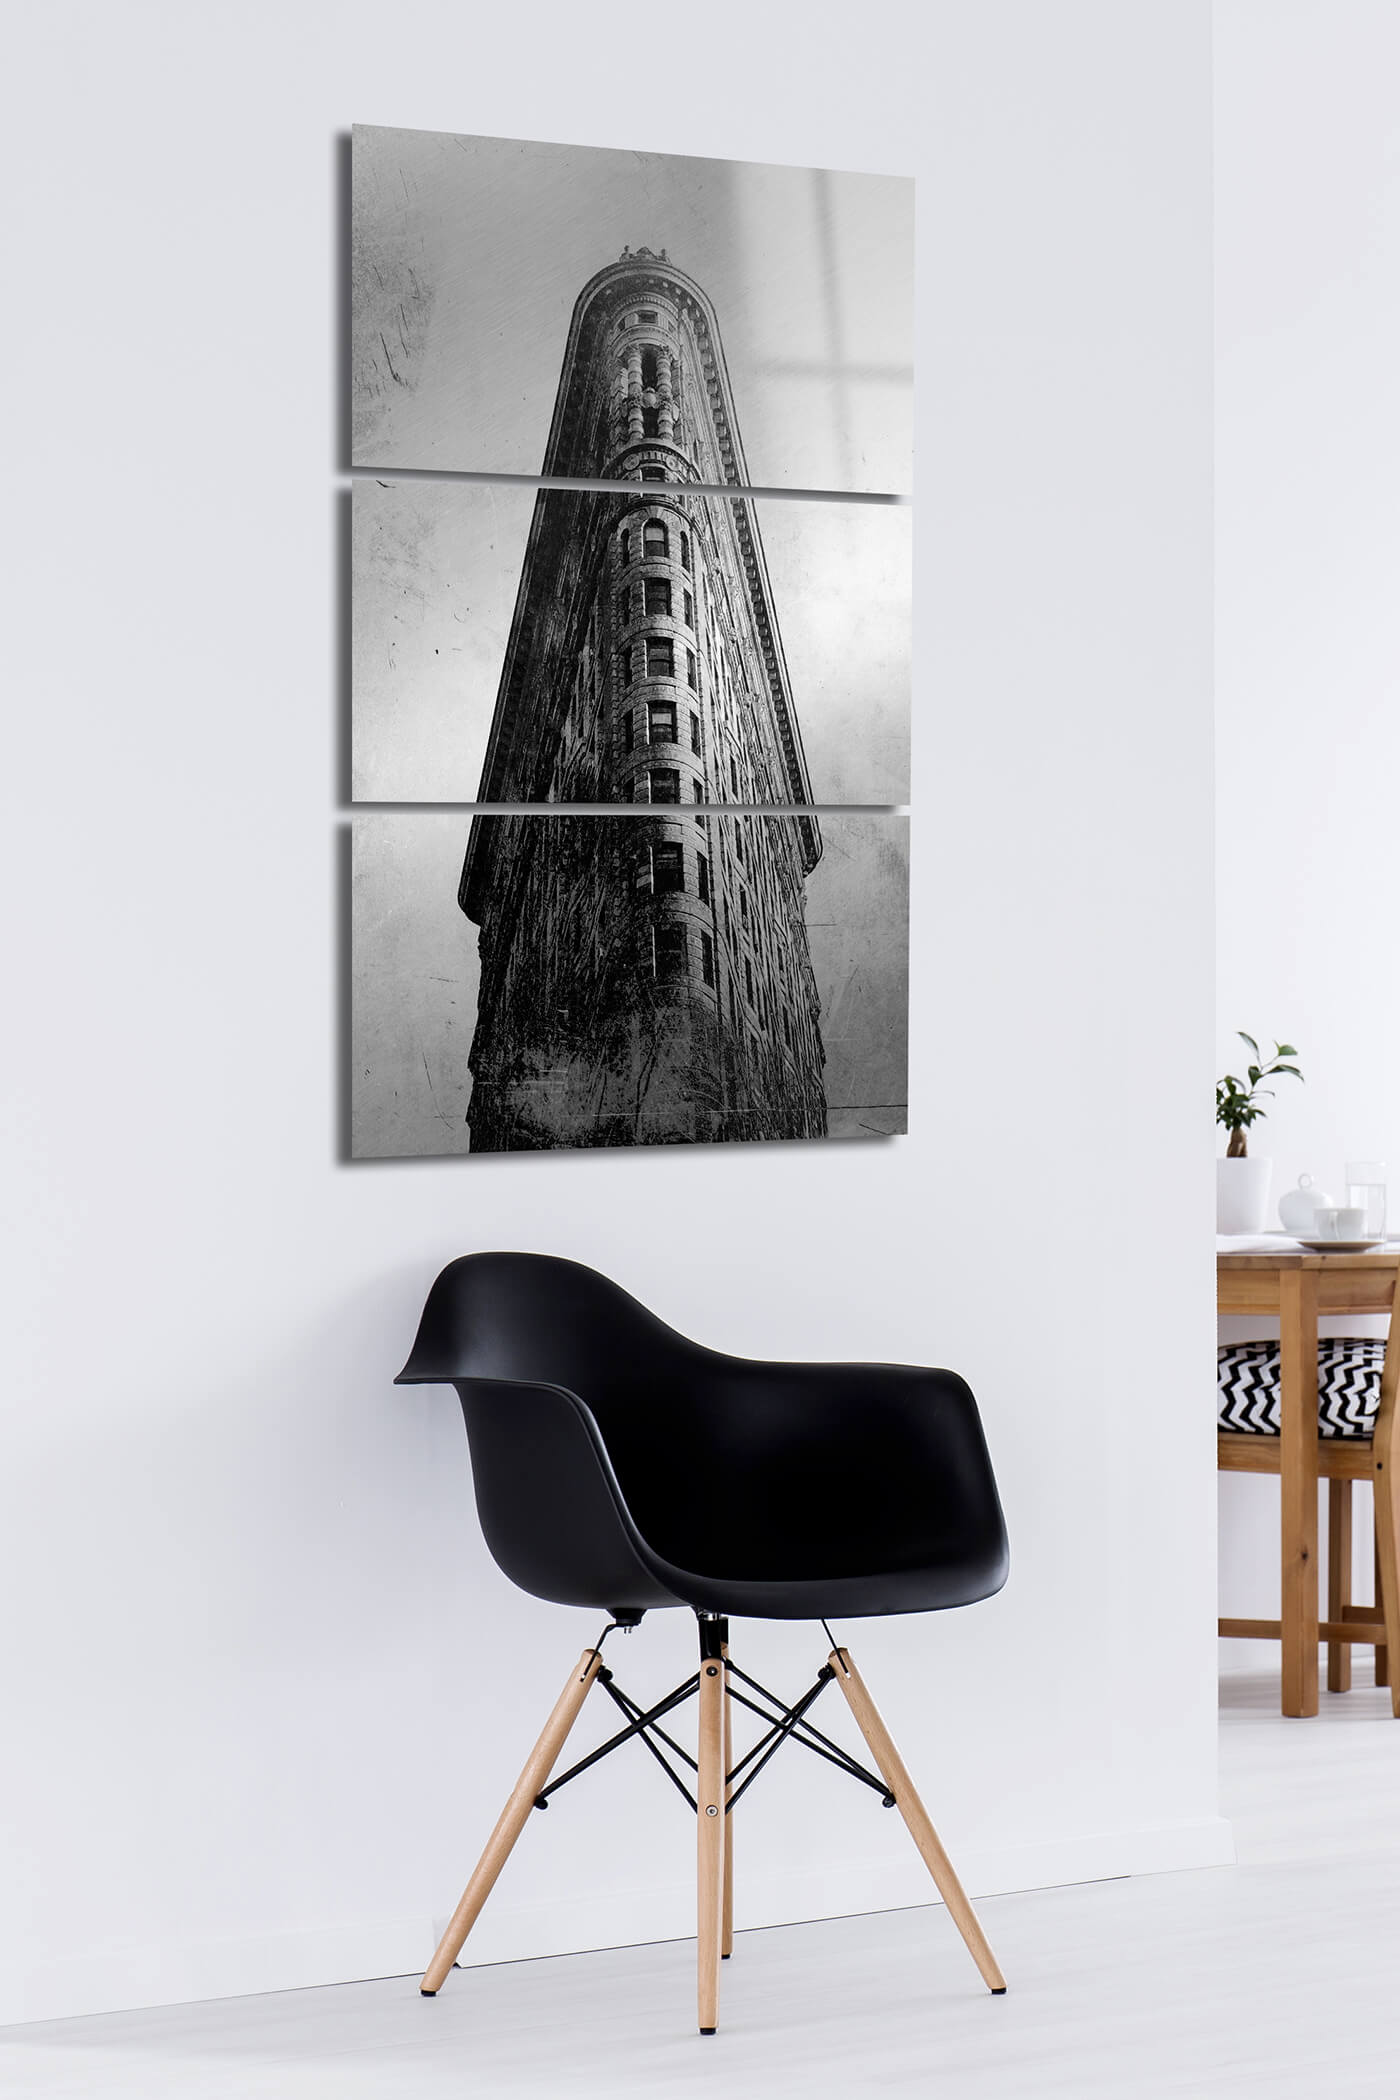
When planning your metal print cluster, remember, oftentimes less is more. If you’re new to the cluster world then start with a simple image. In other words, start with an image that does not have strong leading lines. The reason being, you want a clean, soothing image. The busier it is with lines, often the less impact your cluster will have and when hanging it up, if the lines are off even by a small fraction, it will be noticeable.

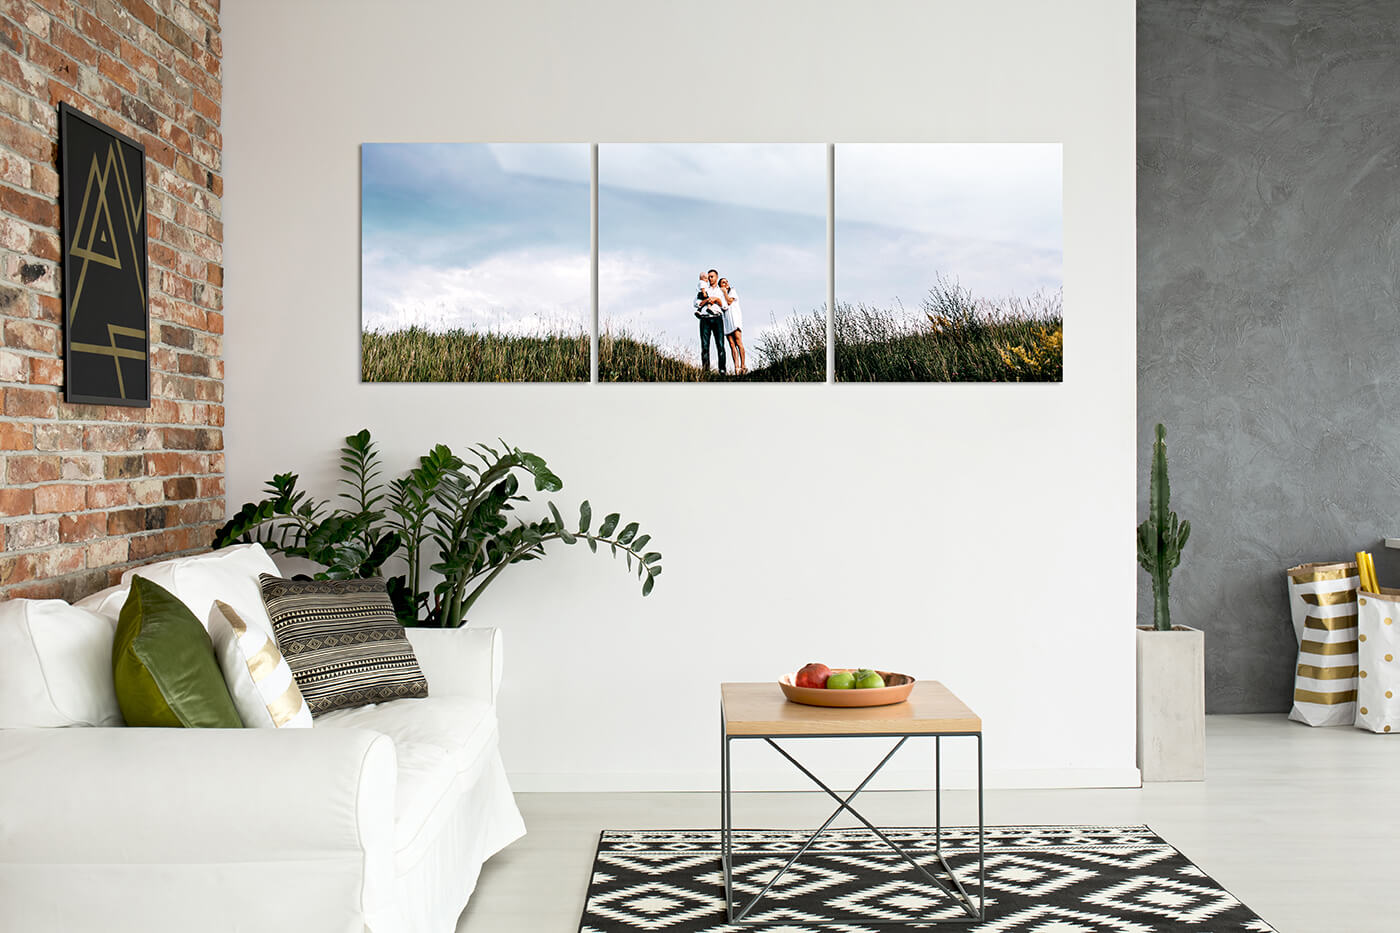
So you have a dynamic shot of your child and you want it as a metal print cluster, hold up! When printing people, it’s important to know where your lines are – to make sure you are not cutting into your subject. For the most impact, keep your subjects occupying one of the 3 squares. Keep them isolated to one of the three. This leads to impact, giving a mosaic design and letting the eye wander from piece to piece while making a cohesive and amazing piece of personal art.
Yes, when you order your rectangle or square triptychs, they are landscape. However, you can use the arrow and flip your image so you can make a vertical triptych! It’s a clever a little hack that allows for those portrait-oriented images to shine in your home. Not all spaces demand a landscape cluster, that’s why by simply turning it 90 degrees you can make the rectangle and square triptychs work for your space.
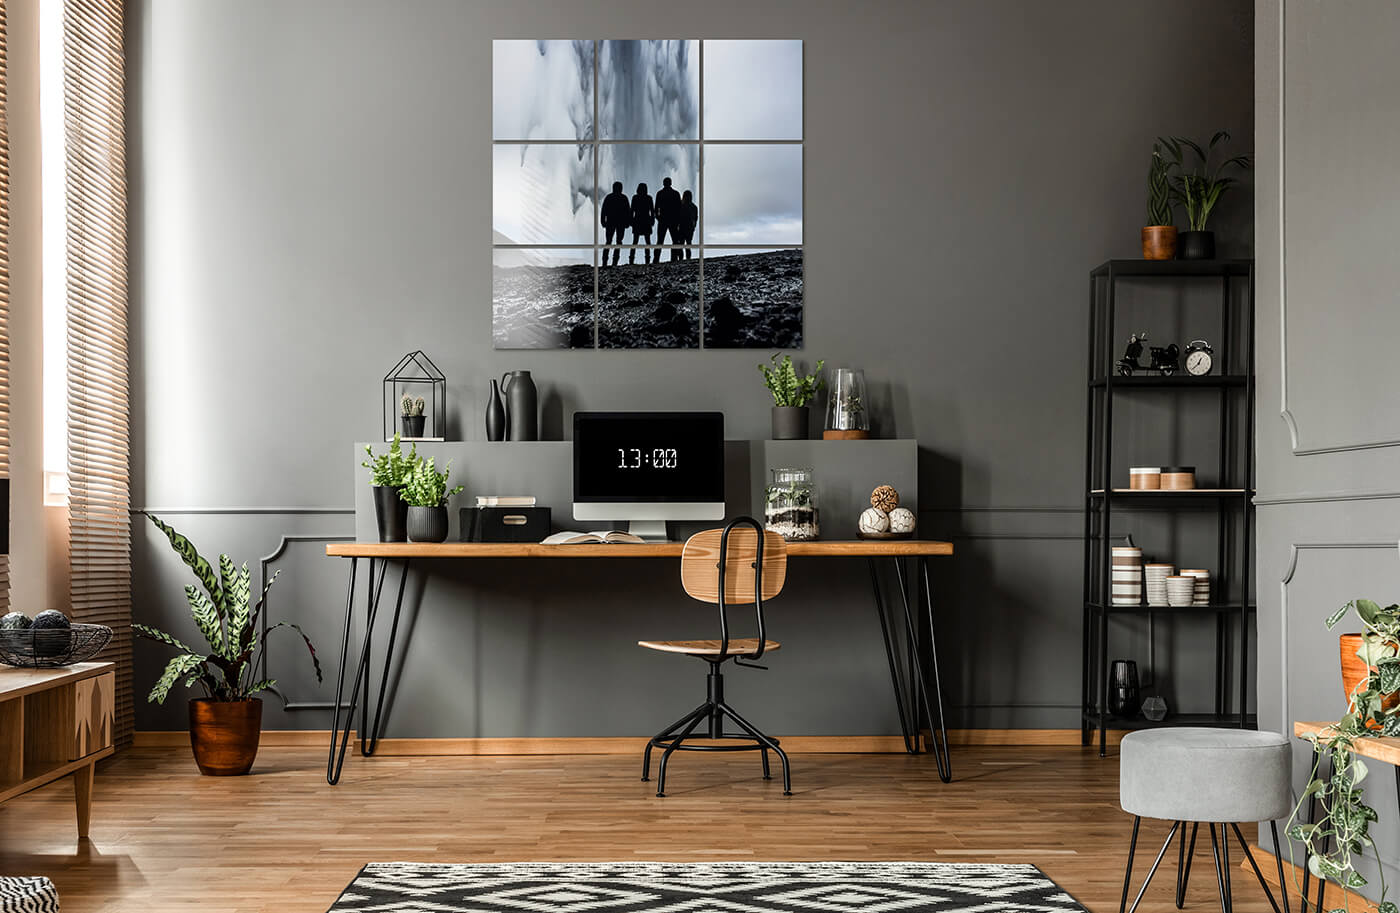
Most museums agree that hanging art at eye level is the most pleasing. So around 60″ or 4’9″ to 5′ foot will lend itself well in the room. The clusters are designed to be spaced about an inch apart – this is so it keeps the piece together creating the art without any unnatural breaks. We suggest using a tape measure, a chalk line and a level to help you hang the metal clusters. The clusters come with a wall float and will stand about 1/2″ away from the wall. For best results, hang clusters with 1″ of space between each panel. This measurement ensures cohesiveness while still creating impact.
We hope these tips and inspiration will help you make the most of your gorgeous new Metal Print Clusters. Are you ready to order yours? You can click HERE to start your artistic masterpiece.
 Facebook
 Twitter
 LinkedIn
 Email
Email