0
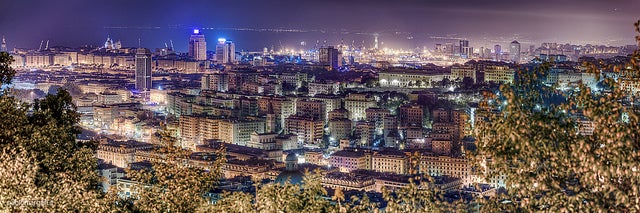
Paolo Margari/flickr
Whether you’re gazing up at a majestic mountainscape or taking in some stunning architecture, panoramic photos are a great way to share the splendor of your surroundings.
Most smartphones and some cameras have set modes which allow you to simply point and shoot amazing panoramic photos. But even if you don’t have the luxury of this technology, there are still steps you can take to shoot panoramas.
To take professional-level shots, you’ll need: a tripod, a camera set in manual mode, a standard lens (as in, not wide angle), and proper photo editing software. Once you have all of these tools, you’re well on your way to creating some beautiful photos.
Panoramas best capture scenes that are relatively still and consistently bright. Choosing such a setting will make your life easier in post-production, since the colors will come out the same in every shot. That way, you won’t have any streaks to deal with, like those caused by moving people or cars.
These types of shots also offer the best way to capture a variety of natural landscapes whose grandeur would be lost in a single photo.
Panoramas will also serve you well if you’re interested in photographing interesting architecture or interior designs. And the vertical panorama is an intriguing yet overlooked option. This angle is great for tall buildings or waterfalls, and follows many of the same rules that horizontal panoramas do.
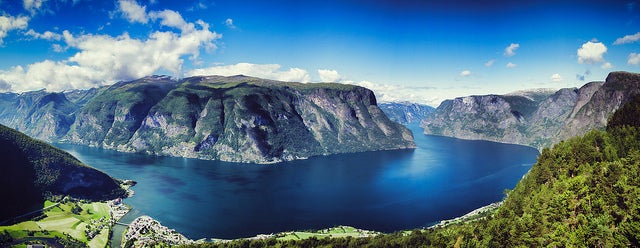
Soren Schaper/flickr
Speaking of which, let’s run through some of those rules! As I already mentioned, an important aspect of taking successful panoramic shots is the use of a tripod. The stationary object gives you the ability to keep the camera steady and on the line for every shot. Set up the tripod on a flat surface that won’t be easily jostled by you or the wind.
Start taking photographs from left to right, moving slowly and steadily, overlapping about ⅓ of the last photo with each following shot. This strategy ensures that you won’t miss any portion of the landscape while reducing the risk of flaring at the edges, again making your post-production life easier.
You also want to make sure you’re using the proper lens. Wide-angle lenses are not recommended for panoramic shots because they can lead to distortions, making it difficult or impossible to merge your photos in post-production. Using at least a 50mm lens is a must, but the longer the lens the better.
With panoramic shots, it’s crucial to be precise, but also quick. You don’t want a boat to sail into the shot, or the clouds to shift and change your photo halfway through.
If you have a feeling you may need some wiggle room with your panoramas, feel free to take more than one photo of each section. This will give you the ability to play around more in post-production, leading to the best panorama possible.
Once you’ve taken all your shots, you’ll need to upload them to Photoshop or another photo editing software program that allows you to merge the photos.
You can stitch photos together with the automatic merge tool on certain programs, or you can try to do it manually. However, manual stitching is a delicate process that will take some time and practice to become proficient in. The main objective is the ensure that the photos blend together from one shot to the other. Once you’ve gotten each photo into perfect position, you’re ready to save your panorama and enjoy!
And displaying these unique and extra-rectangular photos all year-round is easy with Printique. Their high-quality prints and photobooks are created on professional paper in a variety of sizes to accommodate your awesome, panoramic work of art.
 Facebook
 Twitter
 LinkedIn
 Email
Email