0
Tips for better scenic and landscape pictures
By John O’Connell
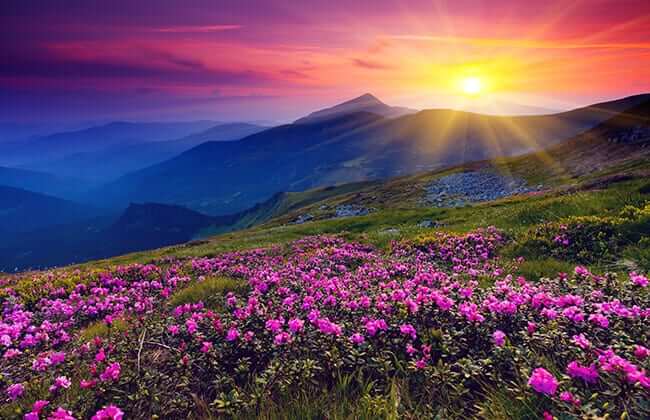
You’re up in the mountains on a clear, crisp morning and see to the east the sun rising over a breathtaking view of the verdant valley below and the rolling peaks beyond. You grab your camera, focus on the distant hills and snap. In the blink of a shutter you have a pretty pink sunrise and a dark, featureless foreground that takes up half the picture. What? That’s not what you saw?
Here are a few tips for making better landscape or scenic images.
Contrasting scenes have always been a problem for photographers. Whenever there’s a big difference between light and dark in an image, whether it’s a bright sky and dim valley or even when shooting a portrait in bright sunlight, photographers have had to choose between exposing properly for the bright parts or the dark parts, not both.
But these days you can do better. One way is to use the High Dynamic Range setting on your DSLR or smartphone, if it has one. HDR combines two or more images, each properly exposing for the different brightness (or darkness levels), to produce one image that has all the luminosity ranges covered.
Another way to get better exposures is to shoot in RAW, not JPG. Many DSLRs and even small cameras enable you to change the format of your images from the default, compressed, smaller-file-size JPG format to larger sized RAW format. Without getting too technical, JPGs are like Meals Ready to Eat. The camera discards most of the captured “information” in each image, compresses the data and gives you a picture you can immediately show to others, small enough to email and post to Facebook with no hassle. This is fine most of the time. In RAW (like a grocery store bag of all the ingredients for a gourmet meal, but one you’ll have to cook a bit), no information is lost for the sake of convenience. All the exposure data is still in the image. In “post capture,” using good photo processing software like Lightroom, Photoshop and others, you can bring up the light in the dark areas of your pictures and darken the too bright areas so there’s clear detail in all parts of your image.
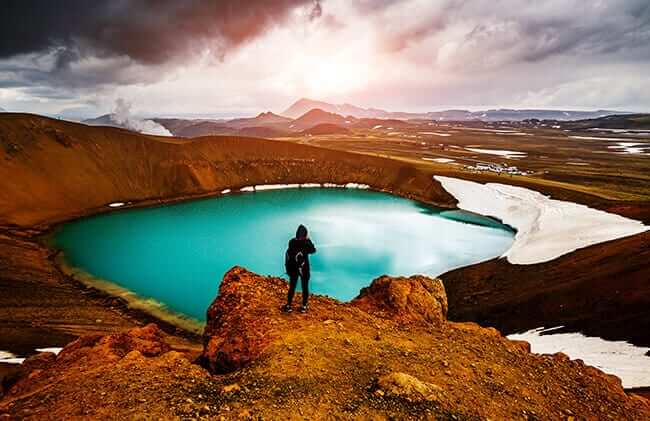
It’s a matter of opinion, I guess, but I think scenic pictures are usually enhanced with people, or at least other living things. We humans like to see ourselves in pictures (hence so many selfies!). If we can’t be in the picture, then at least our family, friends or people we know ought to be in the picture so we can relate to it better. And if that’s not possible, then there should be our pets or other animals in the frame, some signs of life. Skylines and mountain ranges, blooming fields and ocean vistas can make for some pretty pictures, but void of people we won’t look at the picture very long. So put people in your landscapes, and don’t minimize their presence by making them one percent of the image. Don’t stand your family at the foot of Mount Rushmore and say, “See those small dots? They’re my wife, Jane, and little Bobby and Bernice.”
People also provide scale in big scenics. We all know how big an adult person is, within a couple of feet, so including a human in a landscape can let people know the vastness of a scene.
People in landscapes also provide depth. You may see the meadows receding into the distance all the way to the sea, but the person looking at your picture will see a flat, two-dimensional scene. Populate your pictures with people at different distances and your viewer can “follow” them and better appreciate the third dimension; the people would “lead” their eyes as it were.

Feeling inspired? Check out our 5 tips for photographing autumn. Click HERE.
 Facebook
 Twitter
 LinkedIn
 Email
Email